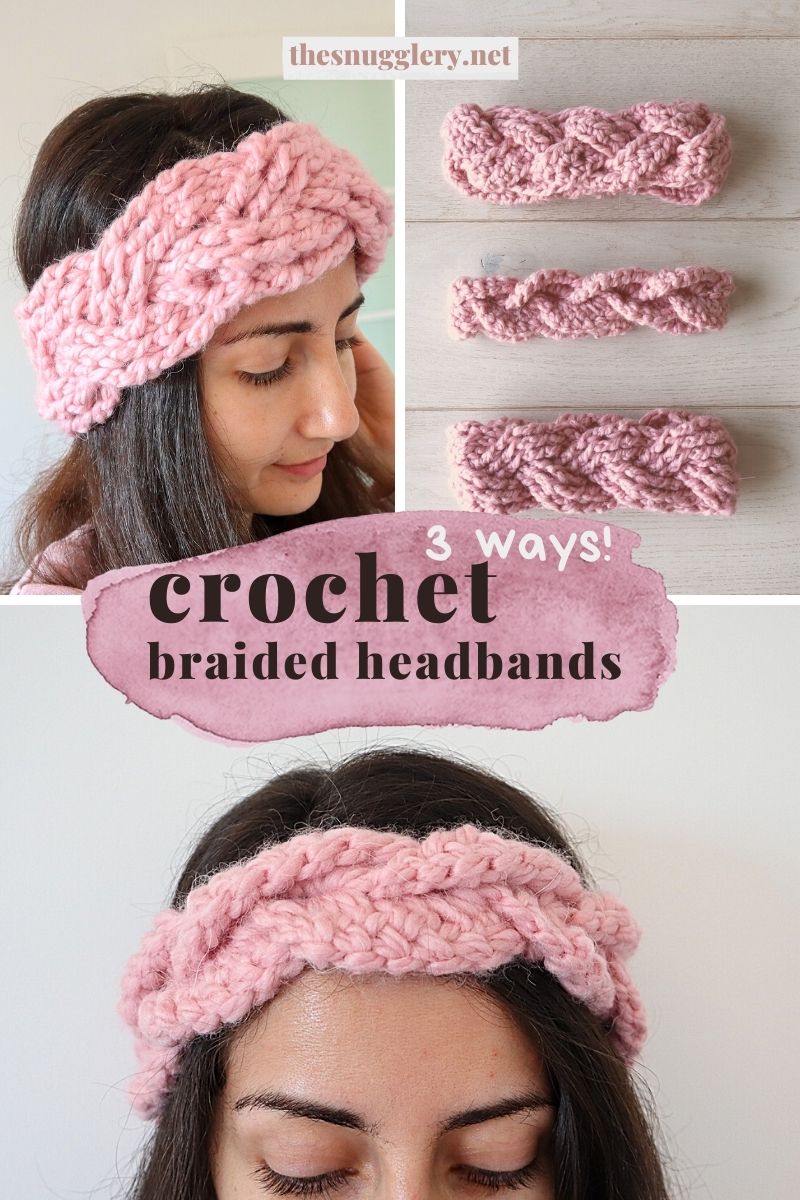
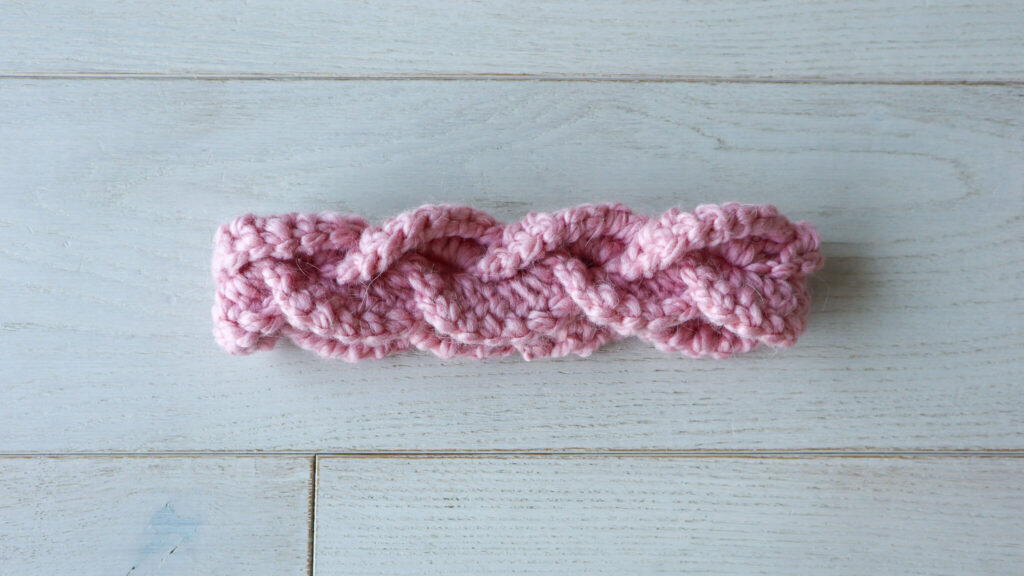
Braids are on repeat over here at The Snugglery and in researching all the ways you could crochet a braided headband, I actually found almost too many ways to crochet braids!
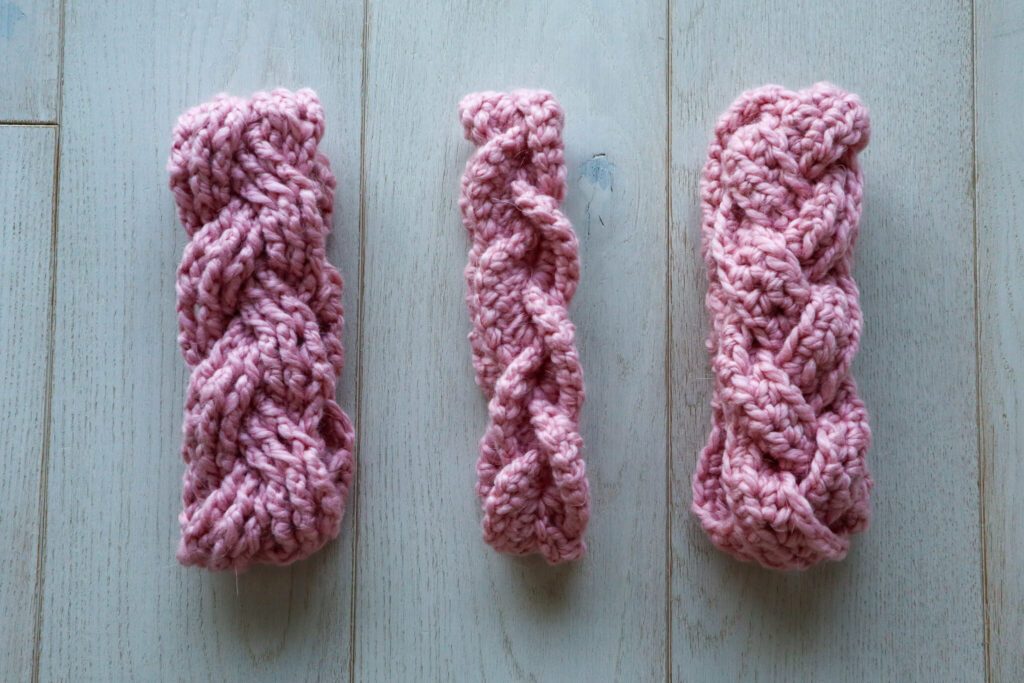
So I did my best to narrow it down to the top 3 ways. One super beginner friendly, one more intermediate for those of you who like front post back post cables and one advanced braid that is even a little bit of a Tunisian crochet hybrid.
Each of these headbands has a sorta tricky element to it so I've got a helpful video tutorial for you! Check it out here:
Materials
For all three headbands, I used a beautiful, super bulky weight alpaca blend yarn from Ice Yarns. It's called "Alpine Alpaca" and you can find it here:
A suitable alternative would be any lofty, super bulky weight yarn like Lion Brand Wool Ease Bonus Bundle or Bernat Wool-Up Bulky.
You can crochet and seam the first two headbands with just your 10mm US P crochet hook! The advanced headband is a little more picky, requiring a tapestry needle for seaming and a hook with a long neck (no handles or ergonomic bulges), because we'll be loading it up with lots of loops!
Beginner Crochet Braided Headband
To begin, chain 41
Row 1: Skip the first chain, make 1hdc in each remaining chain (40 hdcs).
Row 2: Ch1 (doesn't count as a stitch), turn your work, make 1hdc in each stitch.
Row 3: Ch1, turn. Make 1hdc in each of the next 5 sts. Ch 30, skip 30 sts from the row below. Make 1hdc in each of the last 5 sts (5hdc, ch30, 5hdc).
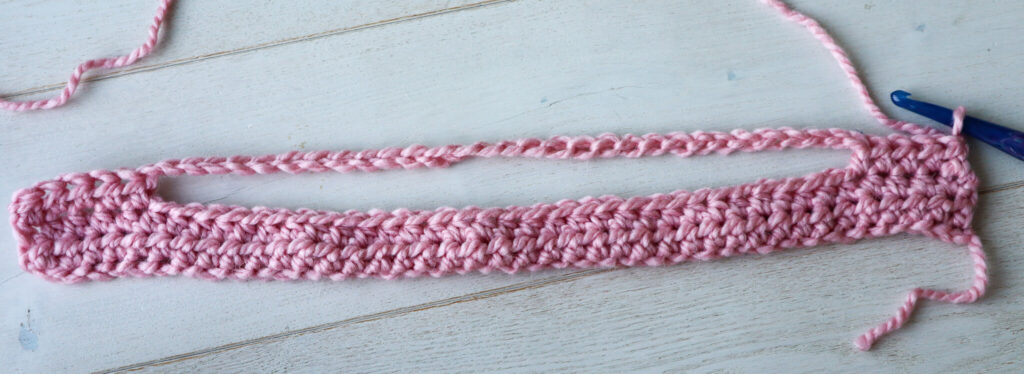
Row 4: Ch1, turn. Make 1hdc in each stitch and each chain of the prev row (40hdcs).
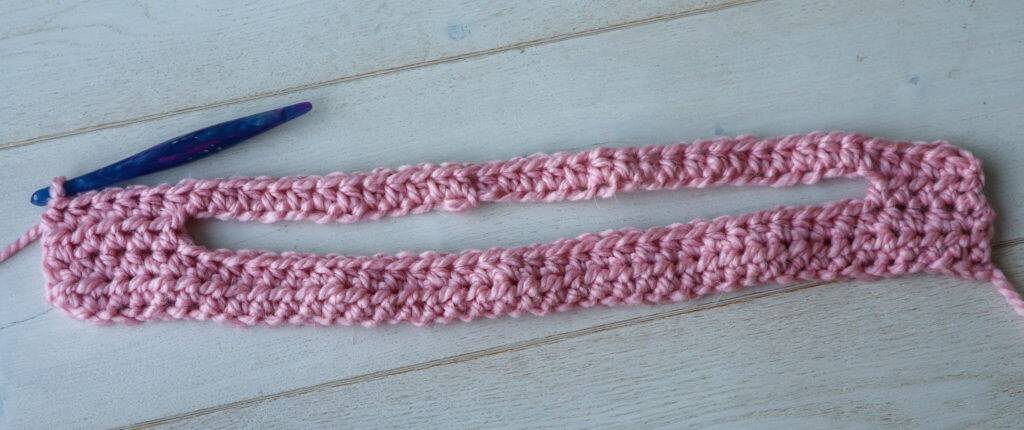
Repeat rows 2 through 4 once more to create 3 strands of hdc connected at each end. Finish your piece with one more row of half double crochet so that each strand is 2 rows of hdc wide.
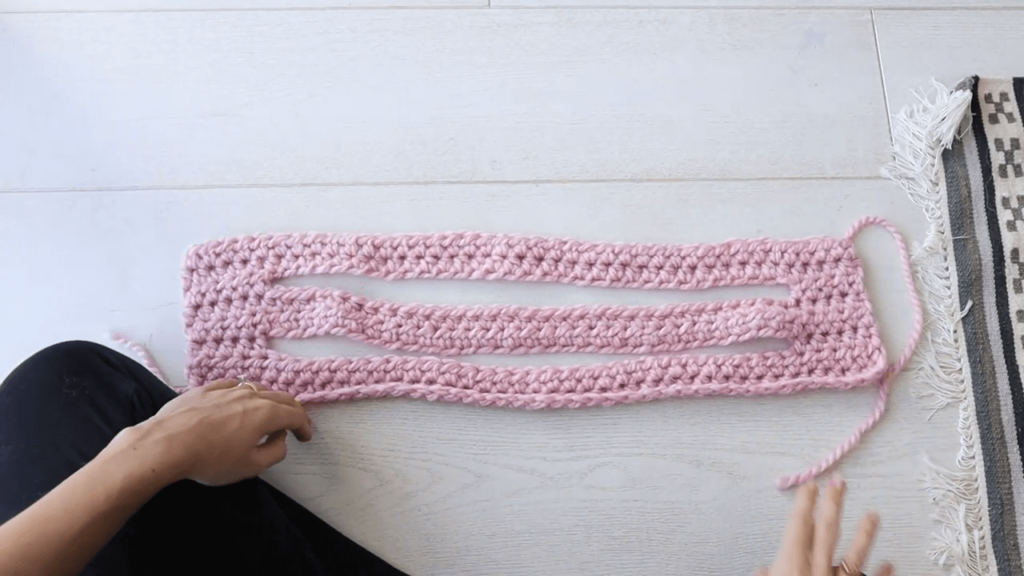
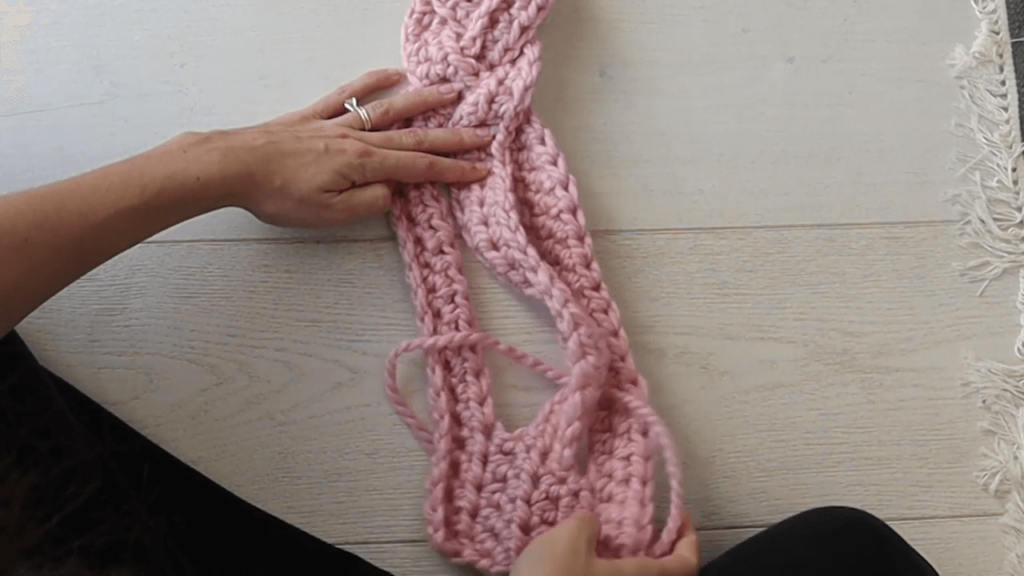
Braiding
It seems like you would be able to braid this piece with the ends connected like this... but you can! Simply start braiding at one end and, as the opposite end twists up, un-twist it by flipping the little bottom piece through the strands. This part is where the video tutorial really comes in handy!
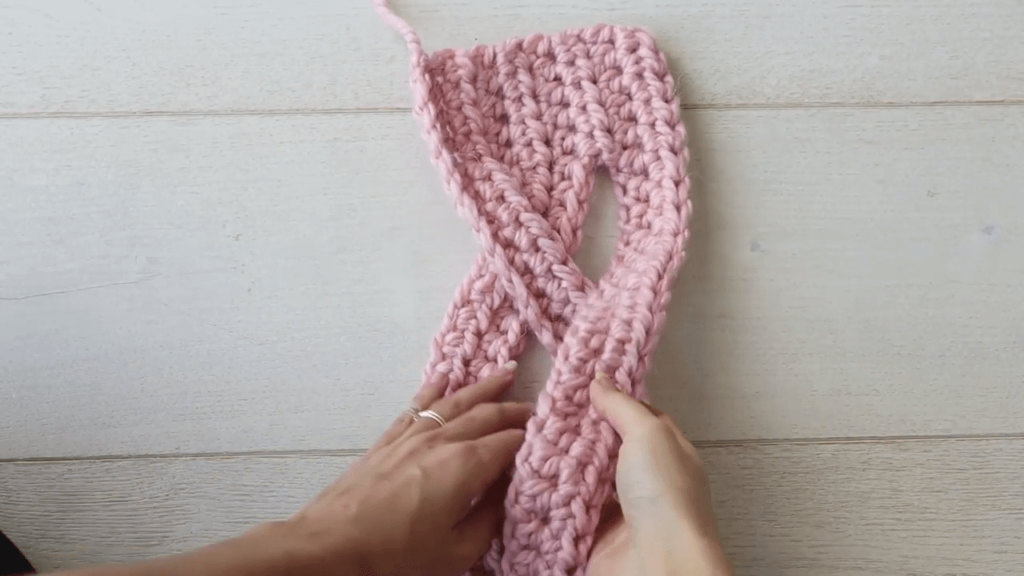
But continue braiding from one end and flipping and untwisting the opposite end until all pieces are braided and nothing is twisted up any more.
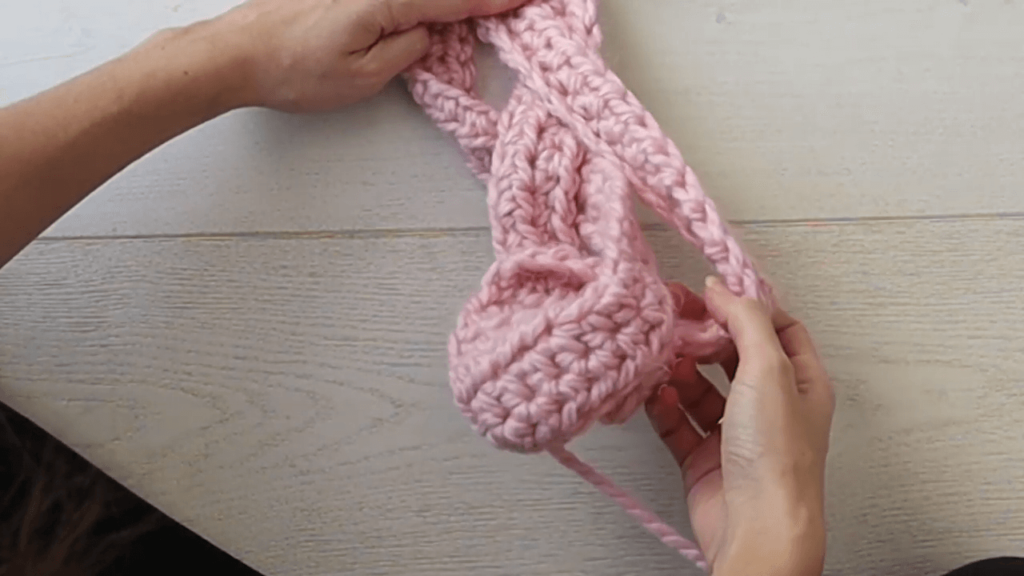
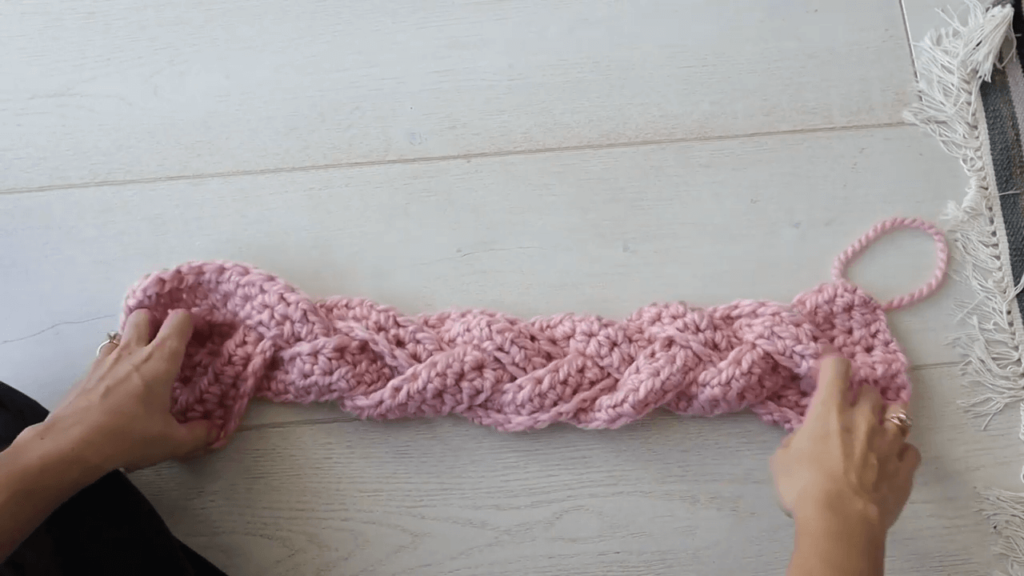
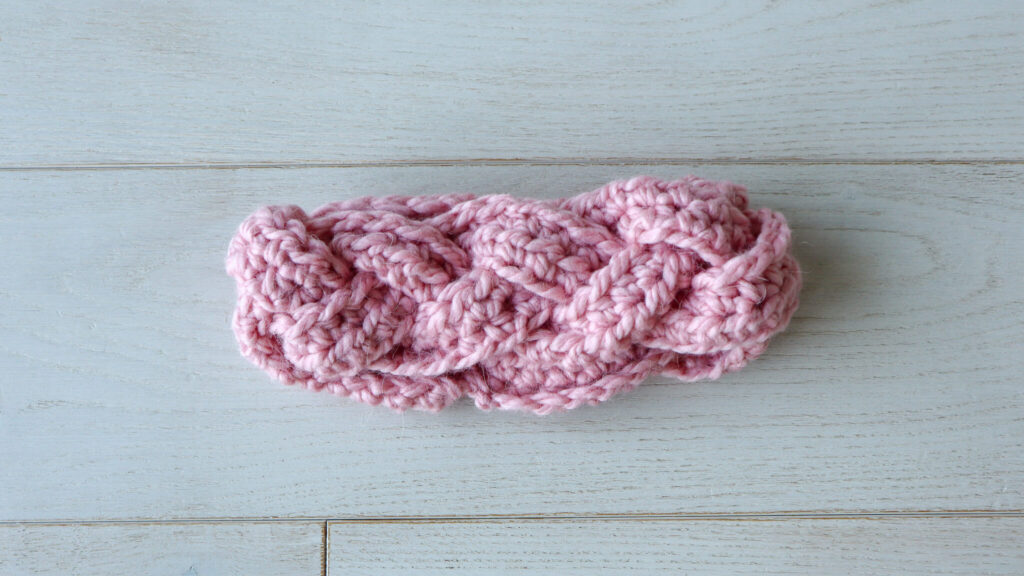
Then, you can adjust the braids and slip stitch seam the ends together into a headband!
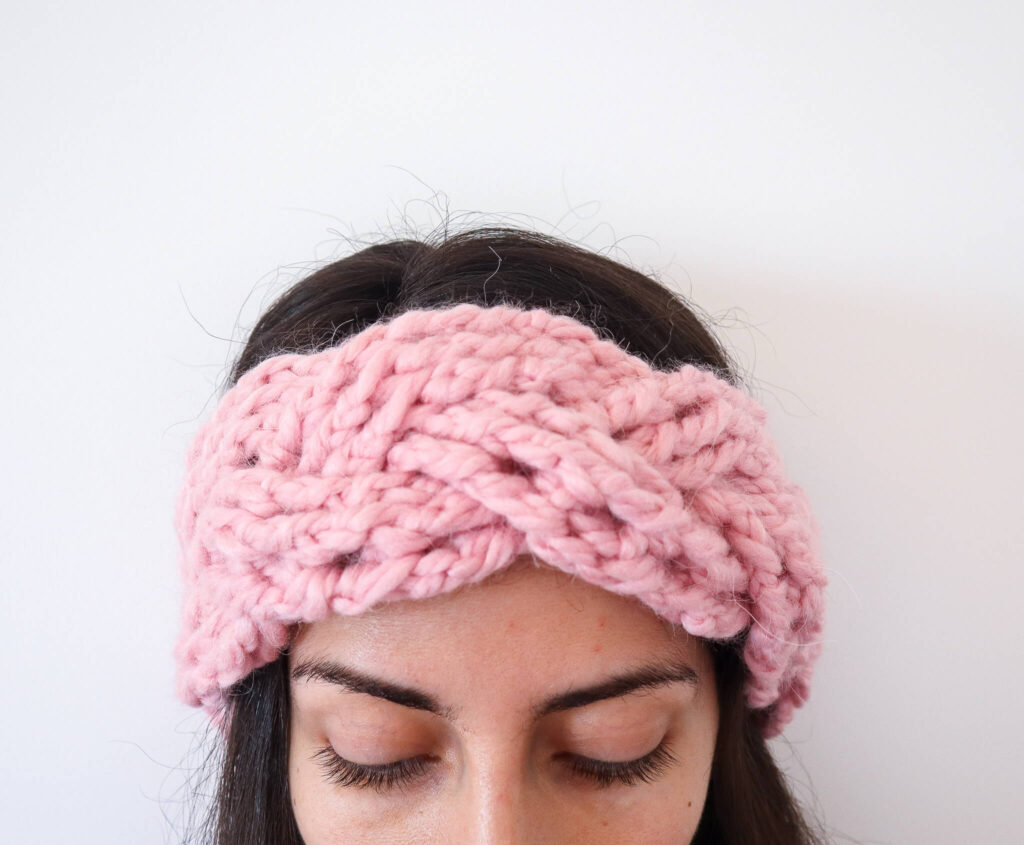
Intermediate Crochet Braided Headband (3 Strand Cable)
This headband is worked completely differently than the last one! Rather than crocheting three strands to braid, we'll twist the stitches as we work to crochet a cable that looks just like a 3 strand braid.
To do this, we'll combine front post and back post double crochet stitches.
To begin, chain 11
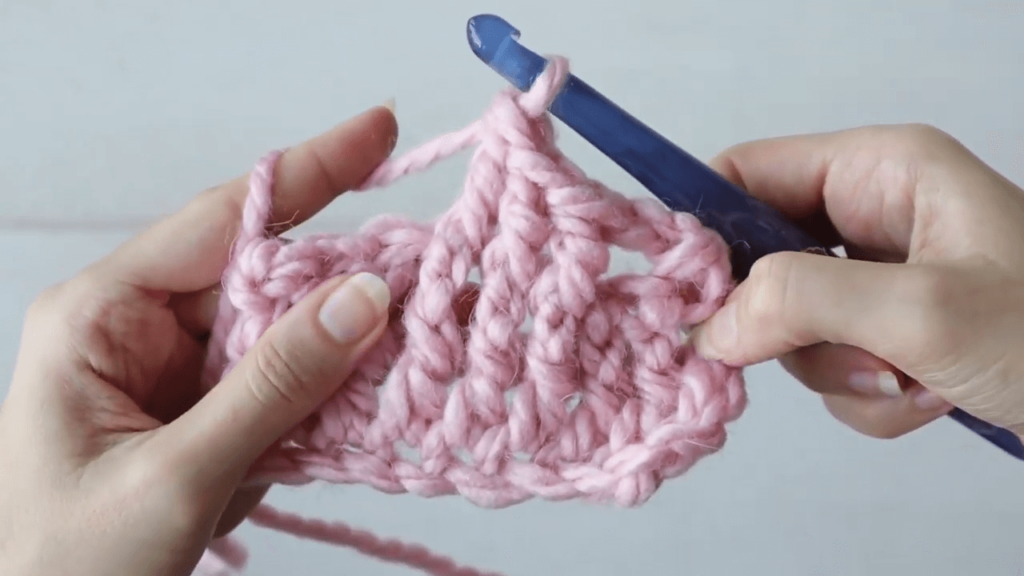
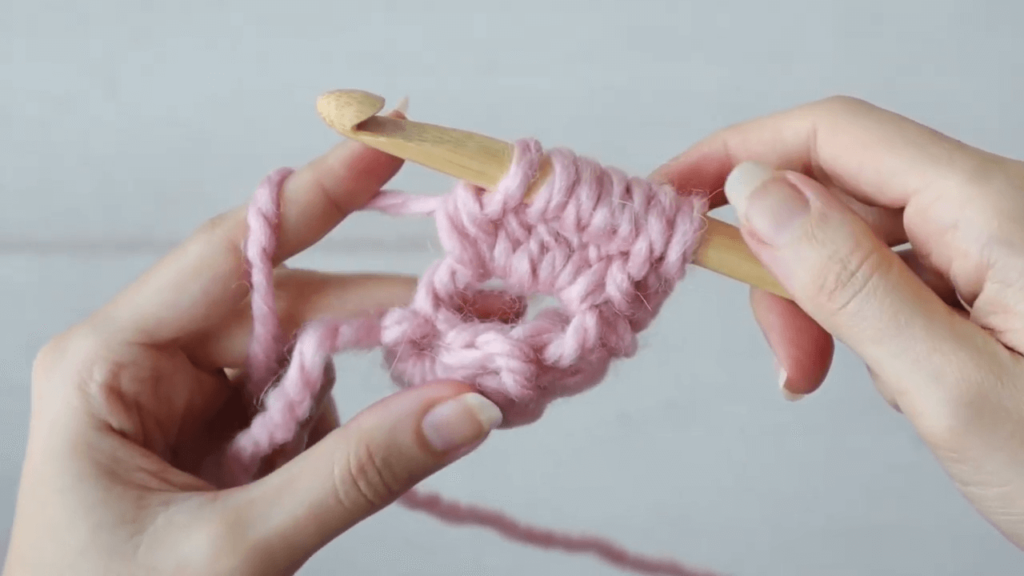
Row 1: Skip the first 3 chs (counts as 1dc for this row only) and work 1dc in the 4th chain and each remaining chain (9dcs).
Row 2: Ch2 (doesn't count as a stitch), turn. Work 1 back post double crochet (bpdc) around each dc from the prev row.
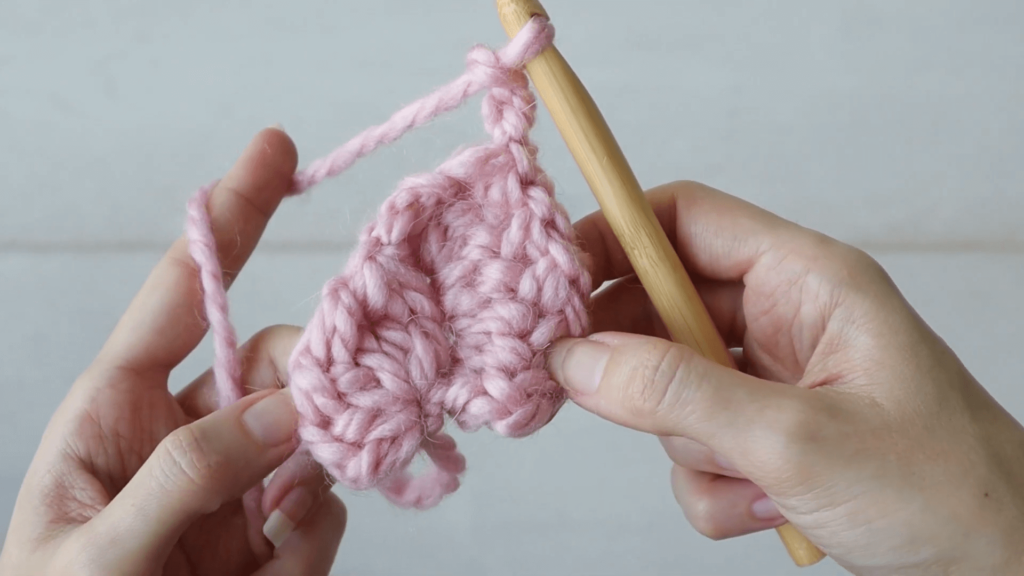
Row 3: Ch2, turn. Work 1 fpdc (front post) around each of the 4th, 5th and 6th dcs from the prev row. Then, work 1fpdc around each of the 1st, 2nd and 3rd dcs from the prev row. Finally, work 1fpdc around each of the last 3 dcs from the prev row. (9fpdcs, middle 3 worked before the first 3 to make a twist).
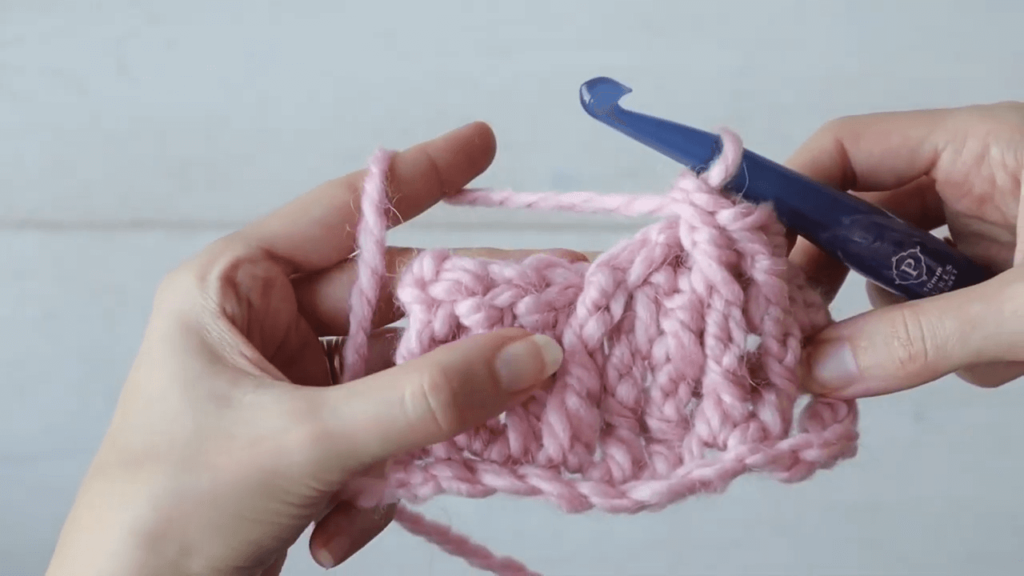
Row 4: Ch2, turn. Work 1bpdc around each of the sts from the prev row. Be sure to work them in order to maintain the twist.
Row 5: Ch2, turn. Work 1fpbc around each of the first 3 dcs from prev row. Then, work 1fpdc around each of the last 3 dcs in order (7th, 8th, 9th). Finally, work 1fpdc around each of the middle 3 sts, coming from behind the fpdcs you just worked (rather than in front of them).
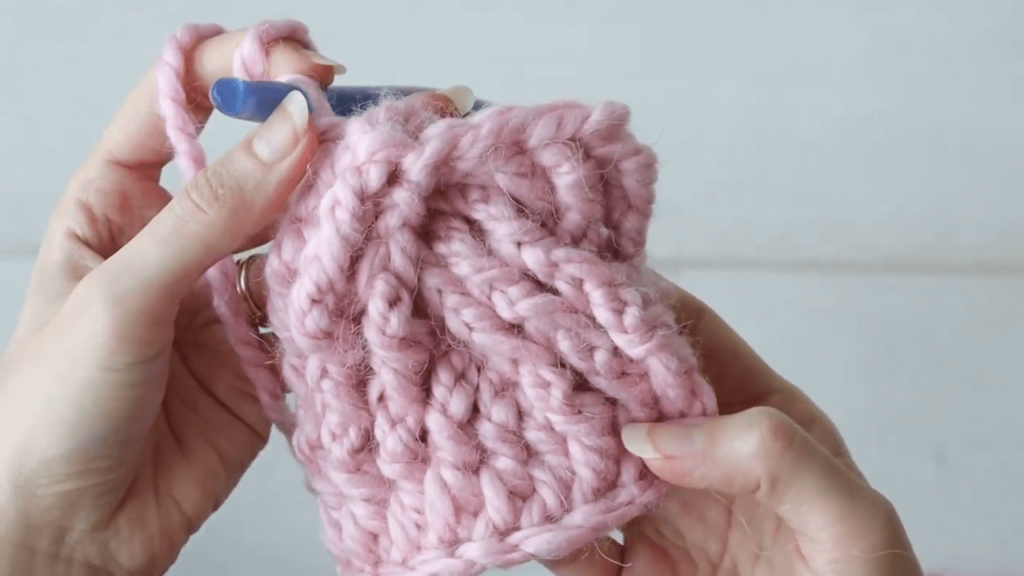
Repeat rows 2 through 5 until your braid measures about 21" (54cm) or until it fits comfortably around your head. Work one more row of bpdc and slip stitch seam your two edges together to form the headband.
Advanced Crochet Braided Headband
This headband employs some techniques straight from Tunisian crochet. You don't need to know how to do Tunisian crochet to make this headband but you will need to get very comfortable working unfinished double crochet stitches and holding lots of loops on your hook!
To begin, chain 4
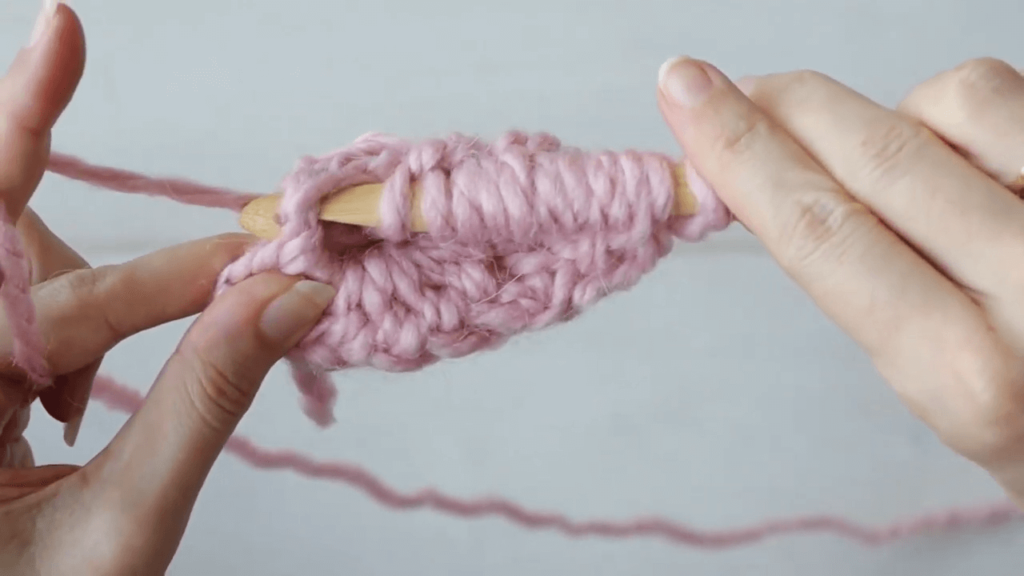
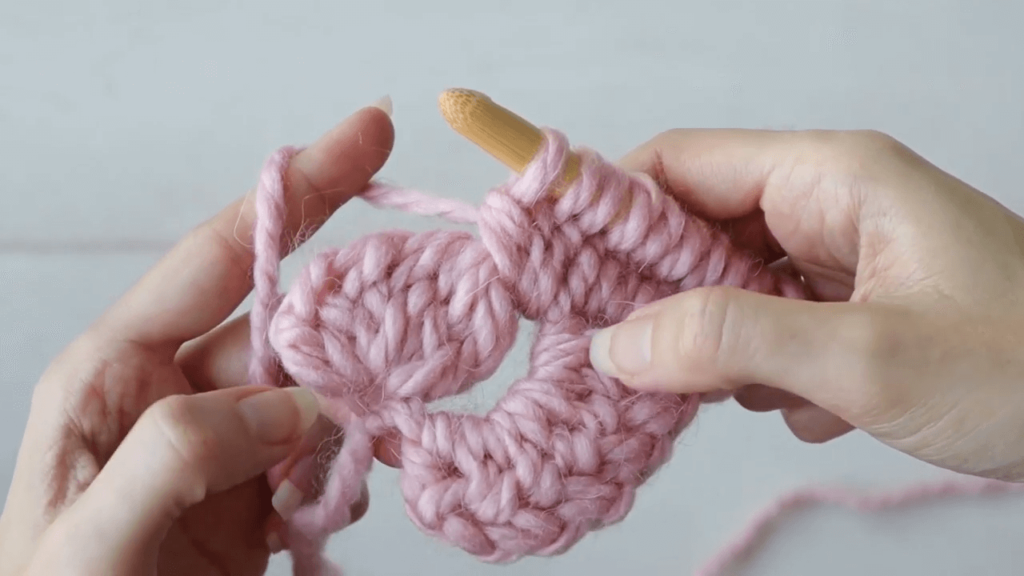
Set up row 1: skip the first 3 chs and make 6 unfinished double crochets into the first chain. To do this, yarn over, insert your hook to pull up a loop, yo and pull through two loops on your hook but don't work the remaining 2 loops on your hook. Repeat 5 more times until yo have 7 loops on your hook. Yo pull through 1, (yo, pull through 2)x2 until you have 5 loops left, yo and pull through all 5 loops on your hook.
Set up row 2: ch1 and pull it really tight, then chain 2 and turn to begin working on the back side of your braid. Into the skipped ch 3 from prev row, make 6 unfinished dcs. Then, come around to the front and work one more unfinished dc around the ch sp bewteen your current and previous clusters. With 8 loops on your hook, yo, pull through 1 (yo, pull through 2)x3 until you have 5 loops left. Yo and pull through 5 loops on your hook.
Row 3: ch1 and pull it really tight, then chain 2 and turn to begin working on the front side of your braid. Into the turning ch 3 space from prev row, make 6 unfinished dcs. Then, work 3 more unfinished dcs into the space just below, between your prev two clusters. With 10 loops on your hook, work one more unfinished dc around the ch sp between your prev two clusters. With 11 loops on your hook, yo, pull through 1 (yo, pull through 2)x6 until you have 5 loops left. Yo and pull through 5 loops on your hook.

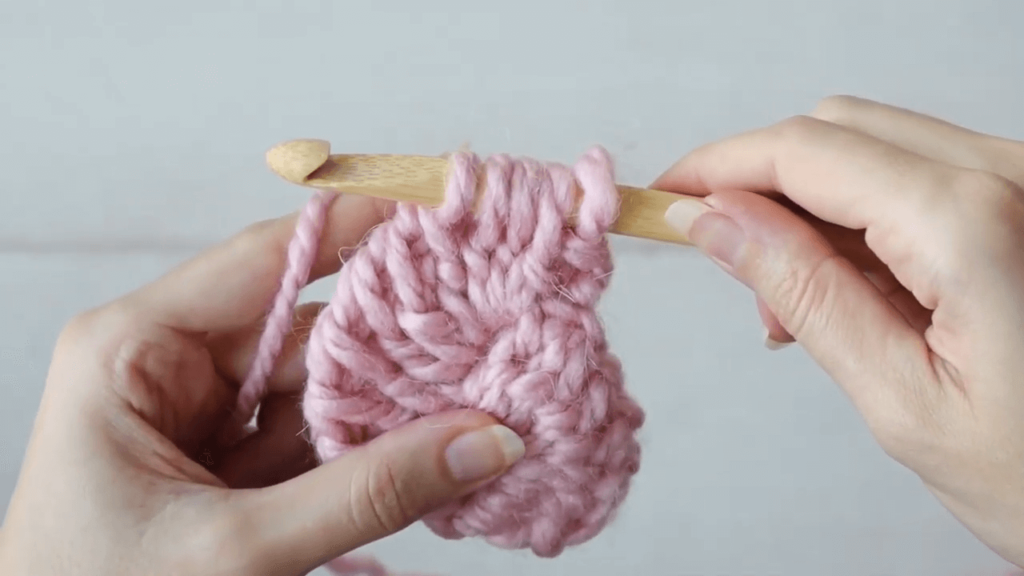
Row 4: ch1 and pull it really tight, then chain 2 and turn to begin working on the back side of your braid. Into the turning ch 3 space from prev row, make 6 unfinished dcs. Then, work 3 more unfinished dcs into the space just below, between your prev two clusters. With 10 loops on your hook, come around to the front of your work and work one more unfinished dc around the ch sp between your prev two clusters. With 11 loops on your hook, yo, pull through 1 (yo, pull through 2)x6 until you have 5 loops left. Yo and pull through 5 loops on your hook.
Repeat rows 3 and 4 until your piece measures about 21 inches (54cm).
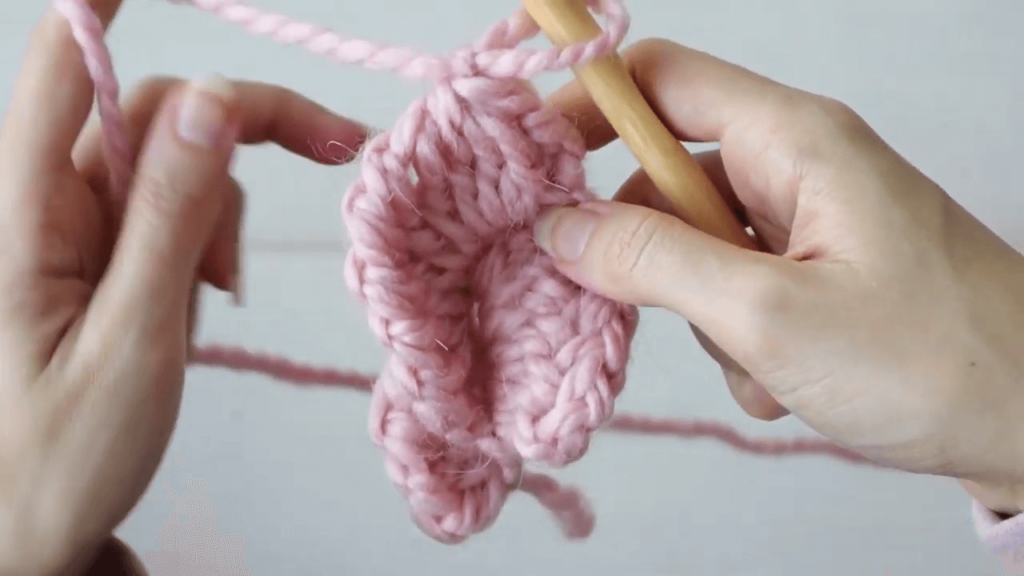
To complete your braid, on the next right side row,
Seam the two ends of our braid together, slightly overlapping the first edge and the final edge.
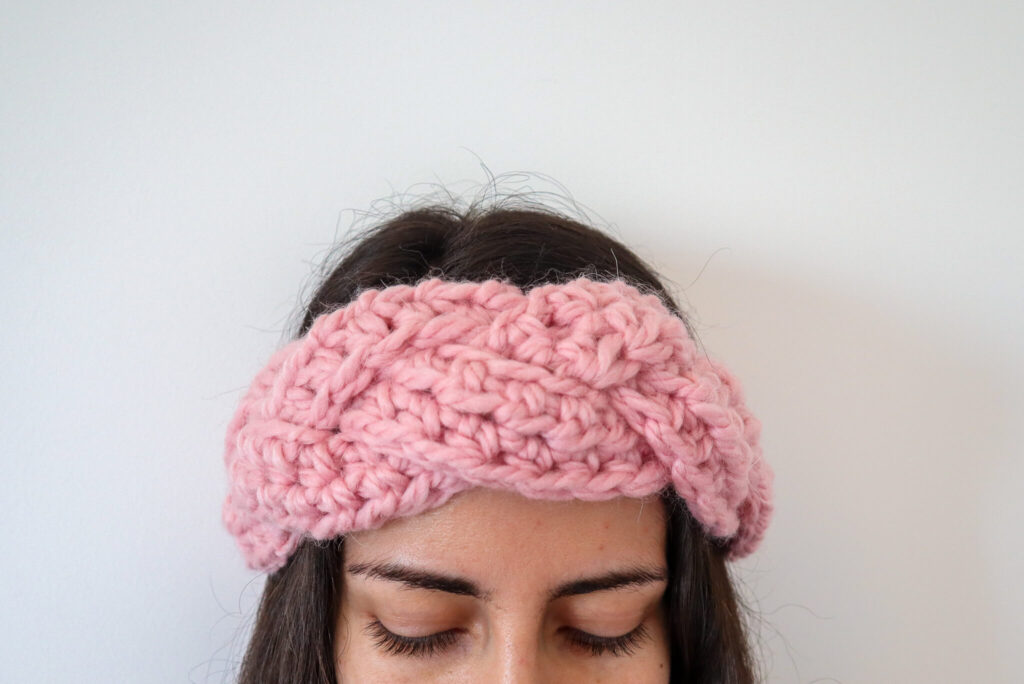
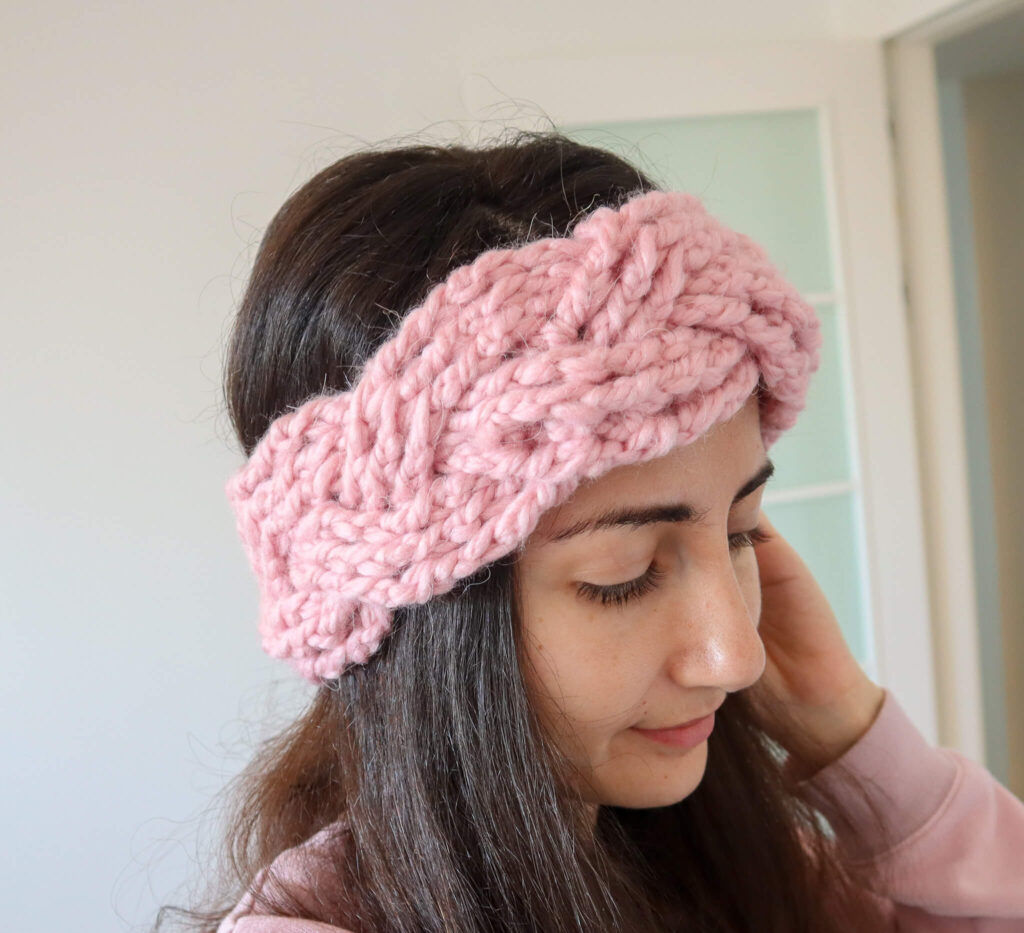
There you have it!
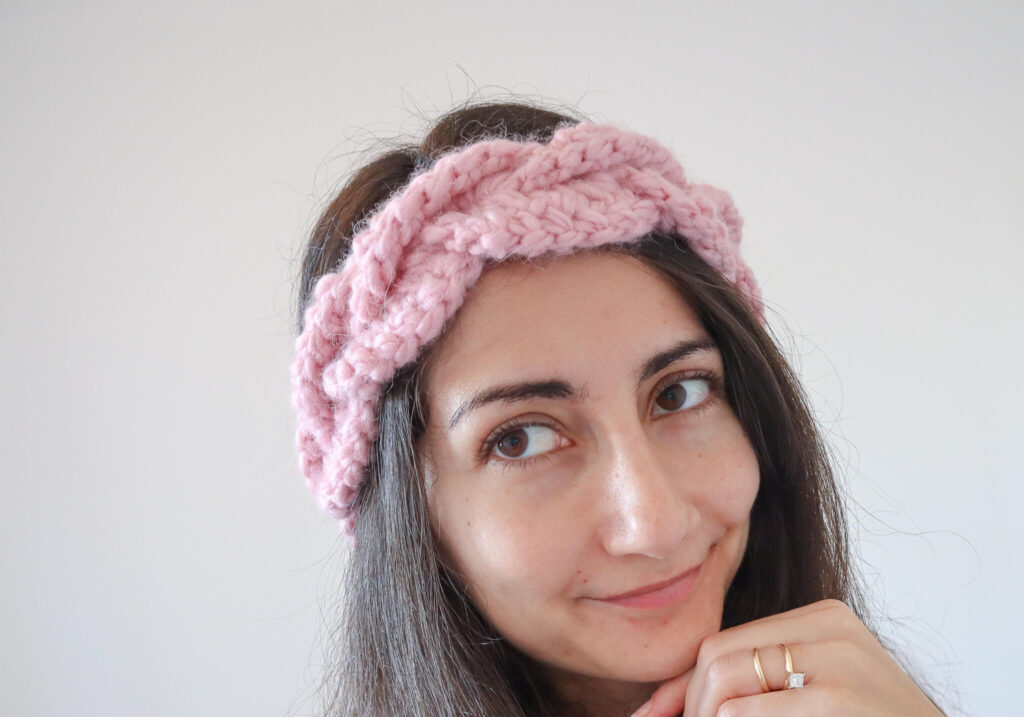
I hope you enjoy these three completely different ways to crochet braids! Be sure to check out the video tutorial because there was some tricky stuff in these patterns and some things are just better demonstrated, right?!