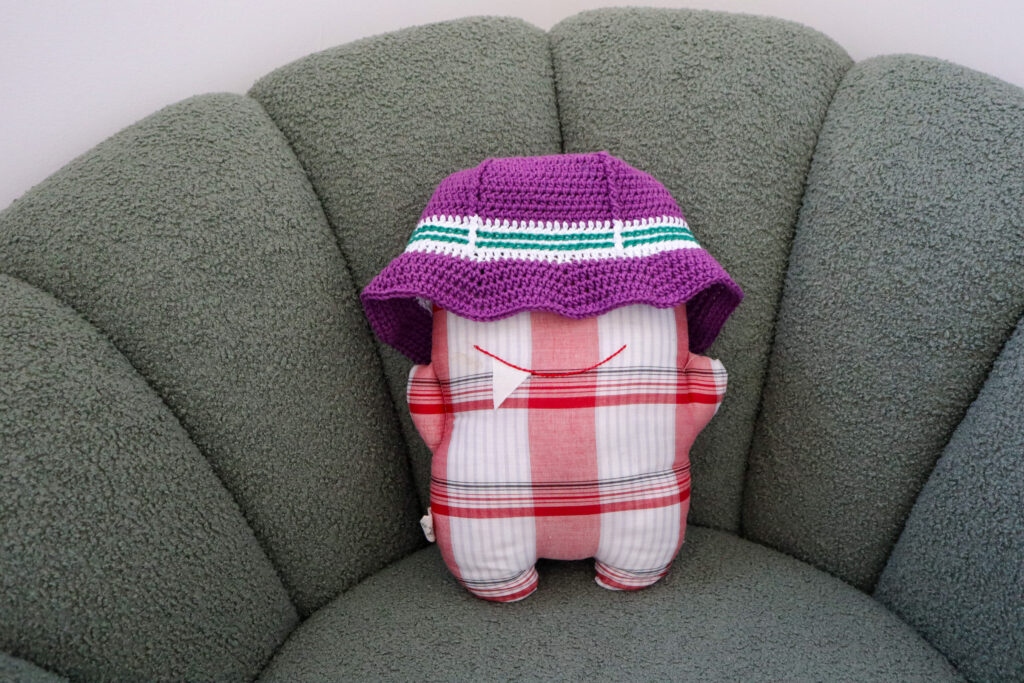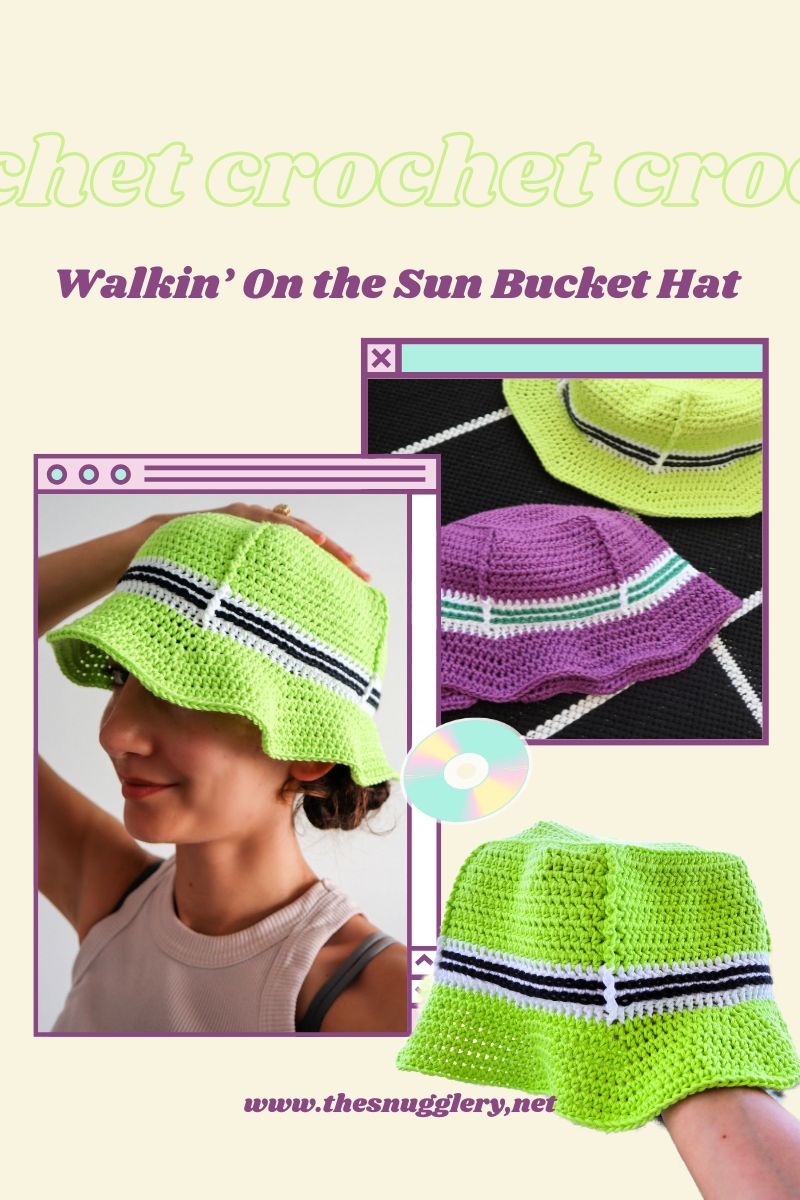
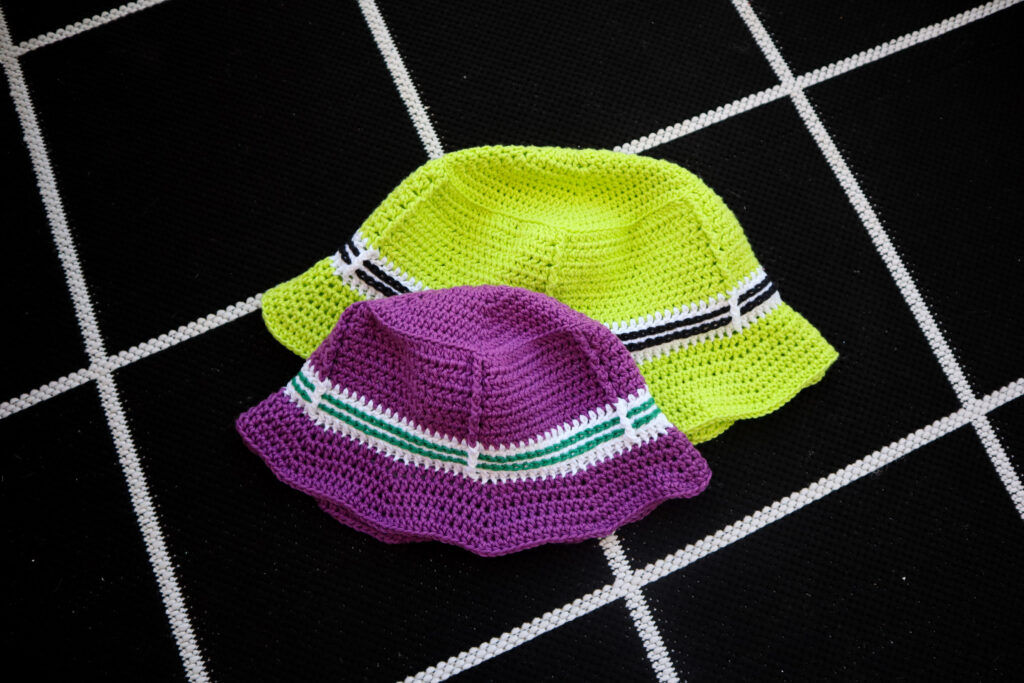
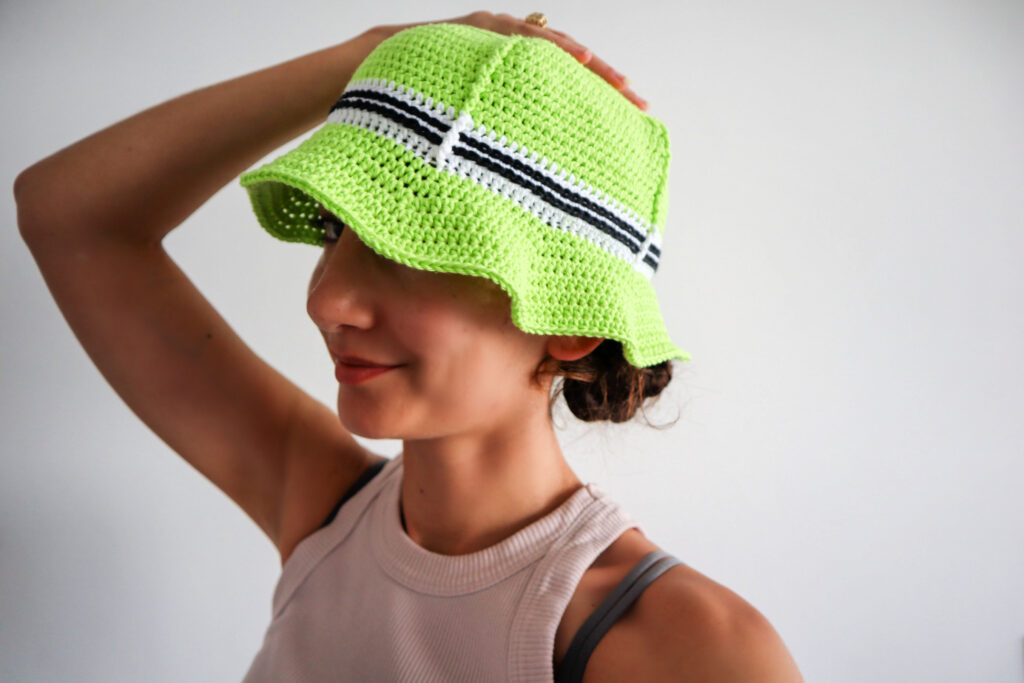
I'm excited to share with you my 90's inspired, "Walkin' on the Sun" bucket hat. Its bold, graphic stripe and contrasting colors make me feel like I'm watching a smashmouth MV on TRL! The way I made it also makes it a really fun pattern to crochet. I bet you'll love its top-down construction and that it has the flexibility to use any yarn weight! (stash buster, anyone?)
Materials:
- Less than 100 grams of yarn (I opted for a category 3, weight DK cotton yarn from Ice Yarns, namely their "Baby Cotton")
- A small bit of two additional colors for stripes
- Two crochet hooks that are 1mm apart (For my project, I used a 3.5mm E hook and a 4.5mm G+ hook. Adjust based on your yarn choice)
For visual learners: Don't forget to check out the video tutorial!
Starting with the Crown
- Begin by creating a magic circle using the smaller hook. Tip: I form my magic circle with a loose slipknot.
- Chain one to fasten onto the magic circle, then half double crochet (hdc) directly into the circle.
- Continue adding hdcs into the circle until you have 15 in total. Tighten the circle to close the hole and finish the round with a slip stitch into the first hdc.

Round 2:
- Chain 1 tightly (this won't count as a stitch). The loop on your hook will be a part of our first hdc.
- Work the first hdc into the same stitch you just slip-stitched into.
- Work 1 hdc, 1 double crochet (dc), and another hdc all into that same stitch.
- Proceed with 1 hdc in the next stitch, and another hdc in the stitch after.
- Repeat the sequence: 1 hdc, 1 dc, 1 hdc in one stitch, followed by 2 hdcs in separate stitches. Continue this pattern until the end of the round. You'll end up with 5 dcs.
Round 3:
- Start with 1 hdc in the initial stitch.
- In the next stitch, which is the dc from the previous round, work the corner sequence: 1 hdc, 1 dc, 1 hdc.
- For the stitches in between, add 1 hdc in each until you reach the next dc. In that dc, repeat the corner 1hdc, 1dc, 1hdc.
- Keep going, expanding your pentagon until your pentagon measures 4.5" for baby, 5" for kid, 5.5" for small adult and 6" for large adult.
Feel free to download/print the free PDF pattern below!
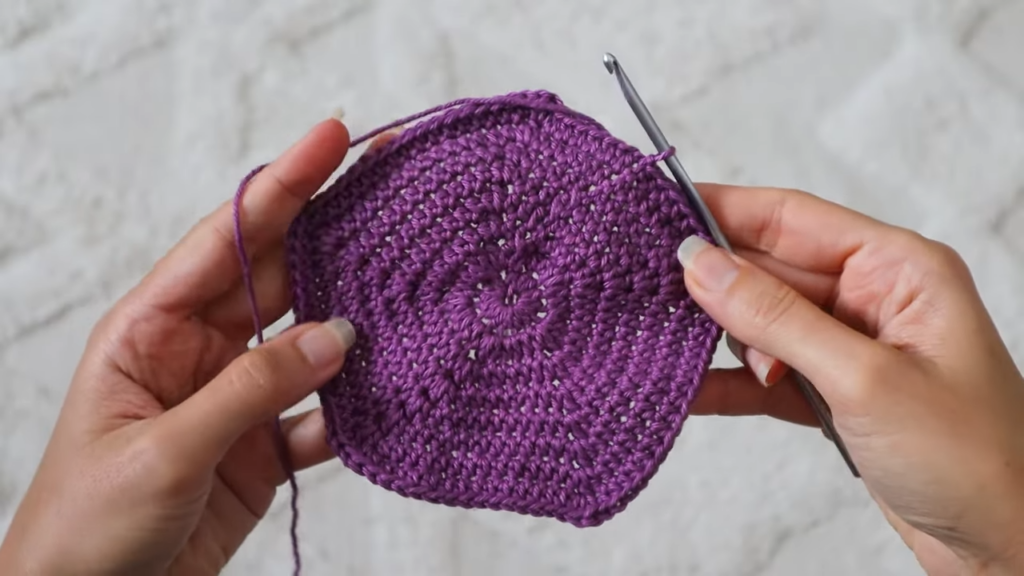
Once the pentagon reaches the desired size, swap to your larger hook. Now, it's time for a round without any increases, working only into the back loops. Working into the back loops of the stitches only helps differentiate the crown from the rest of the bucket hat and adds a chic ridge detail.
Body of the hat
For the body of the hat, we'll modify our hdc a little. Instead of working just under both front and back loops, we'll also work under the third bar created by the hdc stitch. It's akin to working between the hdc posts from the row beneath. You will also turn your work at the beginning of rounds.
Additionally, we'll work fp/bpdc (front post/back post double crochets) around the double crochets from the pentagon, switching between front post or back post in order to get the double crochet to pop out on the right side of the hat. Continue like this around and around and once the main body reaches about 2" from the back loop row for a kid's size (or 2.5" for adults), bring in your second color.
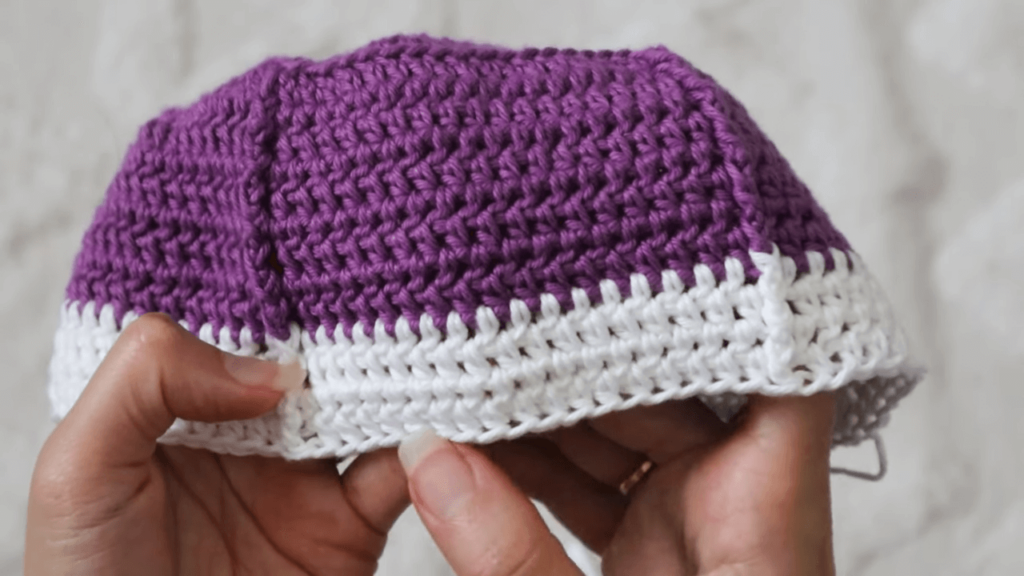
Fasten on with the new color, and don't cut your main color yarn just yet... we'll need it for the brim. Continue working in rounds in color 2 and maintain the fp/bpdc detail rows, turning your work and all that for a total of 4 stripe rows. and you can cut the stripe yarn after that.
The Brim
The brim needs a bit of counting and planning, since we can use any yarn weight. But once you've got your numbers, it's smooth sailing.
We'll need to count the stitches between dcs. So counting the first dc, count up to (but not including) the next dc. My number for this child size hat was 18. Then the math to do is multiply your stitch number by 5. and then divide by 10. So my special brim number is 9. We're gonna remember that and it will tell us how to space out the brim increases.
With the right side of the hat facing you, in the main color yarn, work 2hdc (increase) into the first stitch. Then work 1hdc in each of the next 8 sts, working into a total of 9 stitches from that math we did earlier. Make sure to change the stitch count to match your hat. Once you've worked into 9 stitches, do another increase and work 1hdc into each of the next 8 stitches again. Continue like that for a total of 10 increases in the round.
Continue working around and around to grow your brim and as you work, put an increase into the previous rows increase to maintain 10 increases each round until your brim reaches about 1.5" for kids and 2" for adults.
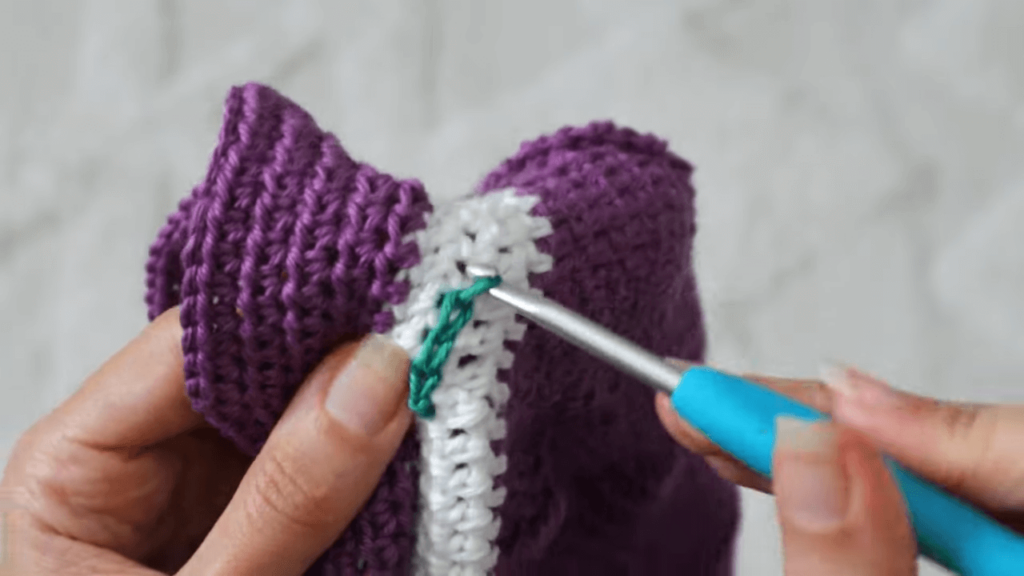
Lastly, we'll surface crochet a couple stripes in the middle of the chunky stripe on the hat. If you've never seen surface crochet before, its such an easy way to add details to crochet pieces after the fact! I encourage you to check out the video tutorial to see how it's done. Or check out my surface crochet blog post here.
And there you have it! Your very own '90s inspired "Walkin' on the Sun" bucket hat. Happy crocheting, and rock that vintage vibe!