The magic circle is a crochet technique that helps you create a tiny ring of stitches where you can draw the center closed, leaving virtually no hole. It's perfect for the tops of hats or the bottoms of baskets. The magic circle (also known as the magic ring) is an easy technique to master and you'll wonder how you started crochet circles any other way!
That being said, it can be a little tricky to wrap your head around. But, with this photo tutorial, I hope to demystify the magic circle for you once and for all so you can reap all it's magical benefits.
And if you want to see the magic circle in action... I did a full video tutorial for this very crochet technique. You visual learners can find the video here:
How To Crochet The Magic Circle
If you know how to crochet the basics, I'm betting you're already familiar with a slip knot. Well, you can think of a magic loop as simply a loose slip knot. You'll begin your magic circle much the same way as a slip knot.
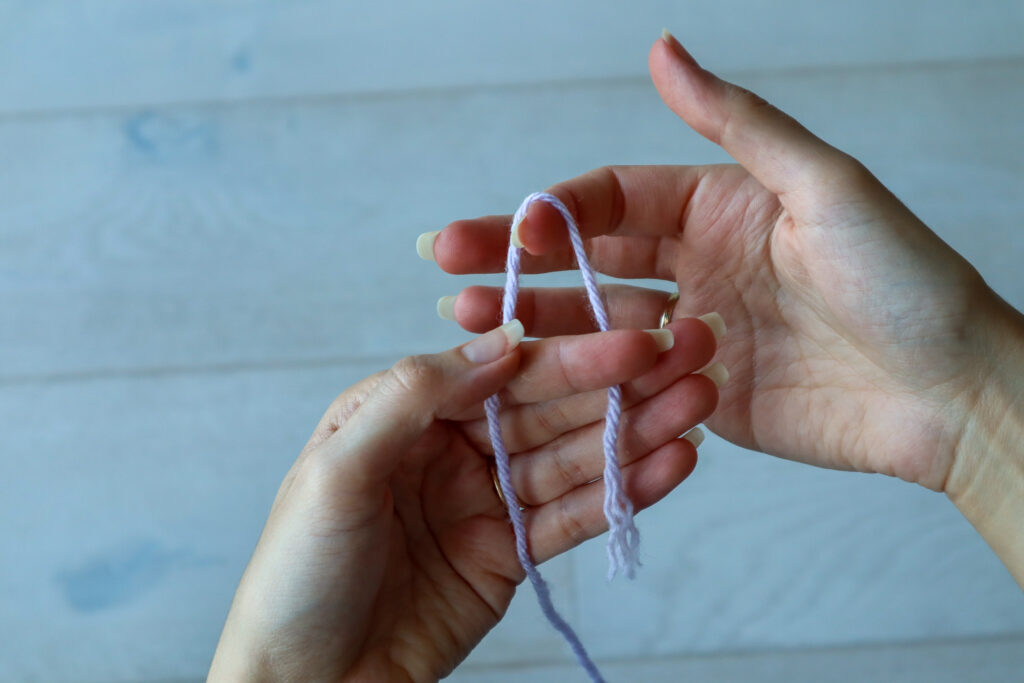
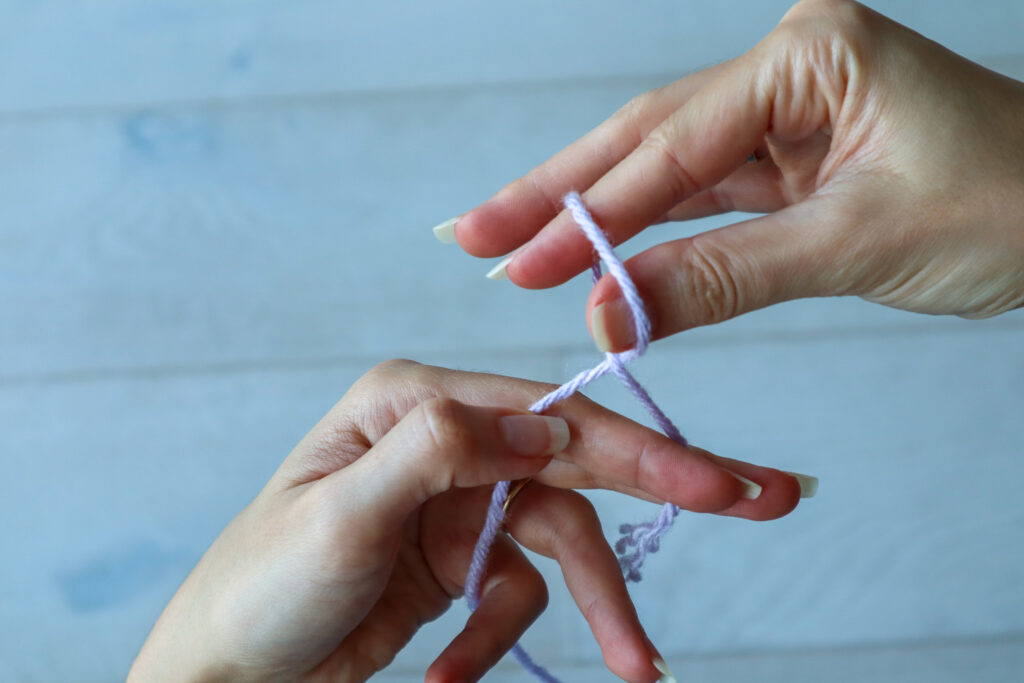
I like to fold the tail end of my yarn in half, then twist it once towards me to make a little loop with a crisscross
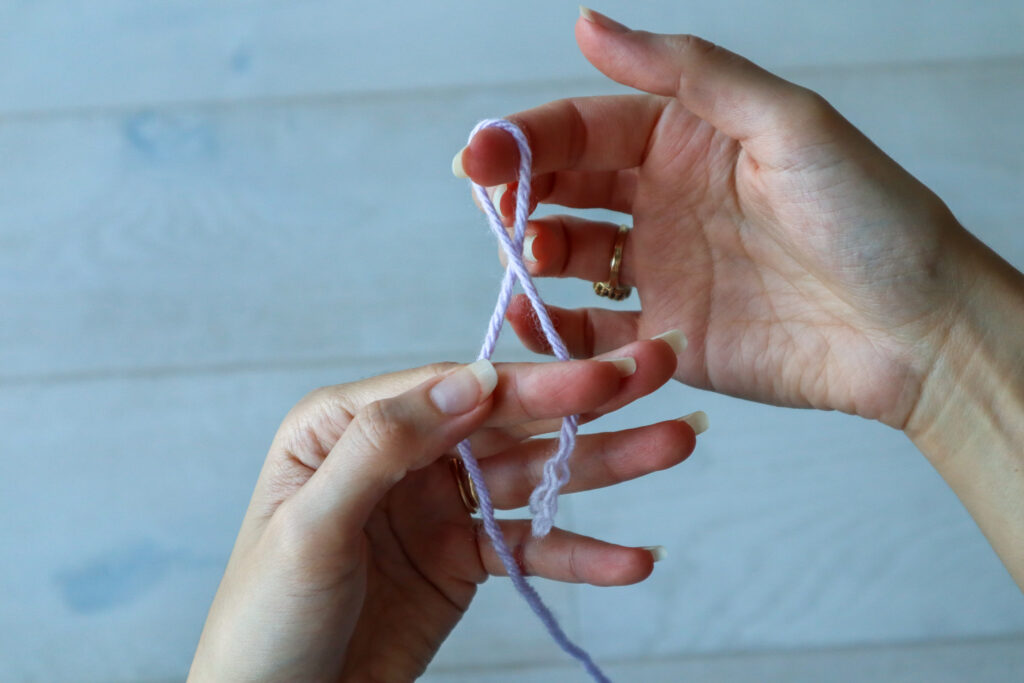
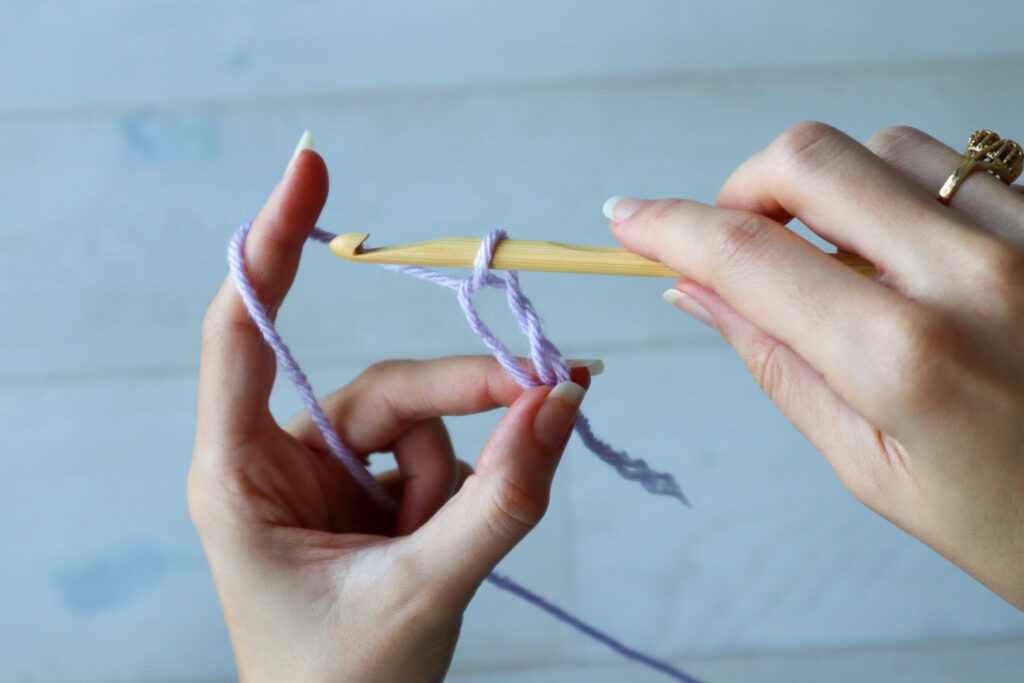
Then, you can reach your thumb and index finger into the loop and grab the working yarn (not the tail) between your fingers and pull it through your loop.
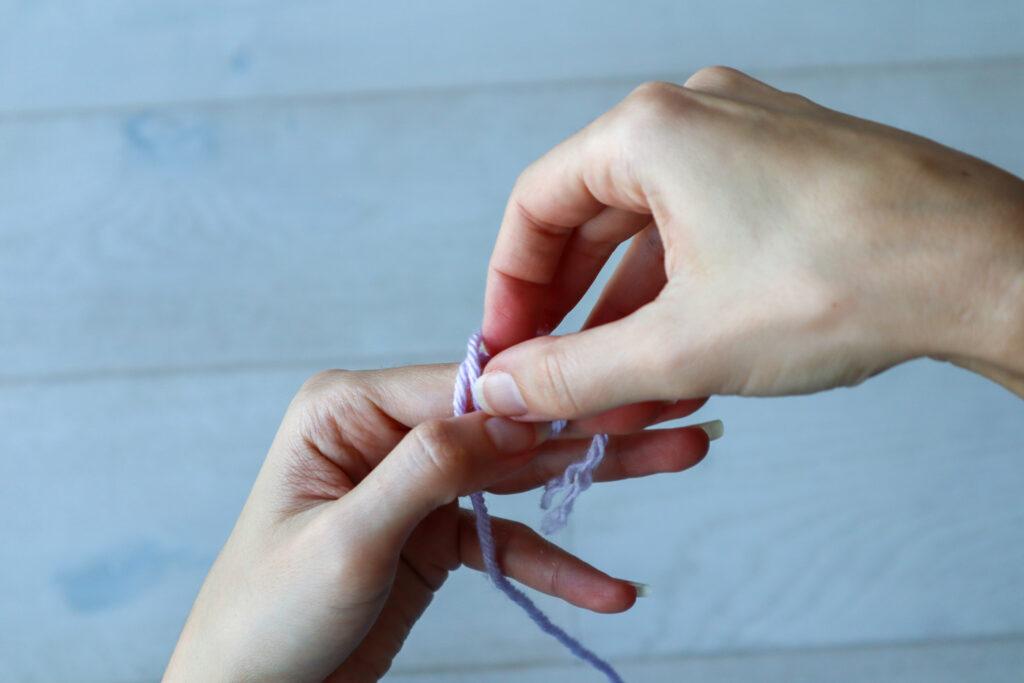
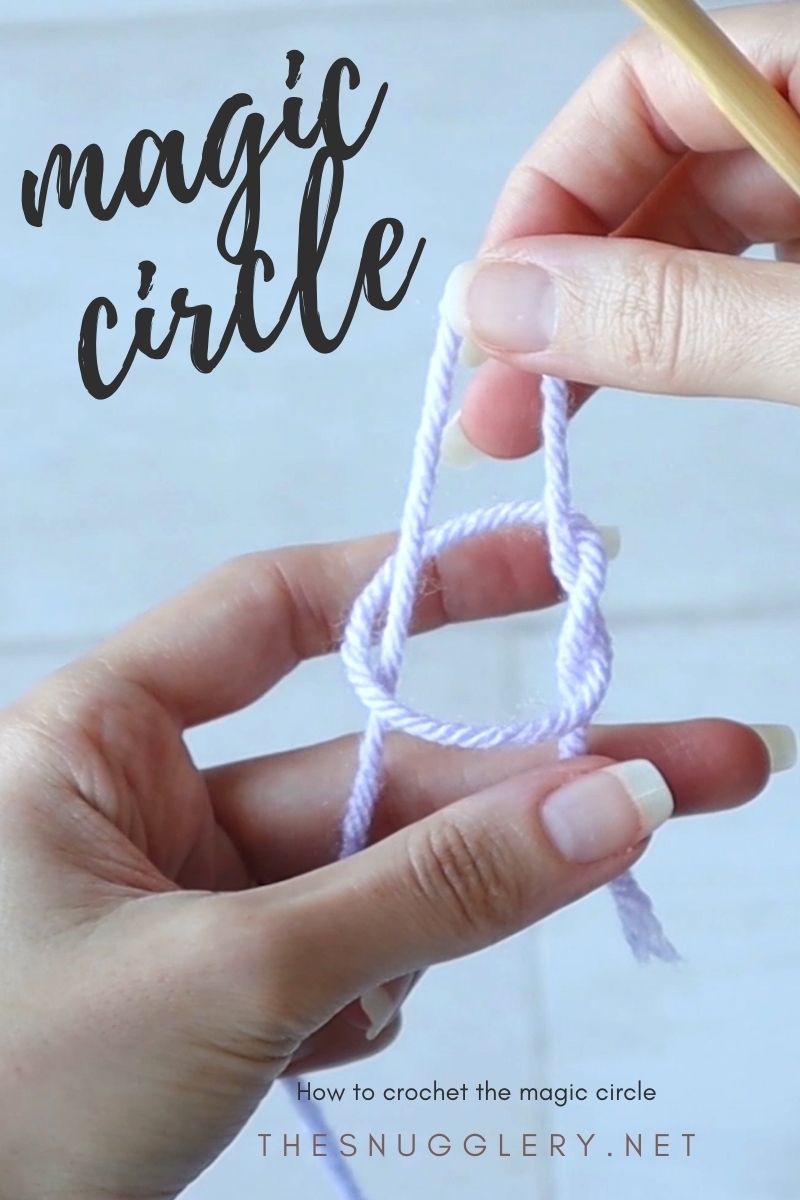
Then, when you've pulled your working yarn through your little loop, you may be inclined to pull it tight, like a slip knot.
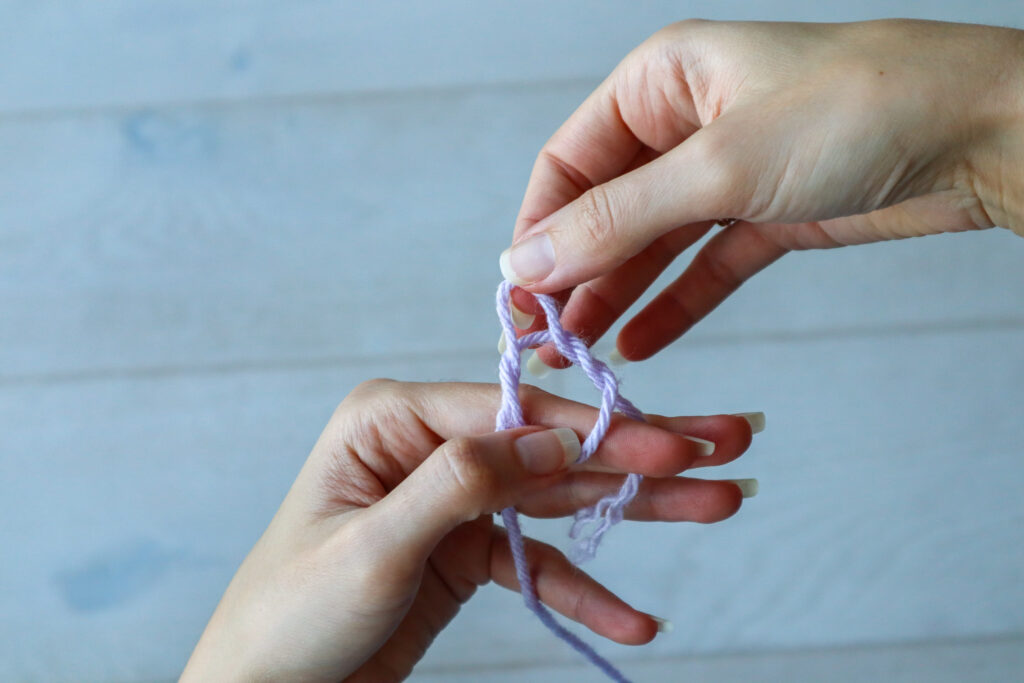
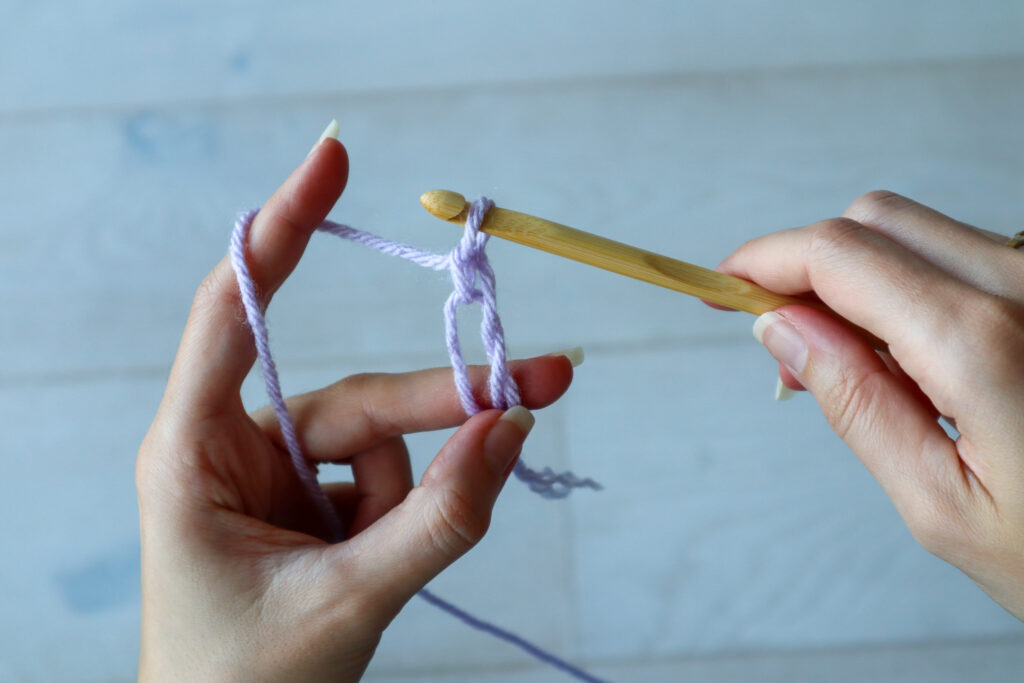
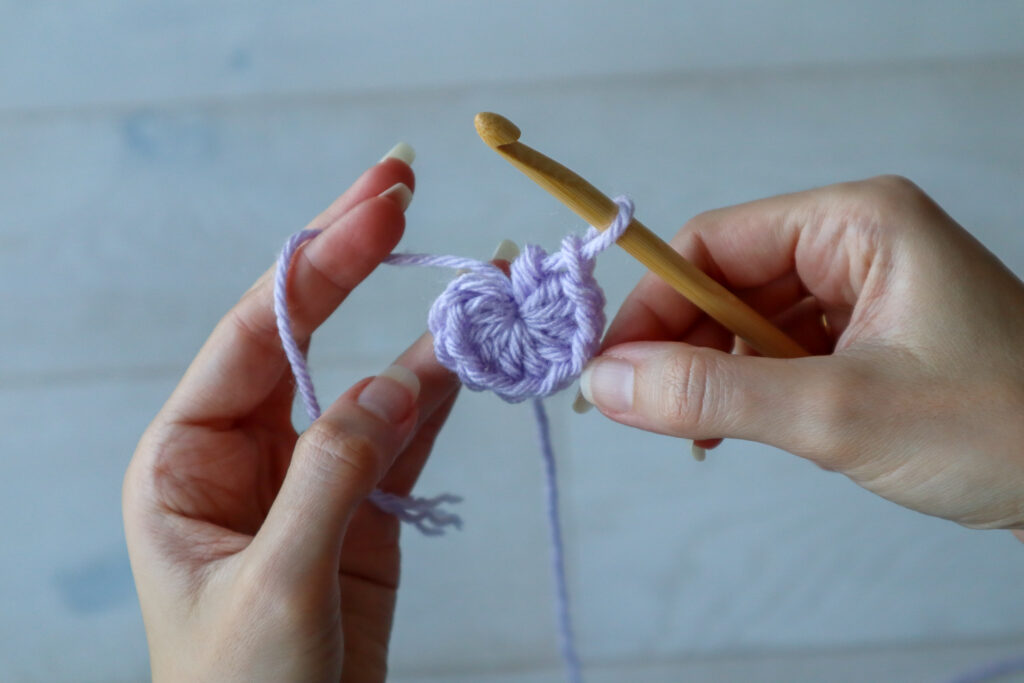
But, if you don't pull it tight, that's your magic circle! The top, little loop is where you'll insert your hook. And the large bottom loop is the magic circle that you'll work your first round of stitches into.
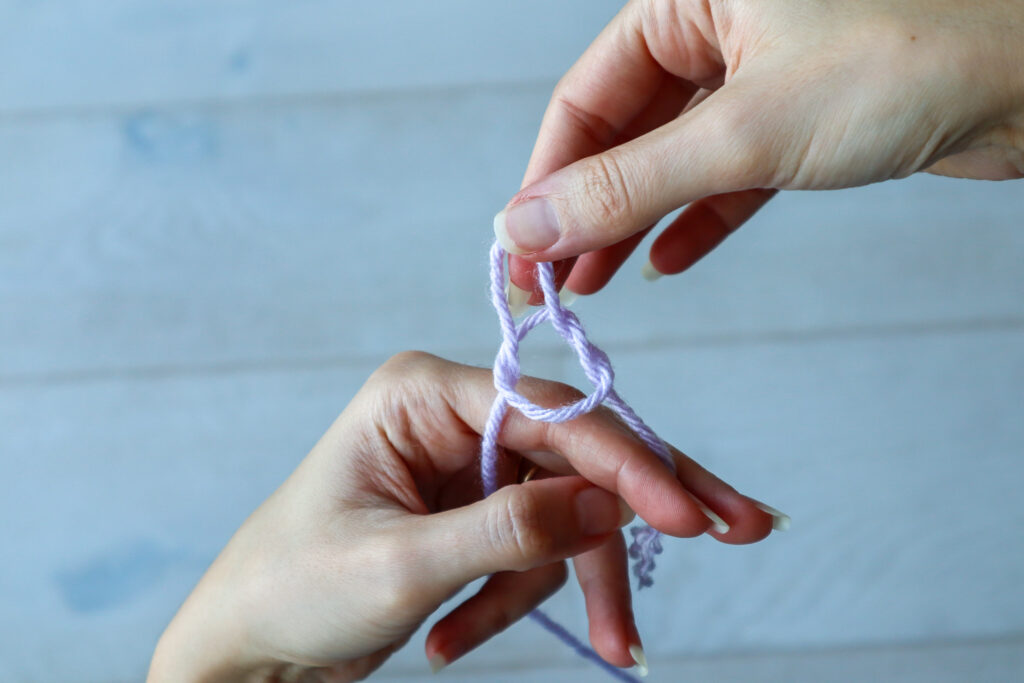
Then, you can insert your hook into that little top loop.
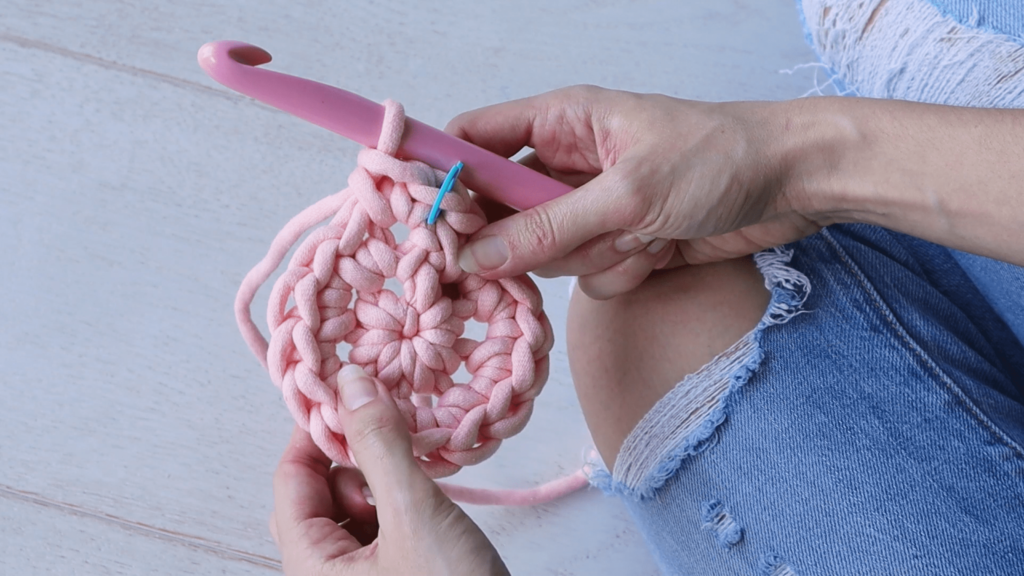
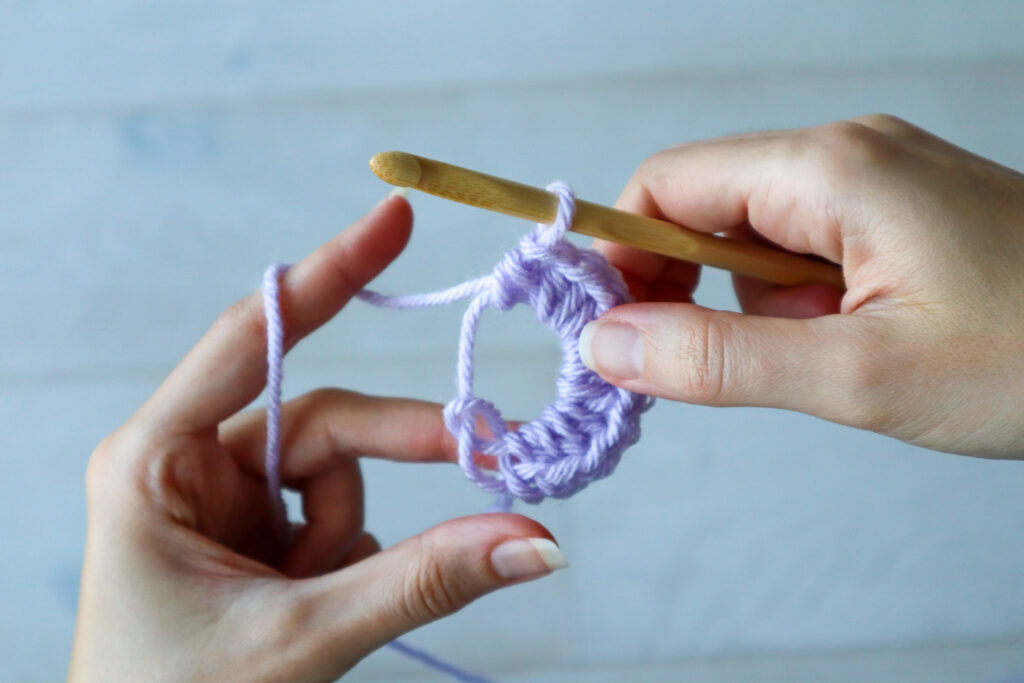
And begin your first round of stitches, worked right into the magic circle.
Finally, it's time for THE MAGIC! Pull on your tail strand and the circle you've been crocheting into will draw closed like a little drawstring.
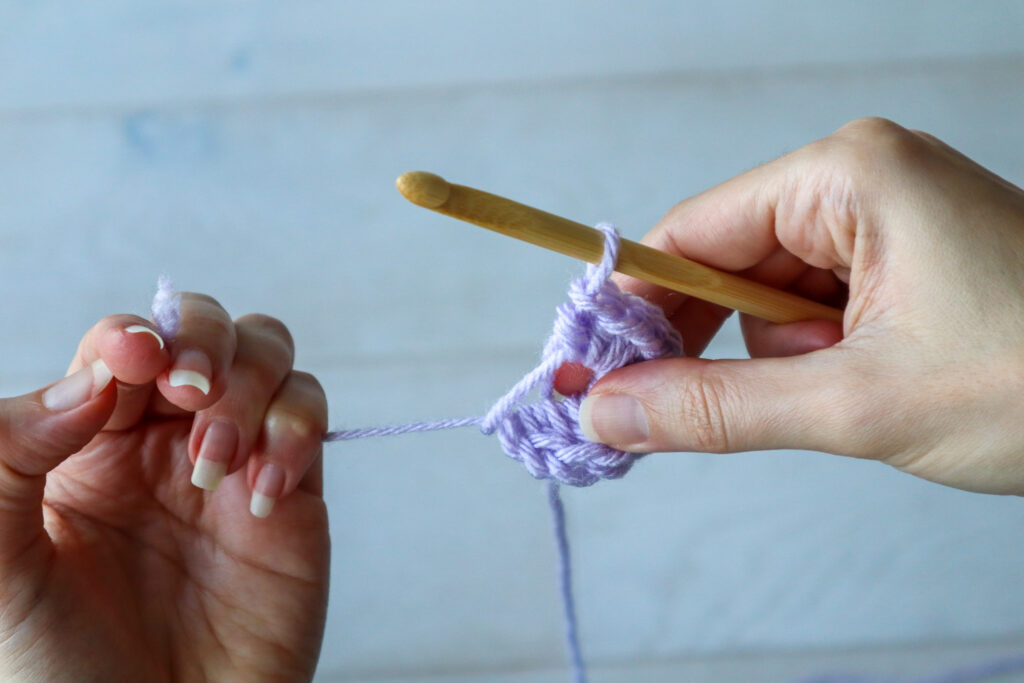
And you're left with a perfect, tight ring of stitches just waiting to be the top of a new crochet hat!
There you have it! I hope you enjoyed this step by step magic circle photo tutorial. If this demystified the magic circle for you, let me know! Drop a comment on the YouTube video if you found it helpful.
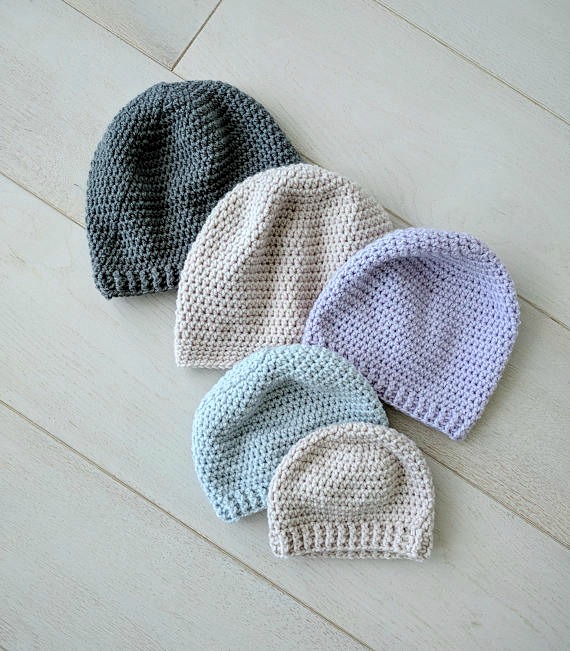
And if you're looking for a top-down hat pattern that really benefits from a magic circle, you might like my Perfect Half Double Crochet Beanie pattern with sizing for the whole family!
More Guides
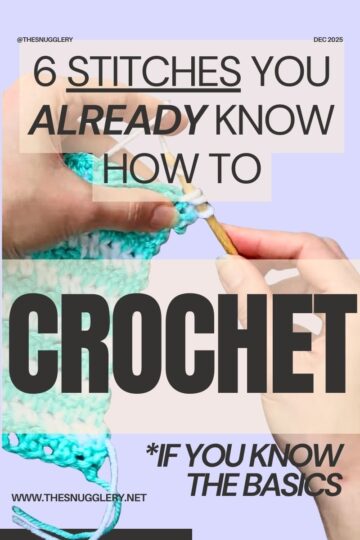
- 6 Crochet Stitches You ALREADY Know (If You Can Make Single, Half Double, And Double Crochets)
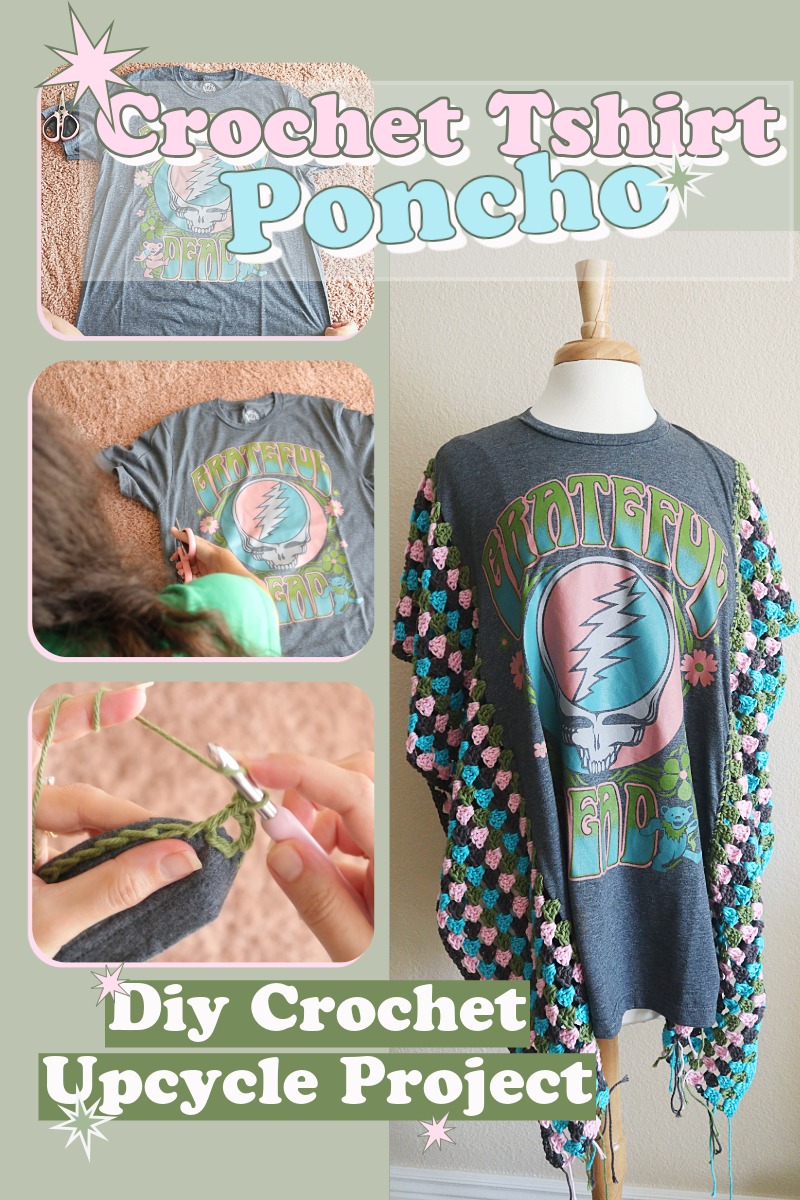
- DIY Crochet T-Shirt Poncho – Upcycle an Old Tee into Festival-Ready Style
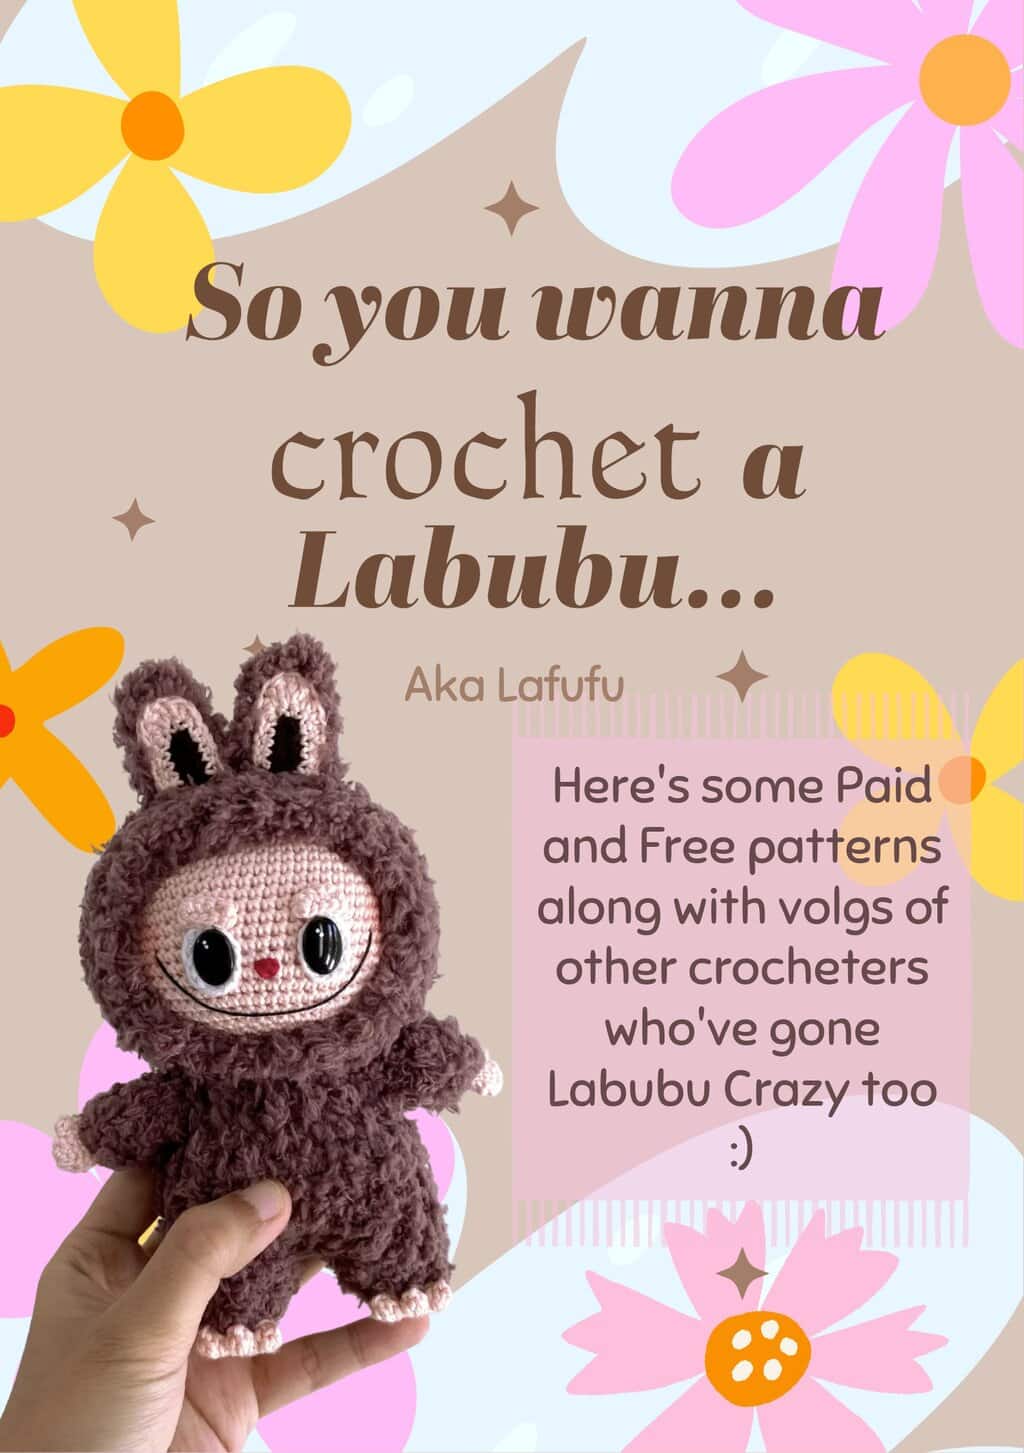
- Are You Really Gonna Crochet A Labubu? - Paid, and Free Patterns To Help You On Your Lafufu Journey
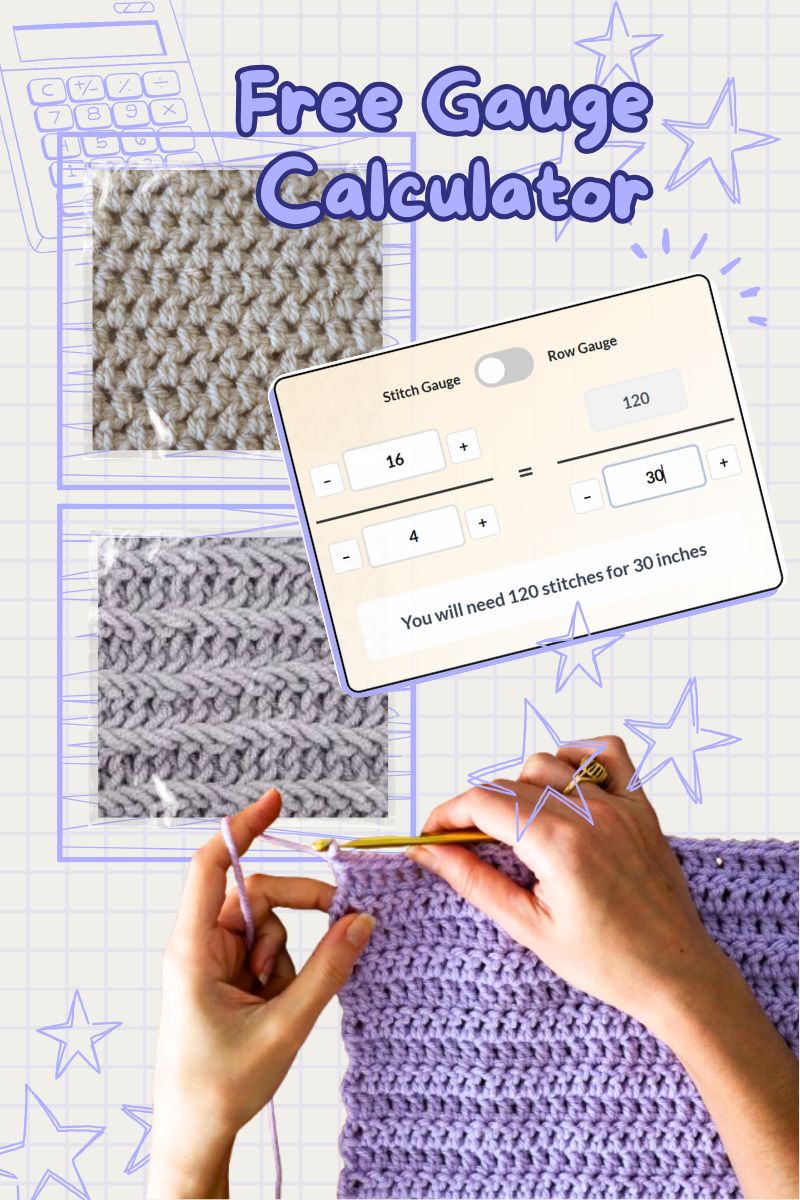
- Free Gauge Calculator: Your Key to Pattern Matching AND Creation
I am 79 years old and have been knitting and crochet since before I went to school. This is one of the nicest MAGIC CIRCLE explanation I have ever seen. My Mom Aunt could do anything with a needle and her Uncle was a Master Tailor. And I took after him I have my Master in Men Tailor but I still do my Knitting and Crocheting allso.