It seems yarn just keeps getting fluffier, fuzzier AND chunkier these days... and I'm here for it!
However, if you've tried to knit with some of these yarns like Lion Brand's Go For Faux or Loops & Threads Faux Fur, you may have noticed that it can be hard to achieve any stitch definition, much less be able to even see any stitches at all! Well, with the right technique, it IS possible to create a stunning ribbed corduroy texture, perfect for a cozy pillow cover.

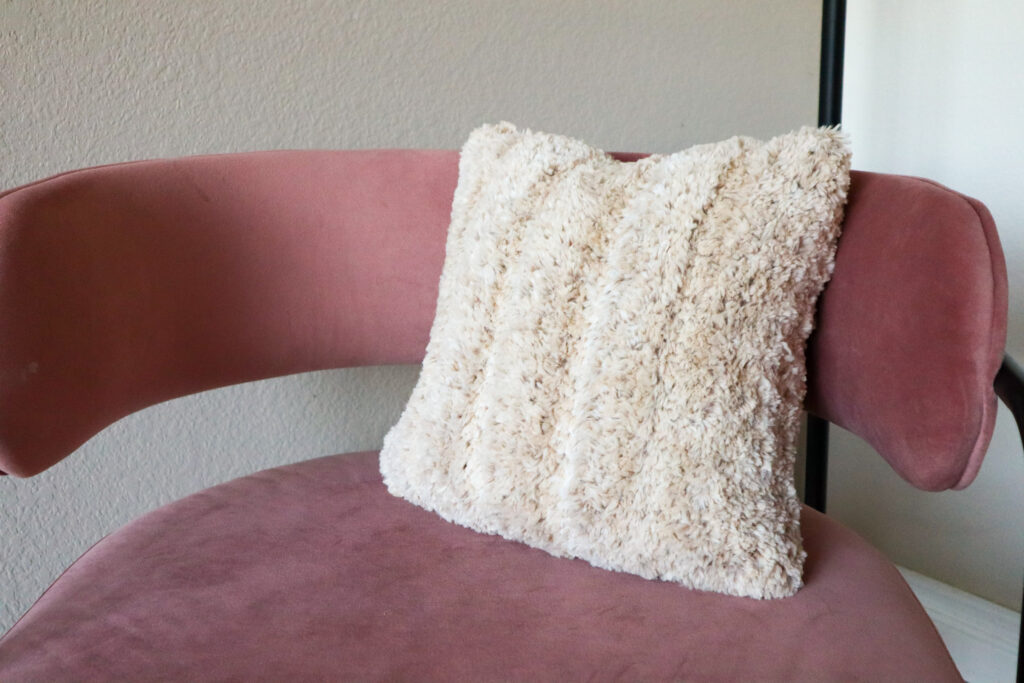
The inspiration
The pattern
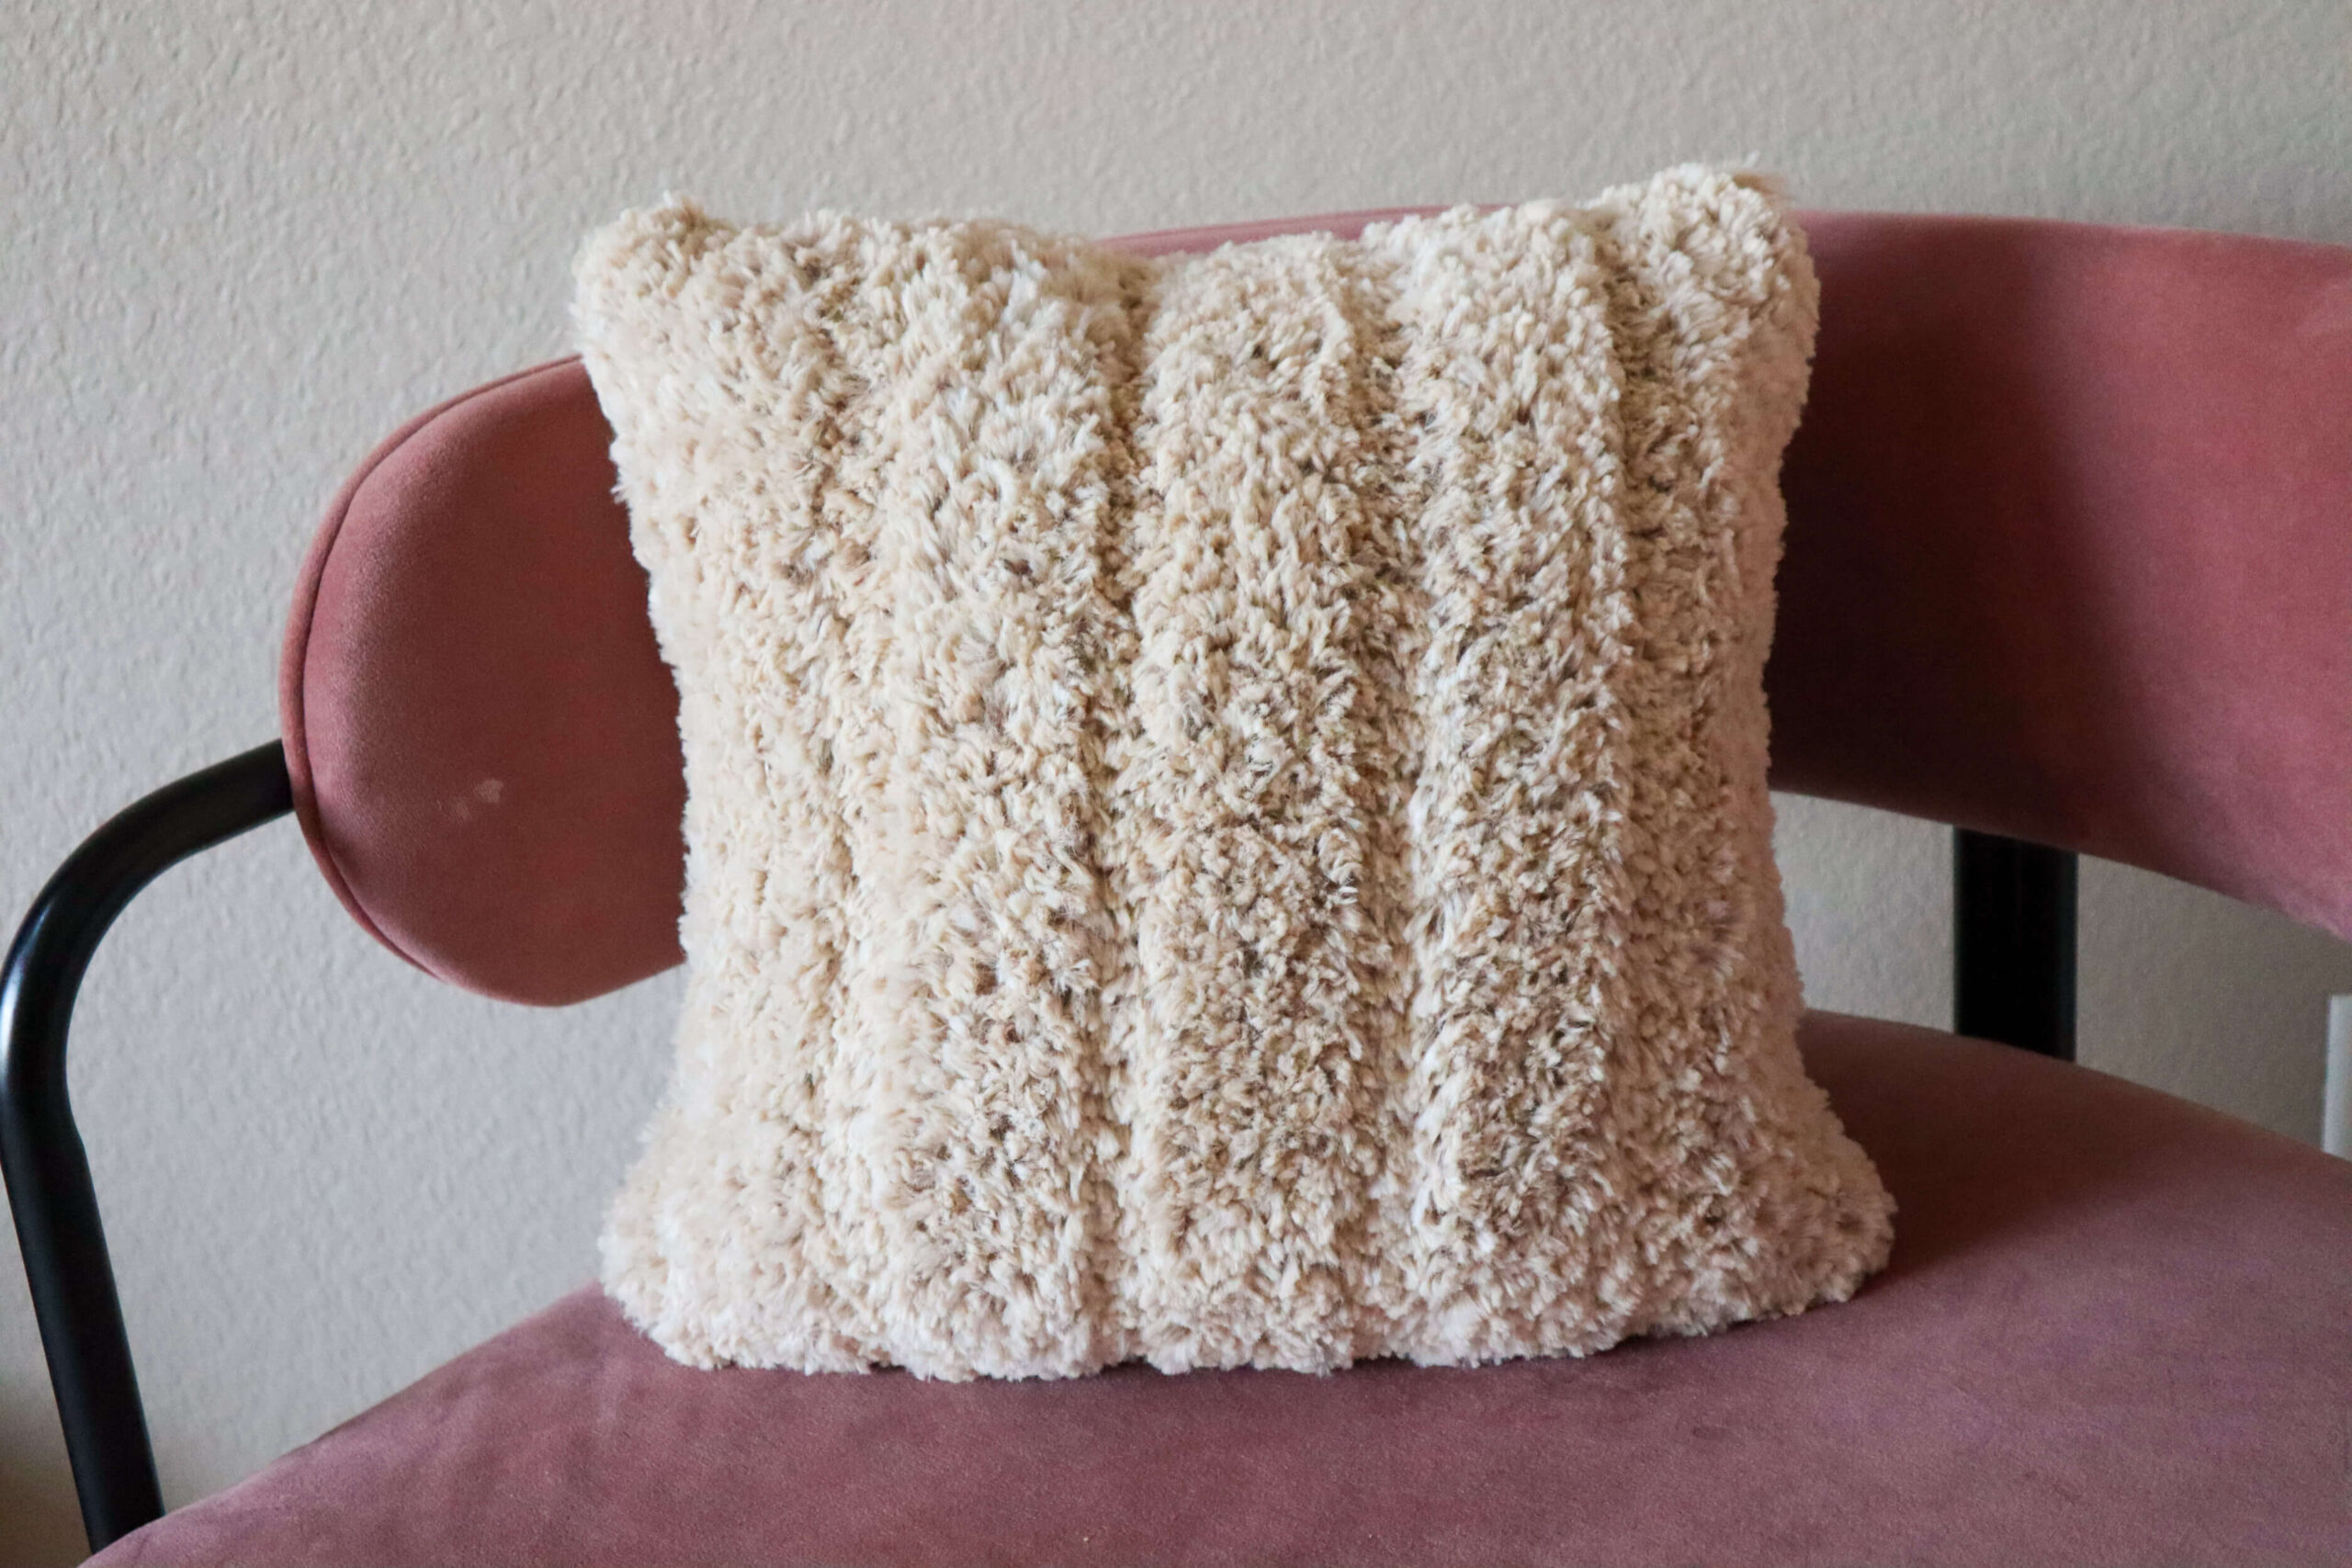
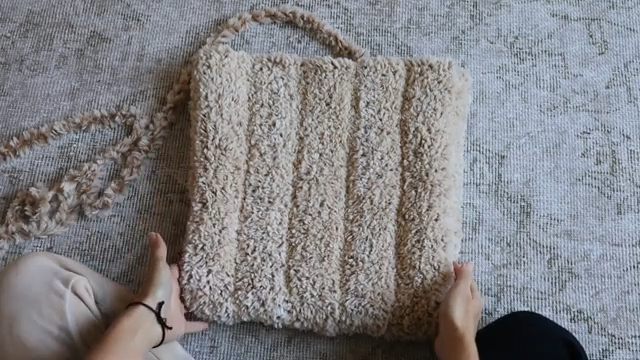
This blog post will guide you through the pattern for this chunky ribbed pillow cover which utilizes a technique I like to call "super ribbing."
And for visual learners, enjoy a quick video tutorial as well!
The Concept: Super Ribbing
Super ribbing is a stitch pattern that exploits the natural tendency of stockinette stitch to curl. This creates distinct peaks and valleys, allowing even the fuzziest yarns to showcase a ribbed texture.
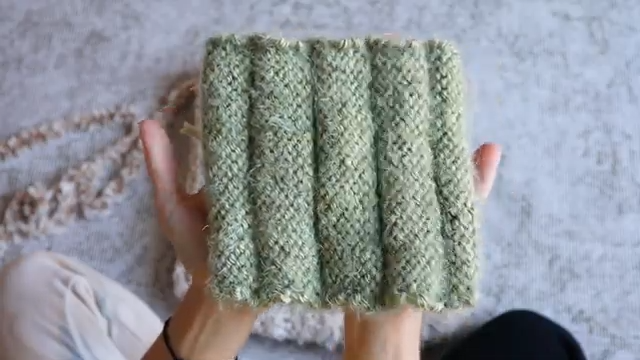
The idea is to alternate thick sections of purl stitches (reverse stockinette) and thin sections of knits (stockinette). By reversing your stockinette this way, you get the effect of ribbing but one that is 3D enough to show through all the fluff.
Materials Needed

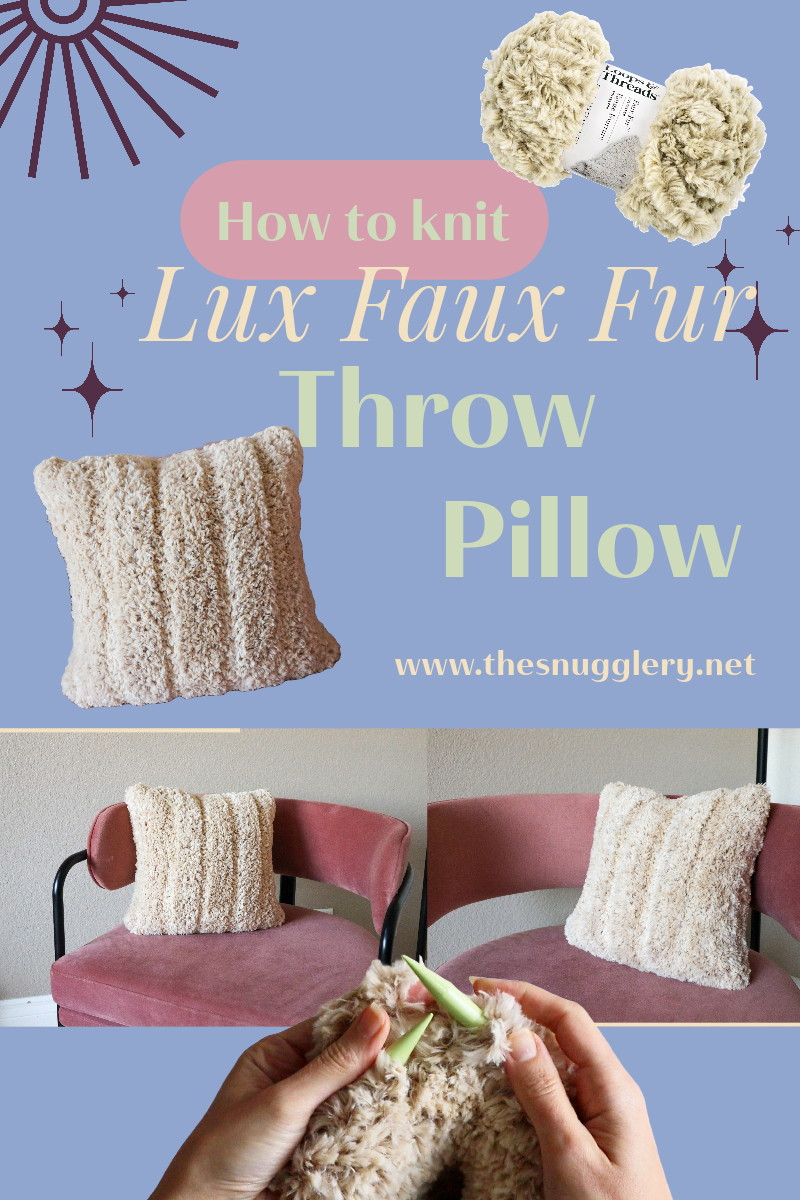
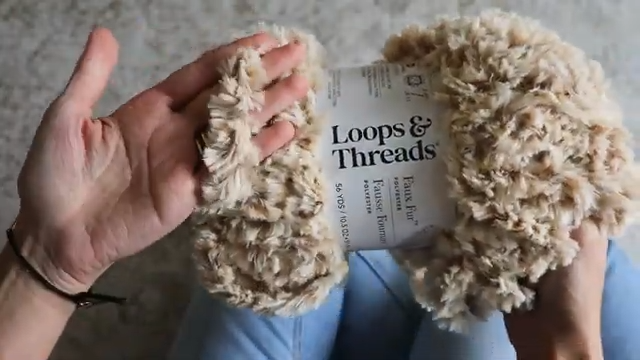
Yarn: You'll need a super bulky faux fur yarn like Loops & Threads Faux Fur I used 2 balls for my pillow!
Lion Brand Go For Faux Thick & Quick is a suitable alternative as well as Knit Picks Fable Fur and King Cole Tufty Chunky
Needles: 10mm knitting needles are recommended.
Pillow Form: The size can vary, but it's best to knit the cover first (since we can't really count our stitches for a gauge swatch) and then buy a pillow form that is either the same width or 1 inch smaller than your cover. Usually, we want a pillow form that is slightly larger than our cover, but not in this case. Overstuffing your pillow will cause the fabric to stretch and flatten out our beautiful ribbing!
The Stitch Pattern
- Cast On: Start by casting on any number of stitches. For my 12x12 inch pillow, I casted on 21 stitches and your gauge might vary slightly. See the not above about Pillow Forms!
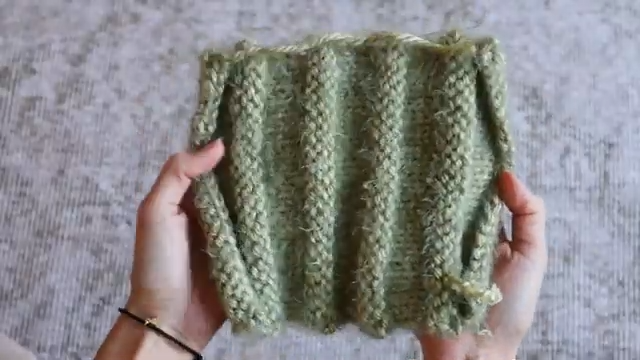
- Starting Rows: Begin with a right side row, purling. The first several rows should be in reverse stockinette stitch (purling on the right side, knitting on the wrong side).
- Creating Texture: After about six rows, on the next purl side (right side), do a knit row instead. Then purl on the next wrong side, and knit on the following right side. This alternation begins to form the ribbing effect.
- Continuation: After getting about 3 rows of knits on the "right side," switch back to knits on the next wrong side, so that reverse stockinette shows up on the right side again and do that for another 6 rows of reverse stockinette on the right side. Keep alternating these thicker purl sections with thinner knit sections. This creates the rippling, wavy texture characteristic of corduroy.
Crafting the Pillow Cover
- Dimensions: Knit until the piece is twice as long as it is wide. Bind off in the middle of a thin knit section.
- Assembly: Fold the piece in half and seam up two sides. Insert the pillow form and seam up the top.
Seaming Technique
- Method: With yarns like these, any seem will be invisible! So I simply whip stitched mine together (just using a strand of yarn to seam around and around the edge). A crochet hook can come in handy.
- Finishing: Once you reach the end, tie off the yarn and hide the tail inside the pillow for a neat finish.

Final Thoughts
It's fun to finally see some different textures show up in these fluffy faux fur yarns. The super ribbing technique is versatile and can be adapted for other projects, like blankets. Try this method with different fluffy yarns for varied textures and effects.

Don't forget to share your creations and experiences with this pattern, whether you're gifting it or keeping it for yourself. Happy knitting!