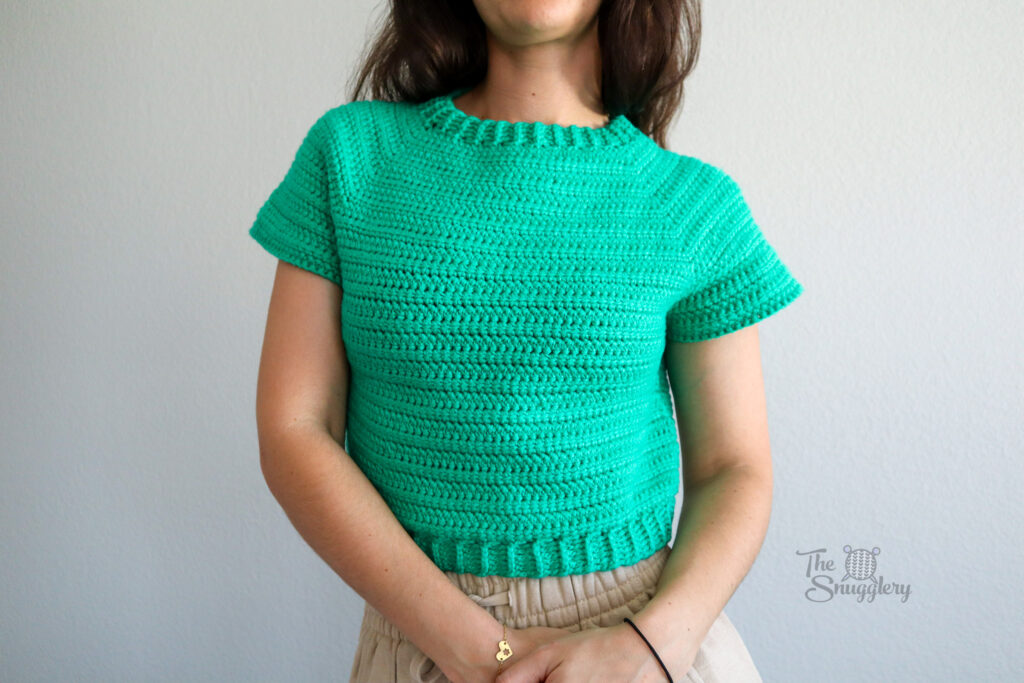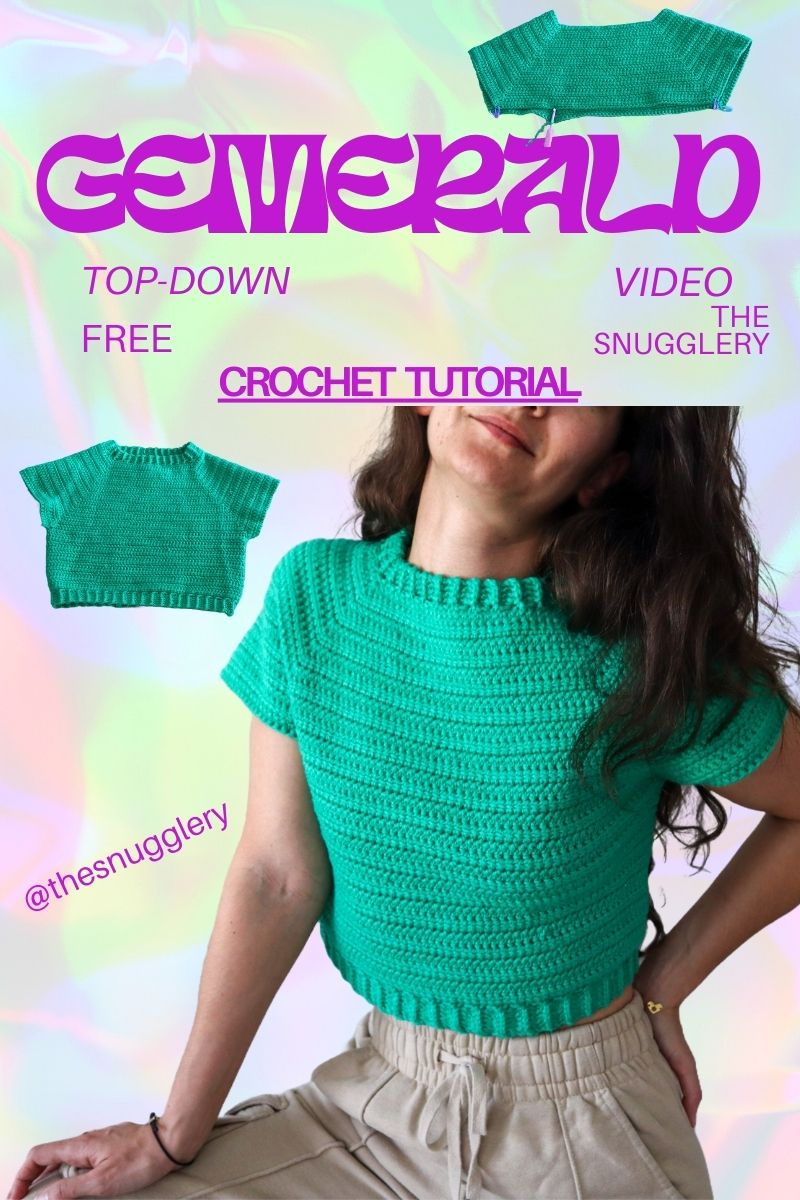
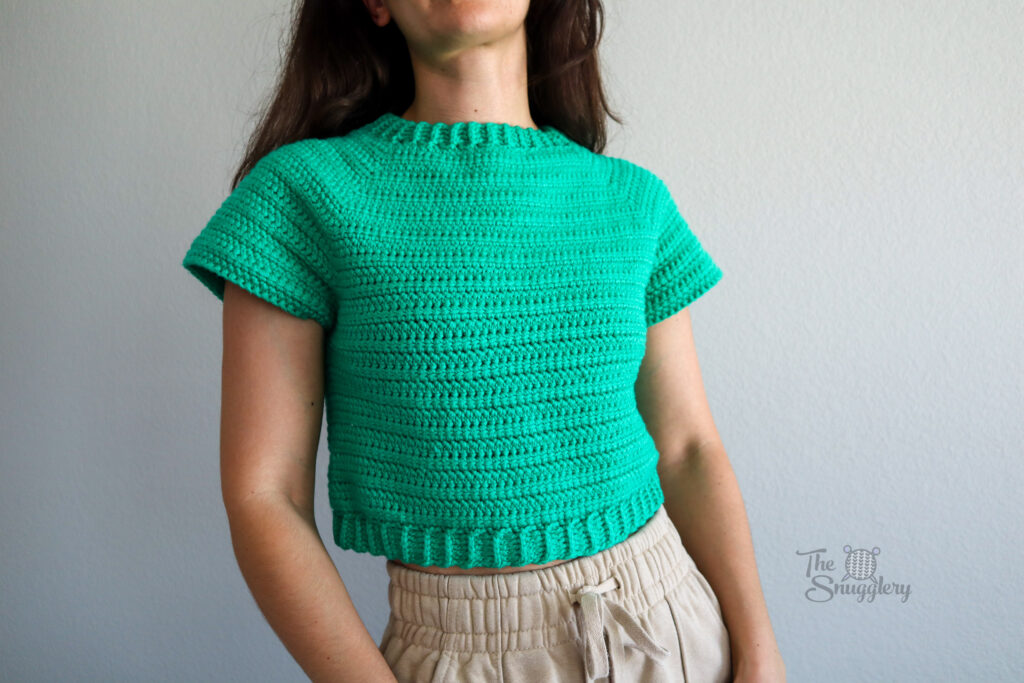
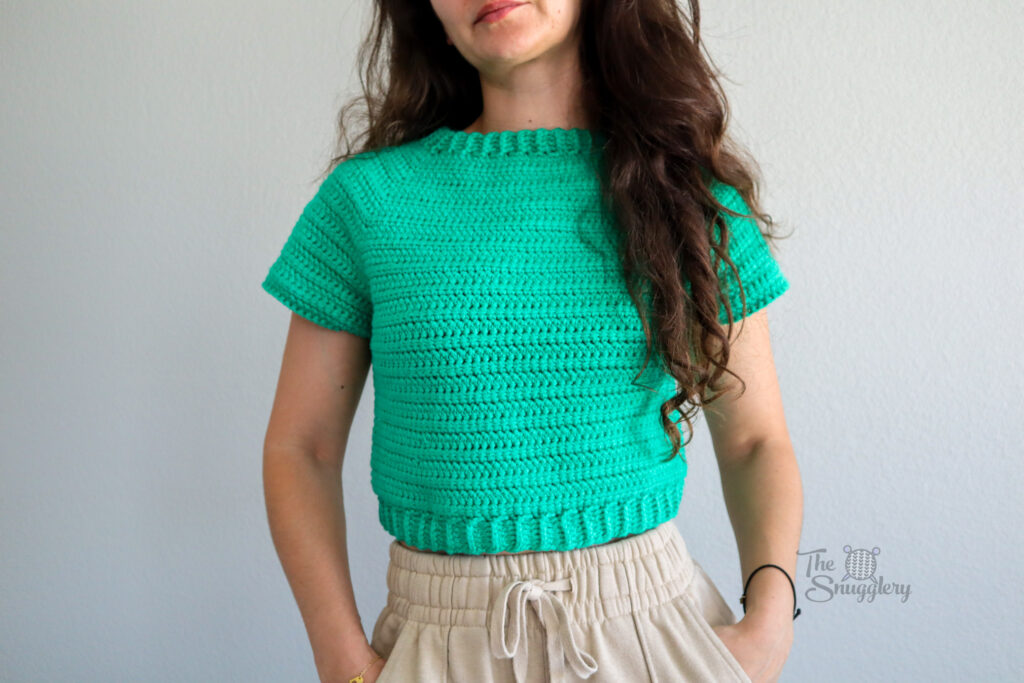
Introducing the "Gemerald Top," a vibrant crochet cropped T-shirt that is perfect for adding a pop of color to your wardrobe. This project utilizes the "linked double crochet" stitch, which I think you're gonna love. It's thick with drape and doesn't take long to work-up! The top is worked from the top down, allowing for customizable length and eliminating the need for seaming. Let's dive into the pattern and create a stylish piece that will surely turn heads!
Materials Needed:
- Yarn: At least 750 yards (690 meters) of category 4 worsted weight yarn, such as Juniper Moon Farm's Cumulus. Add 15% more yarn for each size above small.
- Hook: 5.5mm (US I-9)
- Miscellaneous: 4 stitch markers to mark raglan increases, optional tapestry needle for minor finishing.
Gauge:
22 sts by 13.5 rows on a 6x6" (15x15cm) swatch in linked double crochet (ldc). I tried my best to avoid "half" stitches in the gauge, because I know it doesn't sit right with some people! So you can also think of it as 9 rows in 4" if you don't like counting 'half' stitches.
Sizing:
- Small: Fits up to bust 36" (92cm)
- Medium: Fits up to bust 38" (96cm)
- Large: Fits up to bust 40" (101cm)
- Extra Large: Fits up to bust 44" (111cm)
- 2X Large: Fits up to bust 48" (122cm)
- 3X Large: Fits up to bust 52" (132cm)
The sizing will be written in the pattern as S (M, L, XL, 2X, 3X)
Hey visual learners! There's a video tutorial⬇️⬇️⬇️
Overview:
This pattern is worked from the top-down, starting with a shorter chain and increasing stitches at four points to grow the back, sleeves, and front sections simultaneously. Once the required length is reached for a given size, shaping rows are worked, then the sleeves are separated from the body stitches. The body is then worked alone to the desired length. Finally, ribbing is added to the neckline and bottom cuff.
Abbreviations:
For common crochet abbreviations, refer to the printable crochet abbreviations chart.
Want to print your pattern out?? Download the printable PDF below:
Pattern Instructions:
Starting the Top:
- Begin with a slip knot and chain the number of starting chains for your size: 82 (90, 90, 102, 100, 102).
- Join in the round: Ensure the chain isn't twisted and slip stitch to the first chain to join in the round.
Round 1:
Ch2 (doesn't count as a st) and make *3 ldcs (increase). Place a "back" marker in the center stitch of the increase. Then, make 1ldc in each of the next 27 (29, 29, 34, 33, 33) chs. Increase, place another "back" marker in the center stitch of the increase. Make 1ldc in each of the next 12 (14, 14, 15, 15, 16) chs. Increase, place a "front" marker. Then, make 1ldc in each of the next 27 (29, 29, 34, 33, 33) chs. Increase, place another "front" marker in the center stitch of the increase. Make 1ldc in each of the next 12 (14, 14, 15, 15, 16) chs. Slip stitch to the first ldc to complete the round.
Round 2:
- For sizes S and M only: Ch 2, turn your work. Make 1 ldc in each stitch of the previous round, and make 3 ldc increases in the marked stitch (move the marker up to the center stitch of the new increase).
- For sizes L-3X only: Ch 2, turn your work. Make 1 ldc in each stitch of the previous round, and make 5 ldc increases in the marked stitch (move the marker up to the center stitch of the new increase).
Round 3:
- All sizes: Ch 2, turn your work. Make 1 ldc in each stitch of the previous round, and make a 3 ldc increase in marked sts. (Round 3 is a repeat of round 2 for s/m sizes)
Repeat rounds 2 and 3 for a total of 17 (18, 5, 5, 10, 10) rounds
Sizes L-3X only: Continue, repeating only Round 3 for (13, 14, 8, 11) more rounds (18, 19, 18, 21) yoke rounds total.
2X, 3X only: On last (2, 3) rounds of yoke (rnds 17+18 for 2X, rnds 19+20+21 for 3X), work an extra stitch on the body side of the marker only. This will put 4 sts in each increase, so be mindful of which stitch is the "marked" stitch and which is the addtl body stitch.
Shaping the Neckline:
- To add rows for neckline shaping: Break the yarn and reattach at a "front" marked stitch. Ensure your work is positioned correctly to maintain the stitch pattern.
- Work the neckline shaping: Ch 2, begin working in linked double crochet across the sleeve and back sections only. Do not increase at the next marked stitch. When you work one stitch into a marked stitch, mark the new stitch.
- When you reach the other "front" marker: Ch 2 and turn your work, leaving the front section unworked. Work back in ldc.
Separating Out the Sleeves:
- Attach your yarn: At the same stitch where you reattached for neckline shaping, slip stitch over if possible or break and reattach the yarn.
- Fold your piece in half: Slip stitch to the first "back" stitch next to the closest back marker, skipping all sleeve stitches.
- Ch 2: Begin working in ldc across the back of your sweater.
- Work into the next "front" marker: Continue working along the front in ldc. Slip stitch to the first dc of your new body-only round to complete the round.
Continue working rounds on the body: Until your sweater reaches the desired length (about 14 rounds for 6" of length in the sample pictured).
Ribbing: Front post half double crochet
- Attach yarn to a stitch on the bottom hem or neckline: Chain your desired ribbing width, and work in half double crochet along the chain.
- Anchor your ribbing to the sweater: slip stitch to the next stitch on the sweater and into 2 more stitches on the sweater. Turn, work fphdc around each stitch from the previous row. Ch 1, turn, work 1 fphdc for each stitch.
- Repeat until the entire hem is ribbed. For neckline ribbing, you may choose to shape it by decreasing a couple of ribbing stitches for the front section only.
Finishing:
No seaming required! But you may notice a little extra flap at the underarm from our neck shaping. I seamed the flap to the body with a tapestry needle and a couple stitches.
What do you think?!
This top is versatile and can be customized to your preferred length and fit. Add sleeves if desired, or enjoy it as a stylish cropped T-shirt.
Thank you for crafting the Gemerald Top! If you haven't already, don't forget to check out the video tutorial on Youtube! I go into some finer details about joining rounds and shaping the neckline that I think you would enjoy learning! And feel free to stroll around my site some more and see if you want to try out any more free patterns or tutorials! Happy stitching!