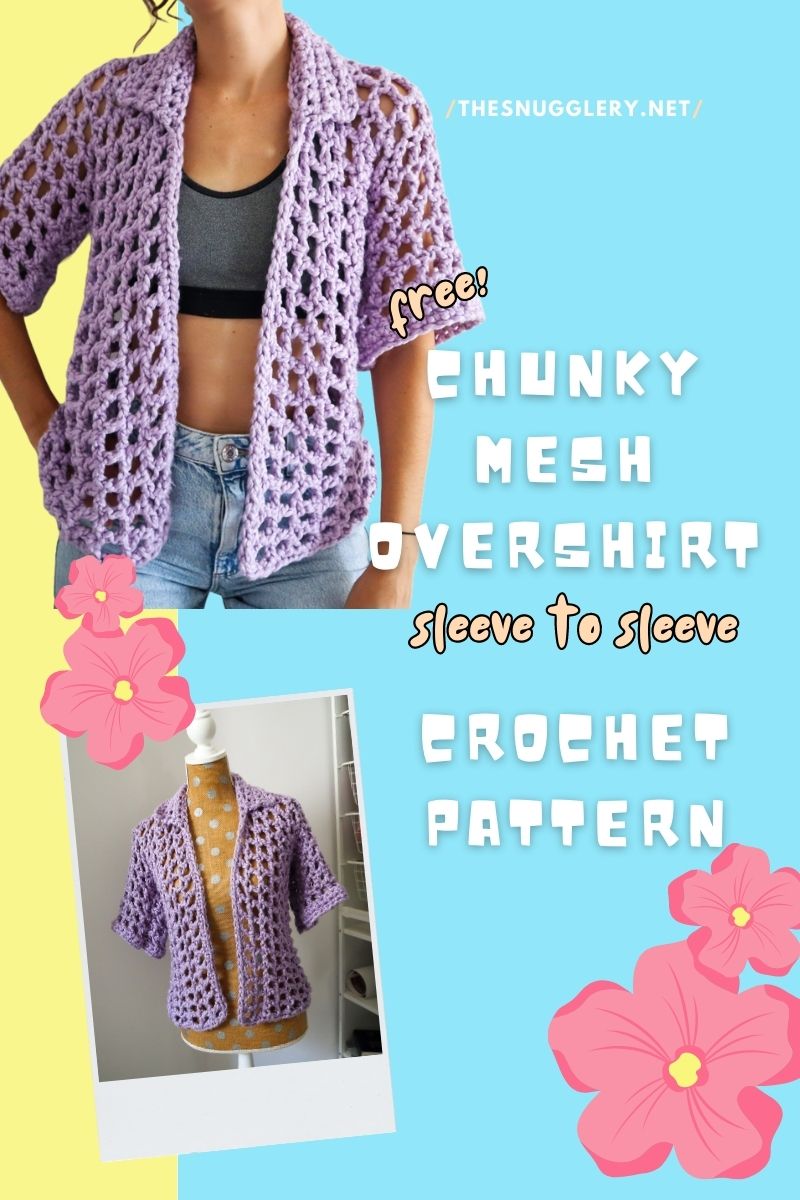
I Miss My Chunky Yarn Every Summer
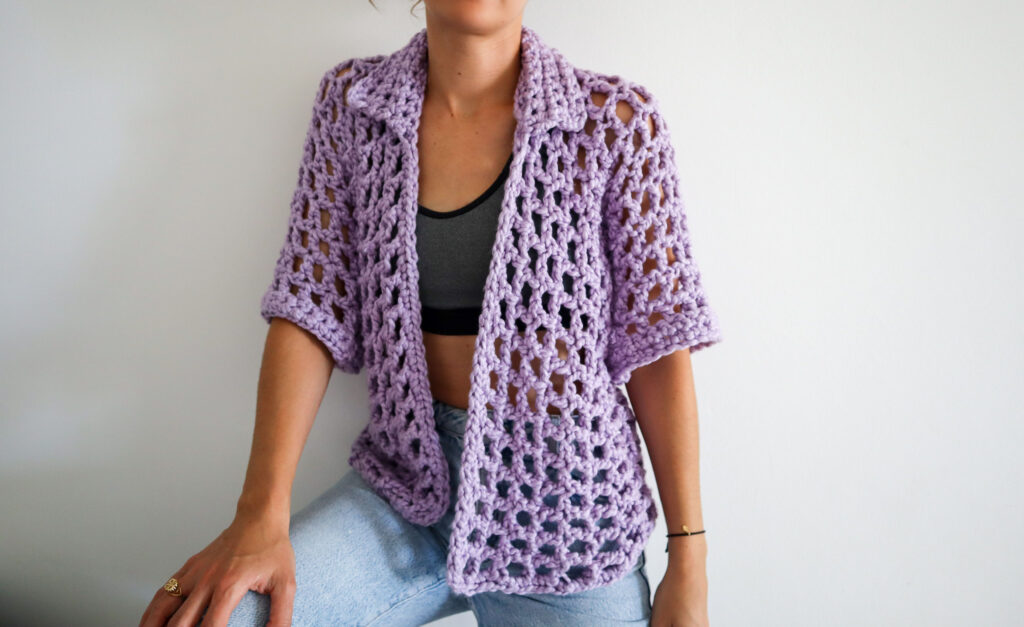
This super chunky mesh overshirt is my way of getting my crojo back this summer. I love a tiny yarn, cotton lacey project as much as the next guy but without that instant gratification from quick chunky knits, my crafting motivation always tends to waffle a bit in the middle of the summer.
With Loopy Mango's Big cotton, we can make a beachy coverup super fast! And help get some of that crafting momentum restarted again.
Overview
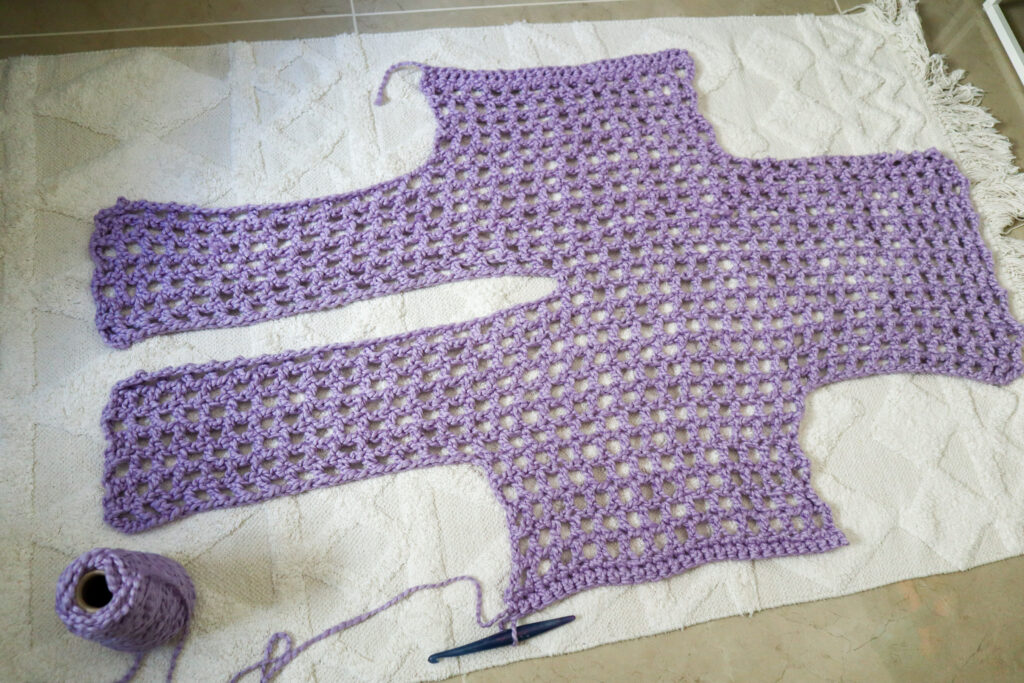
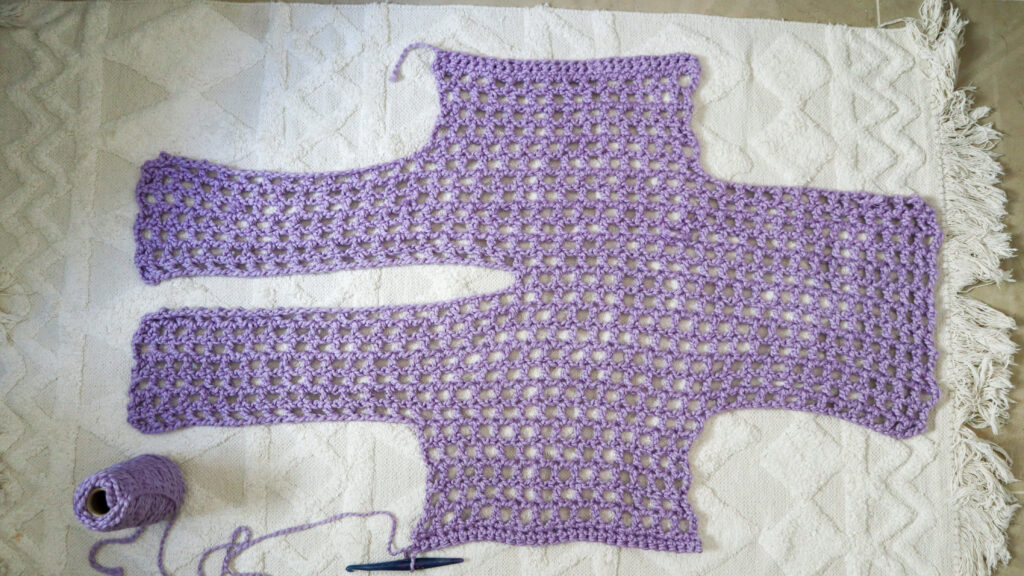
To make the most of our super chunky yarn, I decided to make this project sleeve-to-sleeve, so that we don't have to cut our precious yarn to make all the different pieces. We'll start by chaining for and working the first sleeve, than we'll add chains to grow the front and back panels. Then, we need to split the front panel while we add width to them to create the cardigan-style opening and finally we'll work another little sleeve and seam the whole thing together! I also added a super simple single crochet collar to give it some structure and a modern look.
The pattern is written in the small/medium size with alterations for the large/xl size and 2x/3x written in parenthesis after the small/medium instructions when applicable. For example: s/m (l/xl, 2x/3x)
Since we're maneuvering all around this project, chaining the back and front panels, splitting the front panel, seaming, adding a collar...I think a visual aid would be super helpful, don't you? So below, you'll find the video tutorial that goes along with this pattern:
PDF Pattern
Materials
The key to this total unique top is a super bulky, soft cotton yarn like Big Cotton from Loopy Mango. With its soft squishiness, drape and speedy work-up, it's just the ticket to make something fantastic in a flash and keep our crafting momentum going. Now, I know this yarn might not be readily available to everyone, so a good dupe is Premier Yarns Chunky Cotton and you'll need about 300 yards of whatever super bulky, cotton yarn you can get your hands on.
You'll also need a 10mm crochet hook
Pattern
To begin, chain 30 (34, 38)
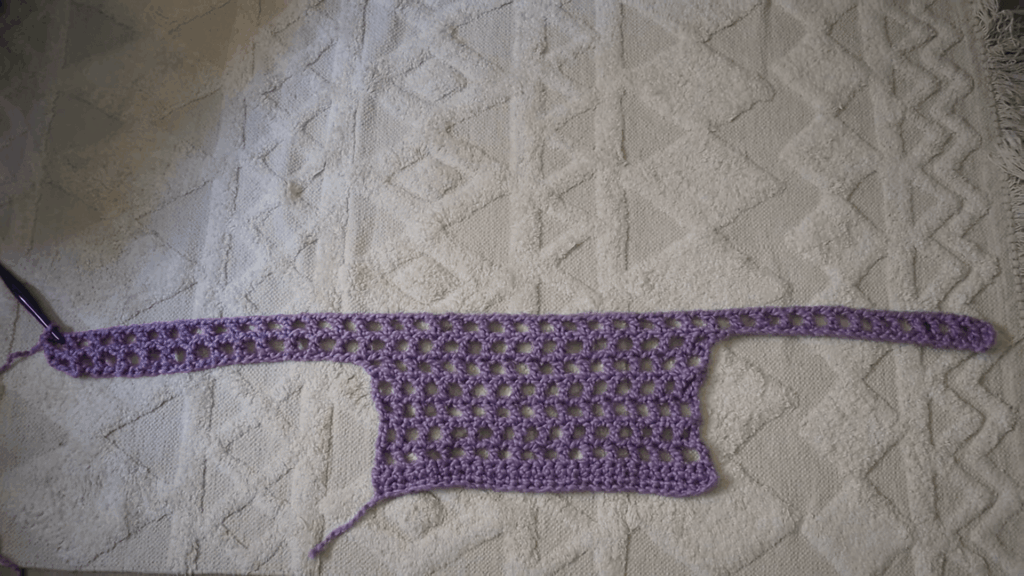
First sleeve
Row 1: Skip the first chain, and work 1sc in each rem chain. 29 (33, 37)sts.
Row 2: Ch1, turn, 1sc in each st.
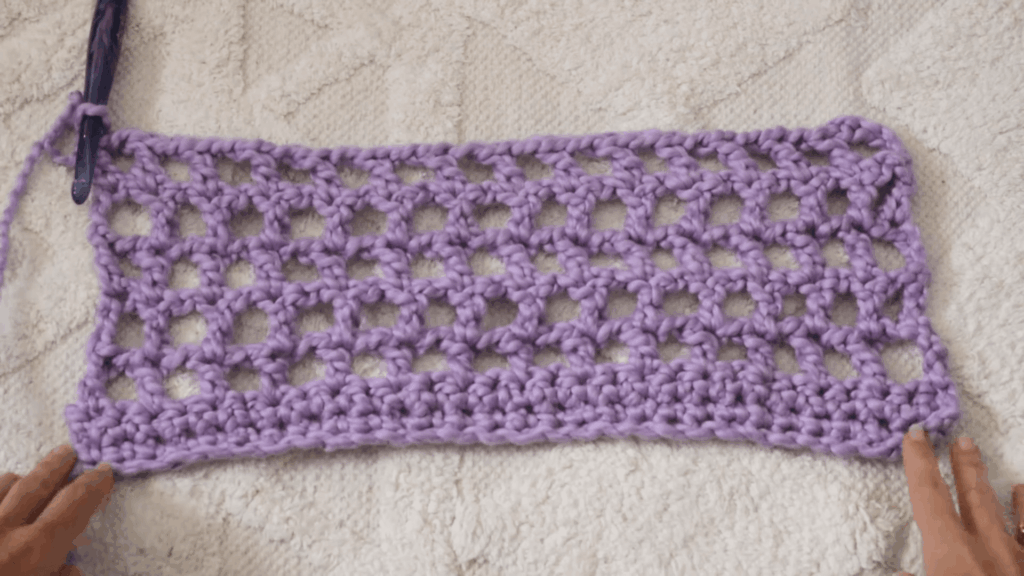
Row 3: Ch4 (counts as 1dc and ch1) skip the next st, make 1dc in the next st. Ch1 skip the next st, make 1dc in the next st repeat between ** to the end of the row.
Repeat row 3 for a total of 5 rows of mesh.
Front panel
With working yarn still attached to your project, chain 29
Panel row 1: Skip the first 5 chs (counts as 1dc, ch1 and skipped ch) work 1dc into the 6th chain. Ch1, skip 1ch, 1dc in next ch rep between ** until you reach your sleeve. Ch1, 1dc in the dc on the sleeve and continue working in the dc mesh pattern across the sleeve.
Back panel
Repeat instructions for front panel. When you work across the new back panel chains and across the sleeve, continue working in the mesh pattern across the front panel stitches as well.
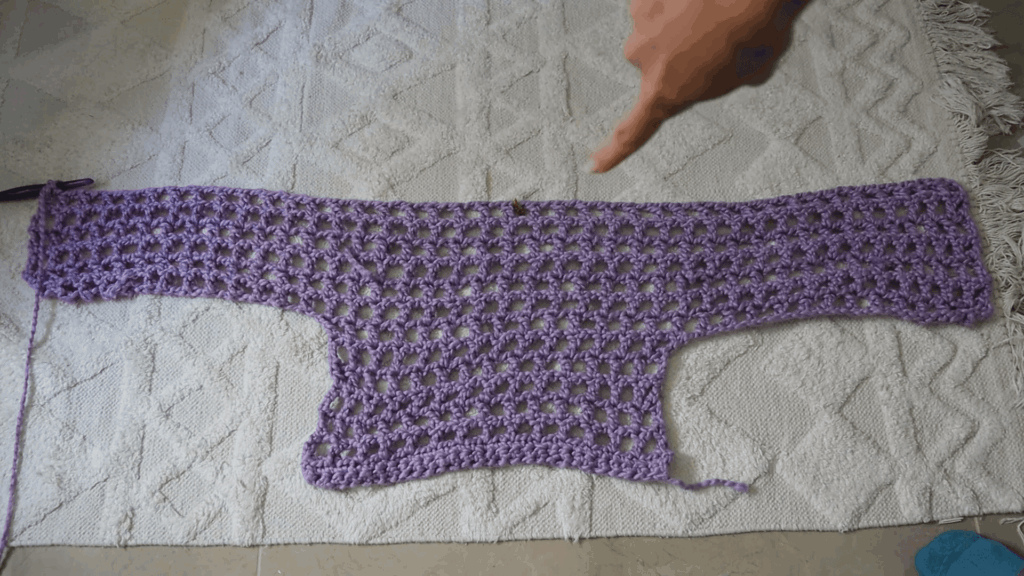
Growing your panels
Continue working in the dc mesh pattern until your front panel has 7 (9, 11) rows and your back panel has 6 (8, 10) rows
Front panel opening
On the next row: Continue working in the dc mesh until you've completed a total of 23 (24, 25) dc sts. Then, ch 39 (41, 43).
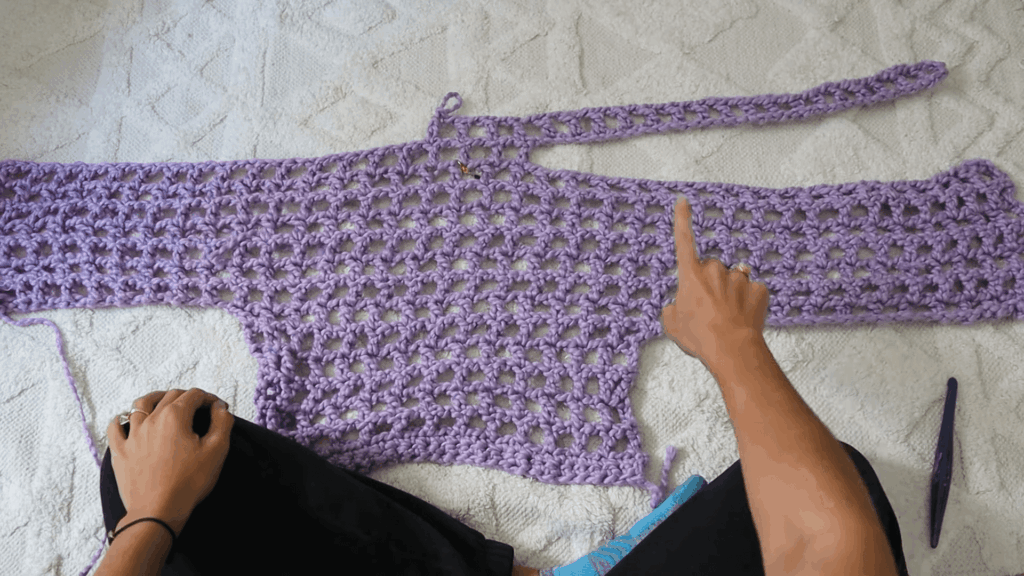
Again, skip the first 5 chs and work 1dc in the 6th chain and continue working in the dc mesh along your entire piece until your 2nd front panel has 6 (8, 10) rows.
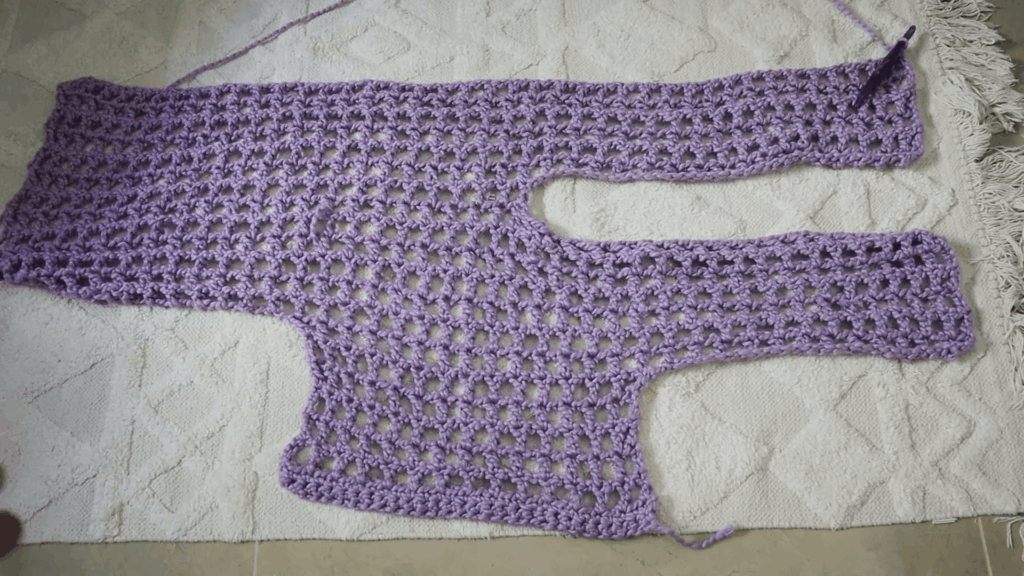
Other sleeve
On the 7 (9, 10)th front panel row, work only the first 28 (30, 32) dcs. Ch4, turn and work back the other way for 15 (17, 19) dcs (counting your turning chain). Ch4, turn and continue working in dc mesh for 5 sleeve rows. Finish off with 2 rows of single crochet.
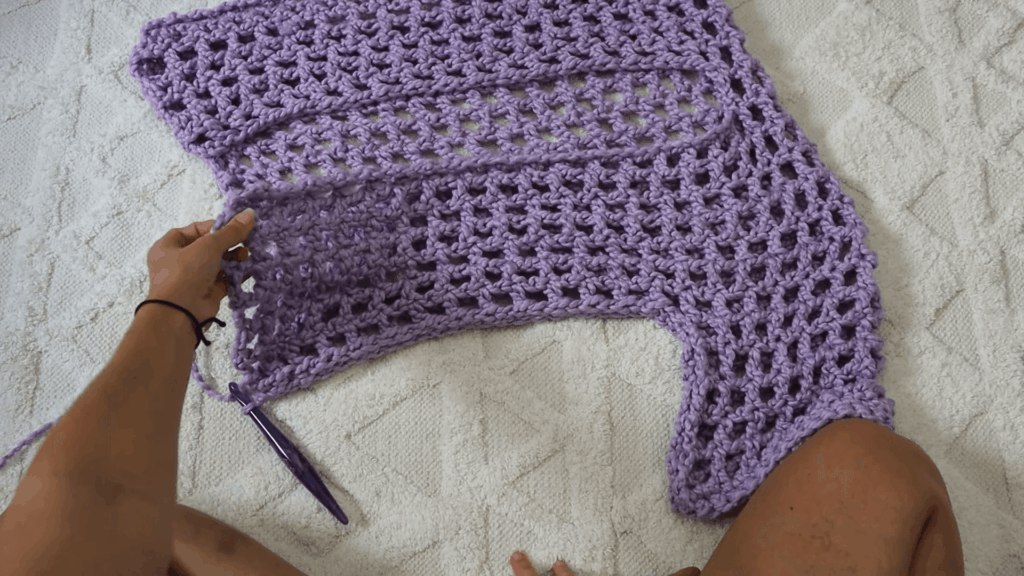
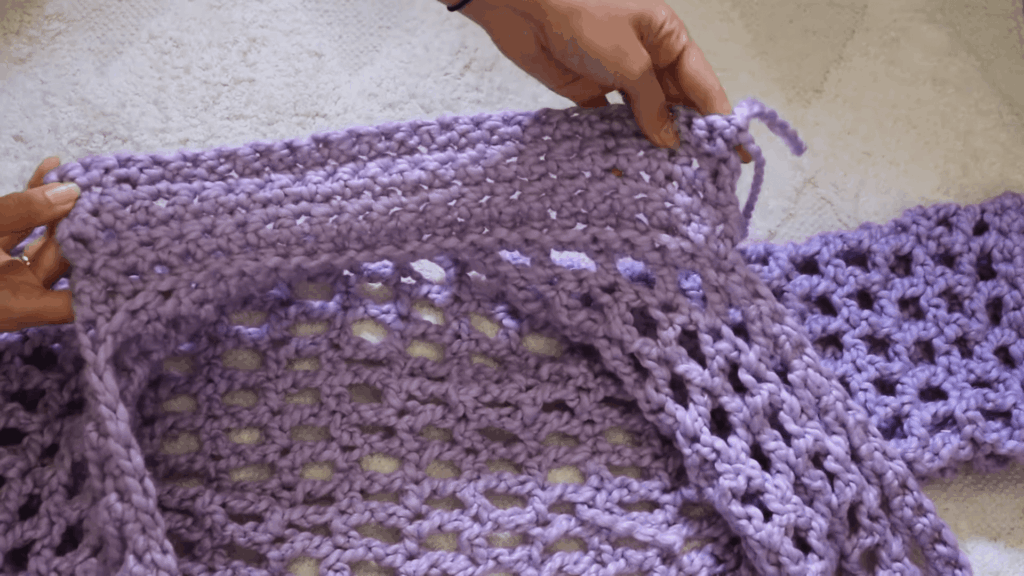
Seaming
Fold your piece in half and seam along the underside of the sleeves and along the sides of the body panels. I added an optional row of single crochet all along the front edge of my shirt. Work 1sc for each chain and dc, for an even edge.
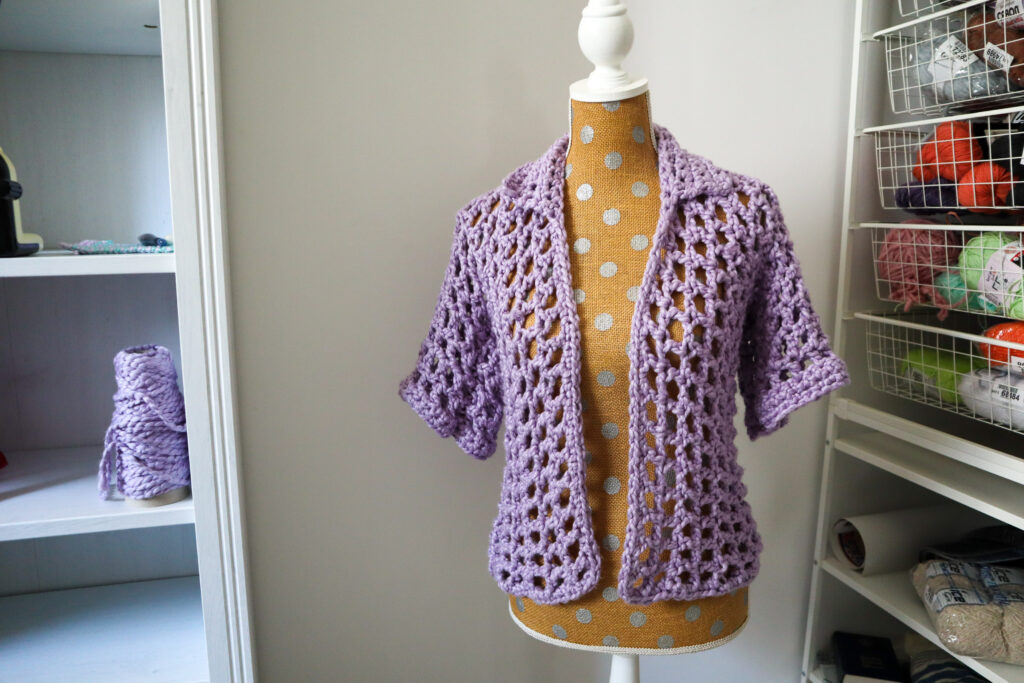
Collar
Fasten on a new yarn along the neck opening, 13 dc stitches up from the bottom edge of one of the front panels. Work in single crochet up around the neck to the stitch 13 dcs up from the bottom of the other front panel. Work 6 rows of sc total, fasten off
And voila, you're on your way to having a super chunky, super stylish mesh shirt ready to strut this summer. Happy crocheting! I hope you learned some fun techniques that you can apply to your next project! Make sure to check out the video tutorial and let me see your projects on social media 'cuz I'd love to see what you do with this pattern!
Thankyou so much I've been looking for something like this for a long time!