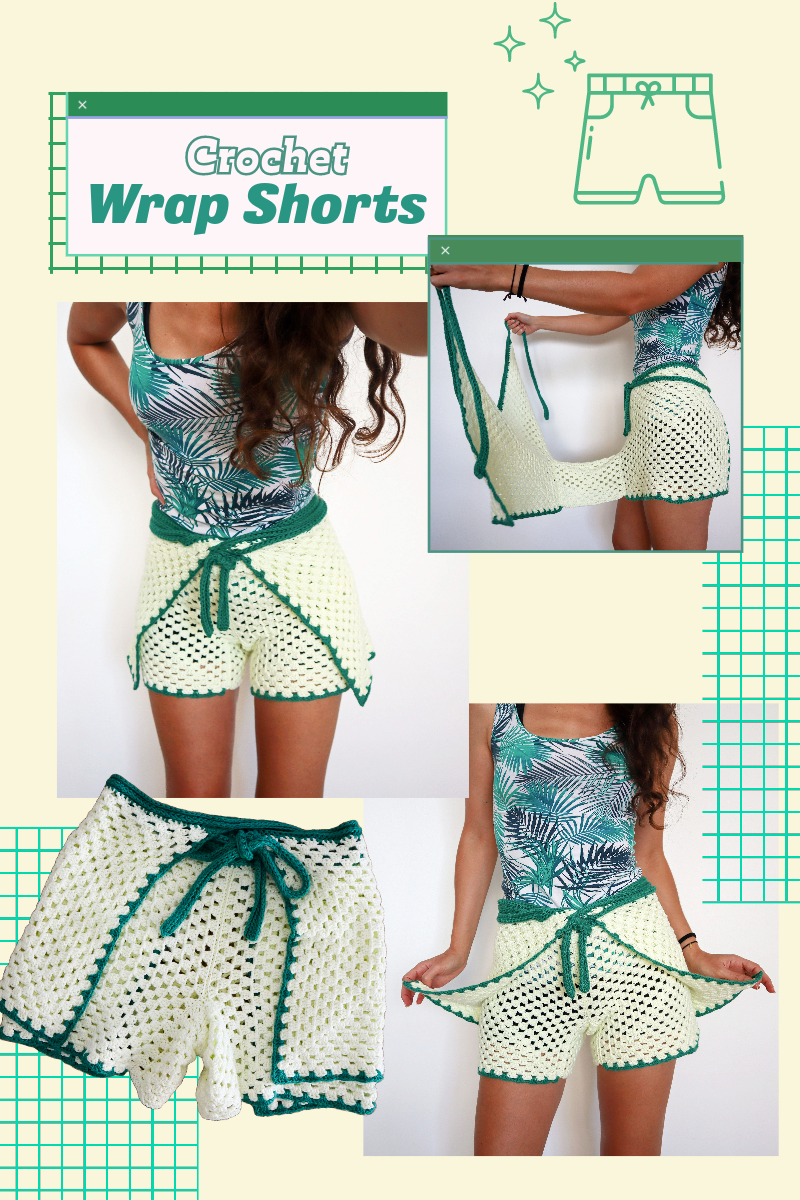
I Crocheted My First Pair Of Shorts!
Hey yarnies! I've recently embarked on a little crochet adventure, and guess what? I successfully made my very first pair of crochet shorts! And I'm happy to share. It really could not be easier to start on your own first set of crochet shorts. In this post, you'll learn to make your own cozy, adjustable, and super stylish crochet shorts. Let's dive in!
Jump to:
Inspiration Behind The Design
My crochet shorts were inspired by similar sewing patterns for wrap-around bottoms. I realized that I could adapt these formulas so that the whole piece was made out of squares. And what's the crocheter's favorite kind of square? Granny! So now I've got a beachy pair of wrap shorts that work up just as fast as any granny square motif.

Materials Needed:
- Yarn: I opted for ice yarns baby cotton (DK weight, 100% cotton). You're free to choose any yarn weight, but sticking to cotton will help tilt the style scales towards "beachy" as opposed to "blankey."
- Accent Color: For trim and straps.
- Hook: I used a 4.5mm hook and you may use a hook on the larger side for your yarn choice.
Creating The Granny Squares:
Feel free to use your favorite square pattern! I think a solid granny square would work great as well. Just be sure to make a square that you can adjust to any width.
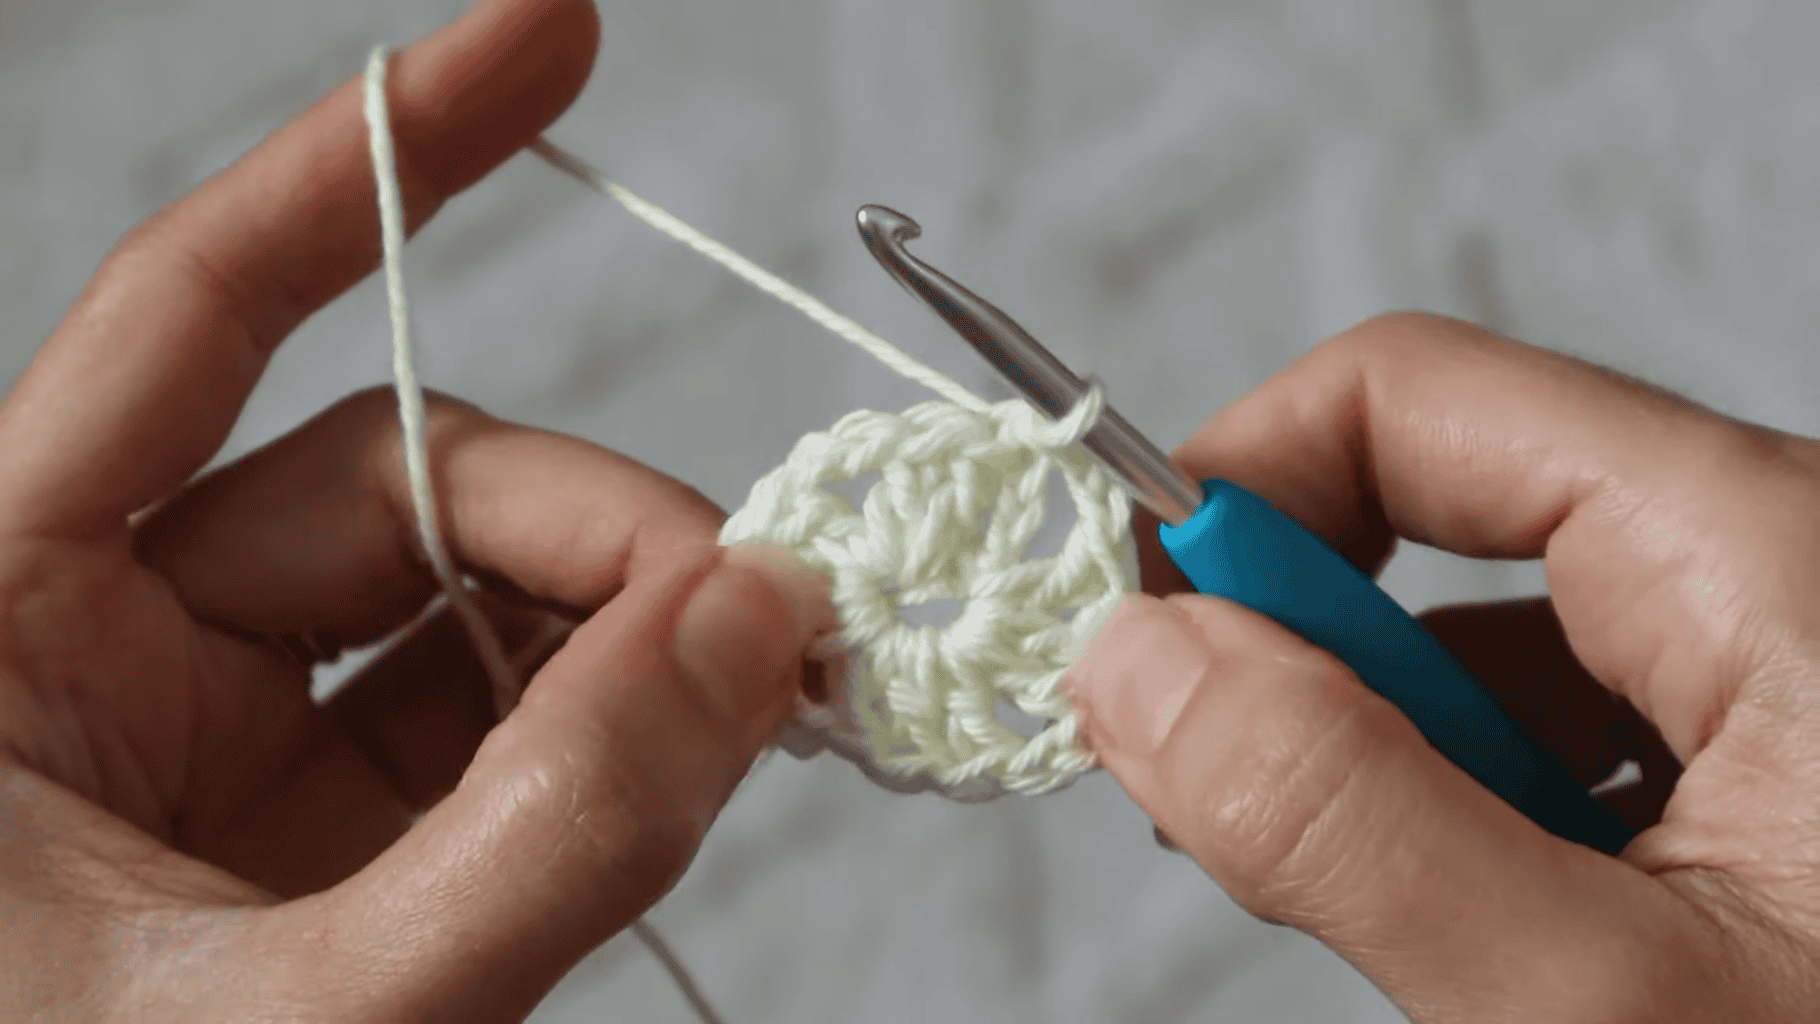
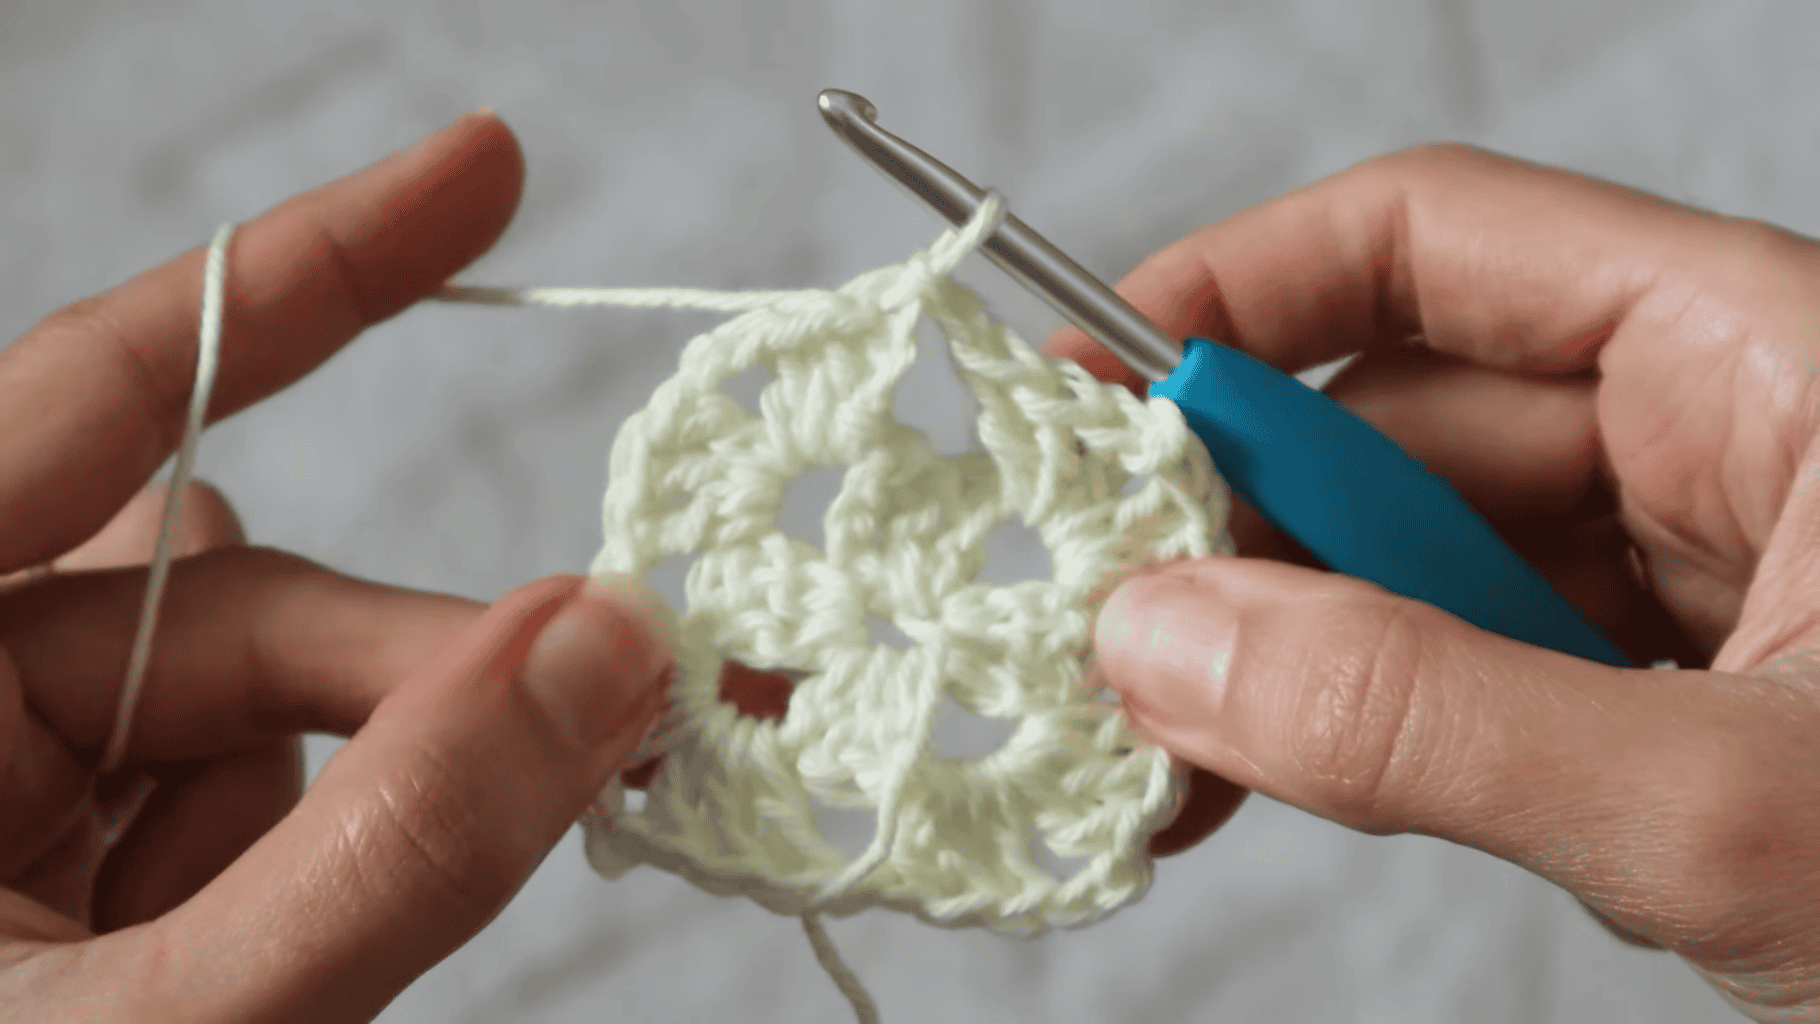
To begin, ch4 and slip stitch to the first chain to form a ring.
Round 1
Chain up 3 and do 2 double crochets (dcs) into the ring to make the first granny cluster. *Ch2, and work 3dc into the ring* Repeat between ** two more times. Ch2 and slip stitch to the top of your starting ch3 to complete round 1.
Round 2
Ch 1, turn your work, and slip stitch into the nearest chain space. Ch3 and make 2dc in the ch sp. ch2, and work 3dc into the same ch sp. *Ch1, work 3dc in the next ch sp. Ch 2, 3dc in the same ch sp* Repeat between ** for all remaining chain spaces, ch1 and sl st to the top of your starting ch3 to complete round 2.
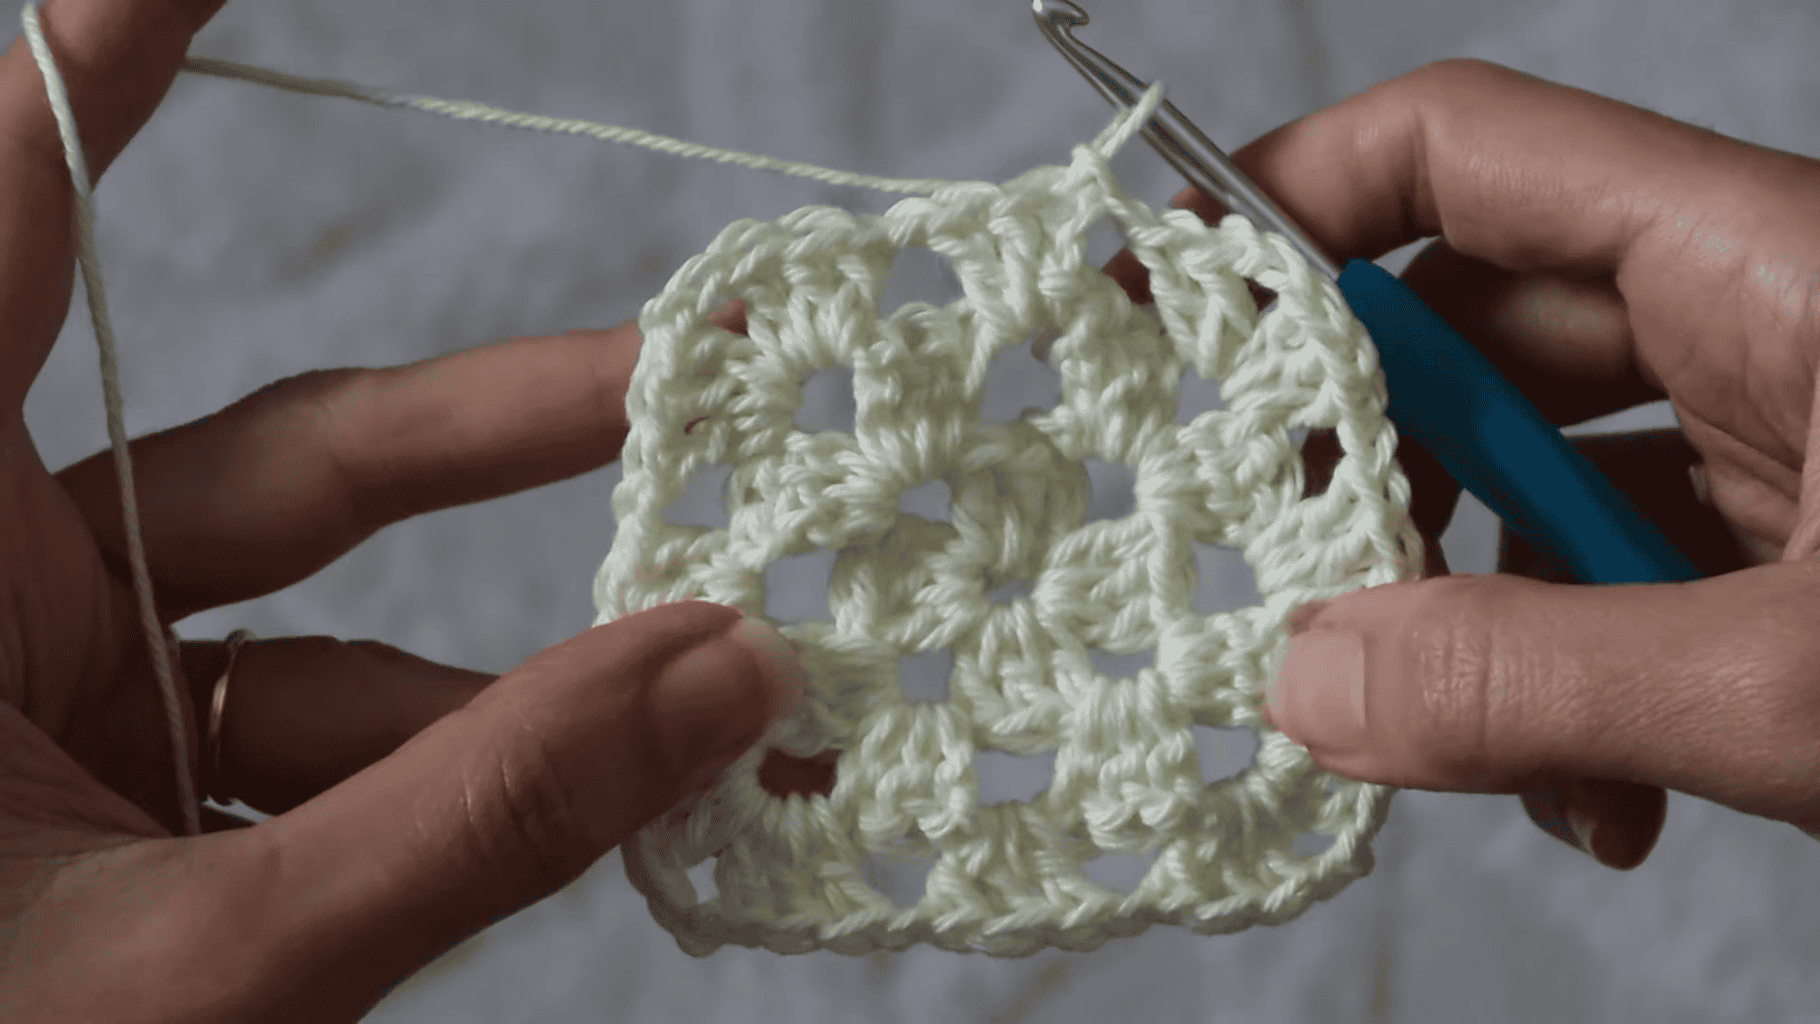
Round 3
Ch 1, turn your work, and slip stitch into the nearest chain space. Ch3 and make 2dc in that same ch sp. Ch1, and work 3dc into the next ch sp. Ch 2, and work 3dc in the same ch sp. Ch1, and work 3dc in the next ch space. Continue on like so, working 1 granny cluster (3dc) into the ch 1 spaces, and work 1 cluster, ch2, 1 cluster into the corner ch2 spaces. You can continue on growing your square this way.
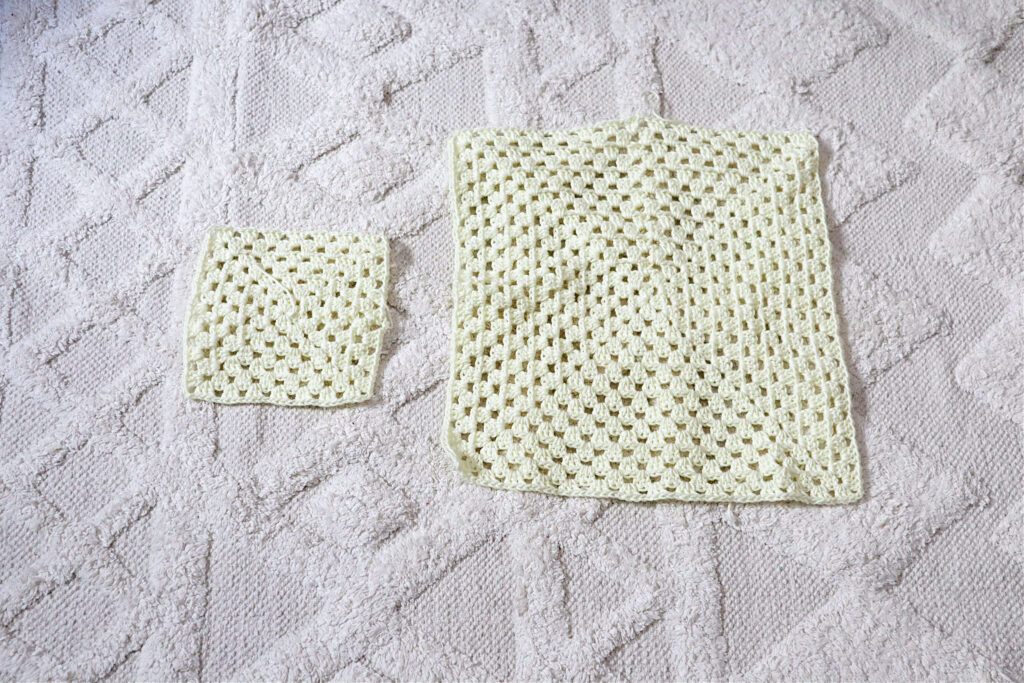
How many squares?
For these shorts, you'll need 4 large squares and 2 small ones. Small squares should be 6x6 inches (15cm) for all sizes. To find the size of your larger squares, you'll need your hip measurement.
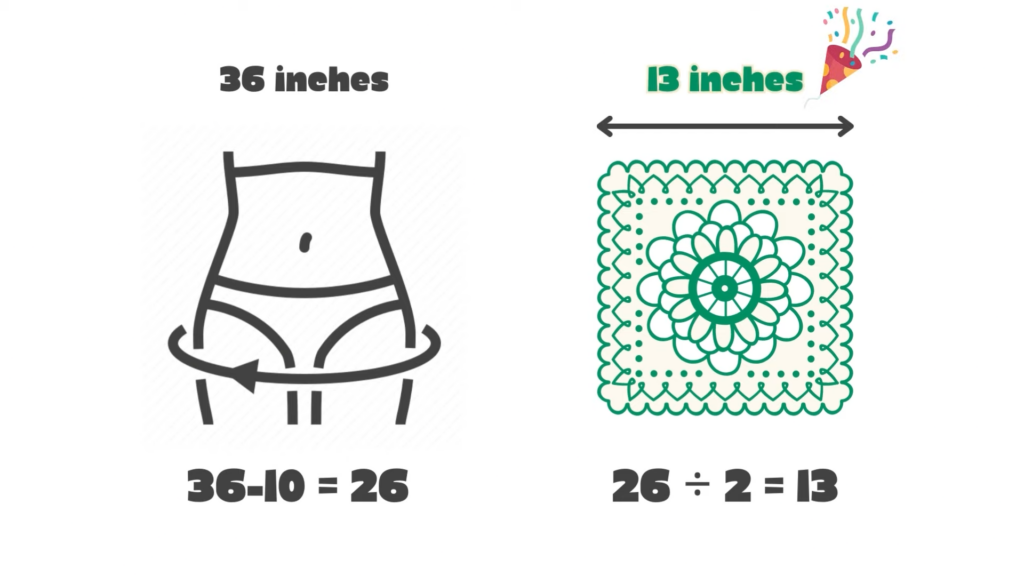
To determine the width needed for your 4 larger squares, measure your hips and subtract 10 inches. Whatever that number is, in my case 26, divide by 2. For me, it was 13 inches.
Note: If you do the calculations and find you need a square in excess of 18 inches, that could start to make the shorts a little too "long." To adjust, only widen the square on the sides past 18" (so they'll wind up being rectangles instead) that way they will stay nice'n short.
Accenting with Trim
Using your accent color, pick any square corner and maintain the granny square pattern along two sides of each large square. Small squares don't get trim.
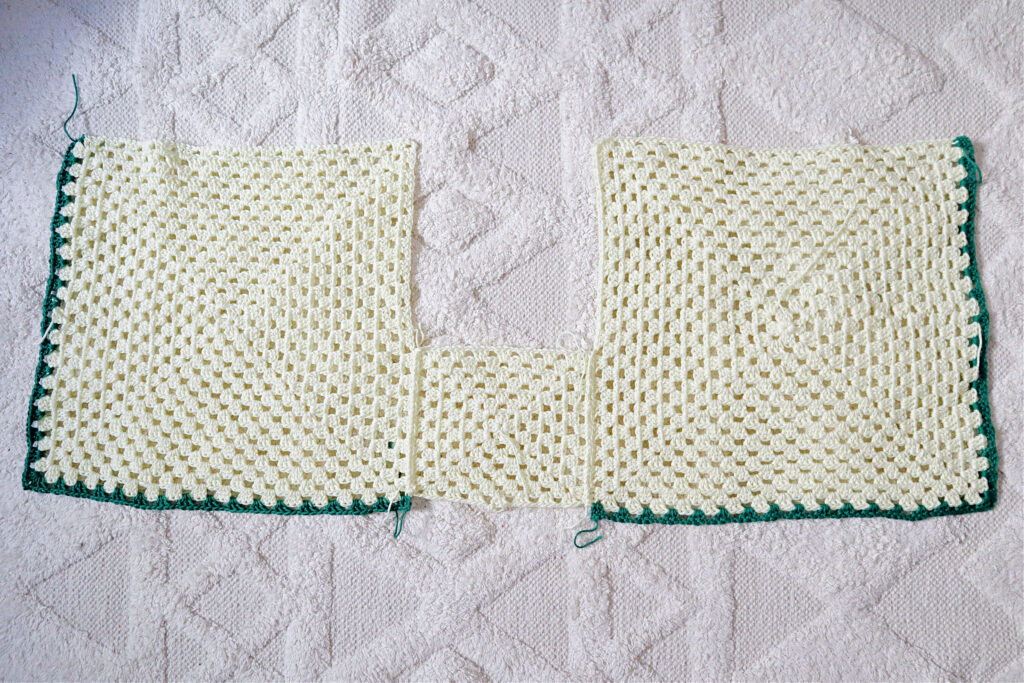
Assembling the Shorts:
- Line up the squares as pictured. One large, one small and one large. Then, seam along where the small square meets the big squares. You'll make two pieces shaped like this
- Then, place the 3-square-pieces on top of each other and seam along the U shape of negative space above the small square in the photo.
- All that's left is to shift the pieces around a bit. The video helps demonstrate this better than I could ever explain here with words! Basically, shimmy it around until it looks like shorts.
Video Tutorial
Straps & Finishing Touches:
- Attach two straps (around 70 to 80 inches each) to the top edges of the front and back pieces. You can either seam on pre-made straps or crochet them directly onto the shorts, as I did.
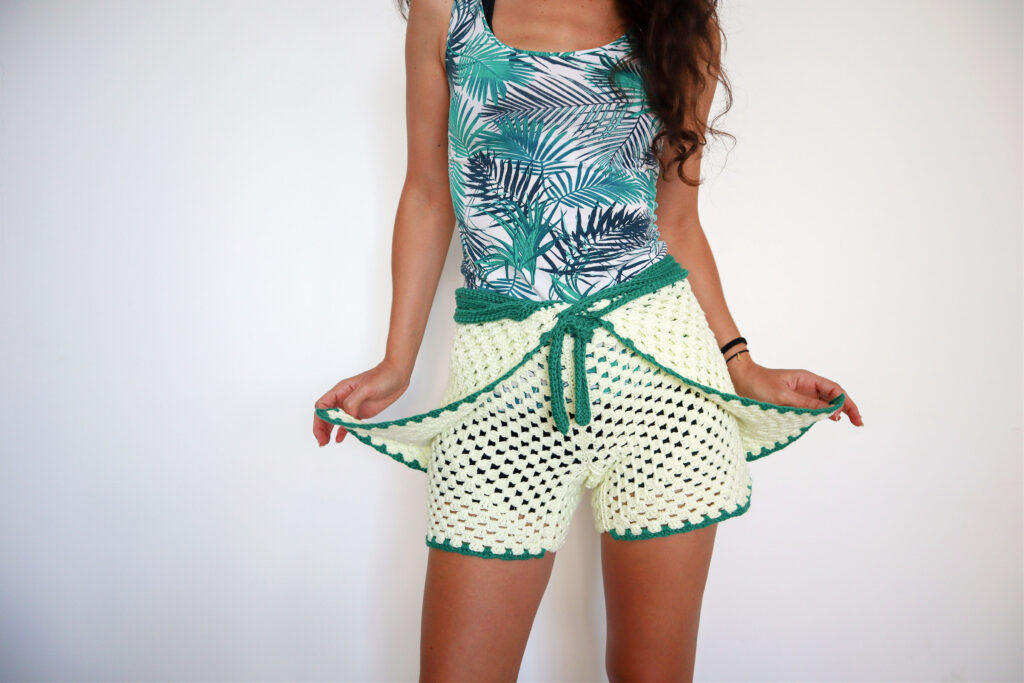
- How to wear them? Center the piece on your body, wrap the strap around, and tie at the front. Bring the shorts between your legs, criss-cross the straps, and tie them securely. And there you have it - cozy, stylish crochet shorts!
So, feeling inspired yet? These might be the simplest crochet shorts you'll ever craft. If you're already pondering more intricate designs or patterns, stick around. I've got a feeling I'll be experimenting with more shorts and bottom patterns soon.
If you make yourself a pair of these, be sure to tag me wherever you are online because I'd love to see them!

P.S.
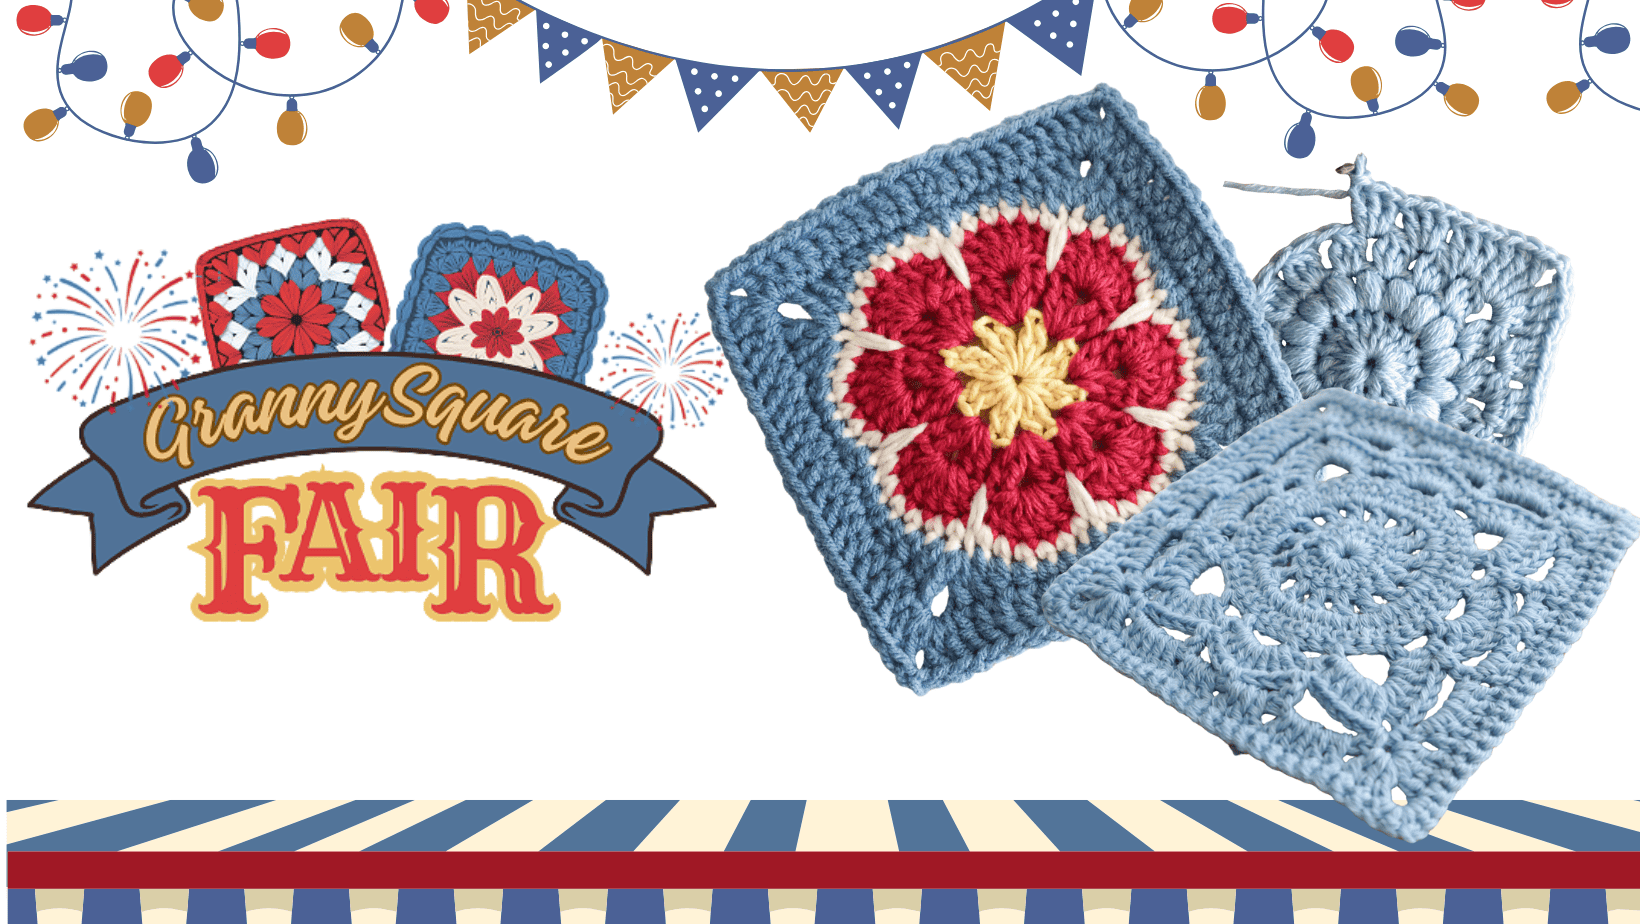
If you're bitten by the granny square bug now and looking for MORE types of granny squares that you could even use with this shorts pattern, I have a new resource for you!
I recently started a not-so-secret side project called The Granny Square Fair. An ever growing catalogue of photo tutorials and my style of written crochet pattern dedicated purely to GRANNY SQUARES! Interested? Click HERE
Thank You so much you are genius. as for the measuring....magic !! from Australia with love. x