I can't believe the amazing response you've all had about this pattern! Seeing all of your projects on Ravelry and Instagram has really been a blast.
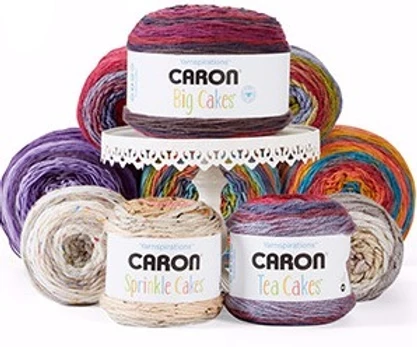
You've also given me some excellent feedback on how to make this pattern better. So I have made some changes based on some of the most common comments I've seen, starting with printing/downloading the pattern. You can now access an easy-to-print version of the pattern to print or download HERE. And we also have to address the fact that Caron has come out with so many more cake styles! Not to mention the billion and 1 other yarn cakes out now. Just so ya' know, this pattern is sized to work with category 4 (worsted) weight cakes!
Below, you'll also find alterations so you can make this shawl in two sizes! The pattern is written for the S-L size pictured and any alterations in the pattern for the Tall & Curvy (1X-3X) size will be (bold) written in that fashion.

The Pattern:
To begin this pattern you will need a 6.5mm (K) crochet hook and two Caron Cakes. **you may consider going up a hook size or two for a more drapey vest**
Now, in order to get the striping pattern closest to my example, for Cake number 1, you'll need to select a 7 color change cake. For Cake number 2, just be sure the center color matches the outter color of cake number 1.
For more info about how to Select the right Caron Cake for your project, check out this blog post.
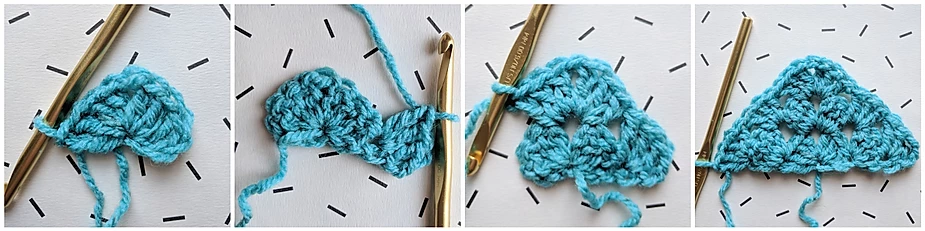
To begin, make a magic circle or a 4 chain ring
Row 1: ch 3 and make 3dc into the ring. Ch 1 and make 4 more dc into the same ring.
Row 2: Ch 3. Turn your work and make 3 more dc into that same stitch you just chained out of. Make 3dc into the chain space from the previous row, ch 1, make 3 more dc into the same space. without chaining, make 4dc into the top of your ch3 from row 1.
Row 3: ch 3 and turn, make 3 more dc into that same stitch. Without chaining, make 3dc in the space between dc clusters from the previous row. Then, make 3dc into the chain space from the previous row, ch 1 and make 3 more dc into the same chain space. 3dc into the space between dc clusters from the previous row. Then make 4 dc into the top of your turning chain from row 2.
Repeat for a total of 23 (27) rows.

Arm holes:
On row 23 (27), continue in pattern normally making 6 double crochet clusters. chain 22 (34) and skip 8 (12)dc clusters from the previous row. Make 3dc right into the space behind the 8th (12th) cluster and continue making 10 (10) more dc clusters to the point of your triangle.
Do 11 (11) dc clusters along the other side of your triangle and repeat the process for the 2nd armhole by chaining 22 (34) and skipping 8 (12)dc clusters and making 6dc clusters to the end of the row.
For the next row, continue the pattern normally. But when you get to your arm hole chain, make 3dc right into that first chain. Skip two chains and make 3dc into the next chain. Continue 3dc, skip 2 for the rest of the chain until you re-join your normal pattern. Repeat the process for the other side. You'll have 8 (12) dc clusters total made in each armhole chain.
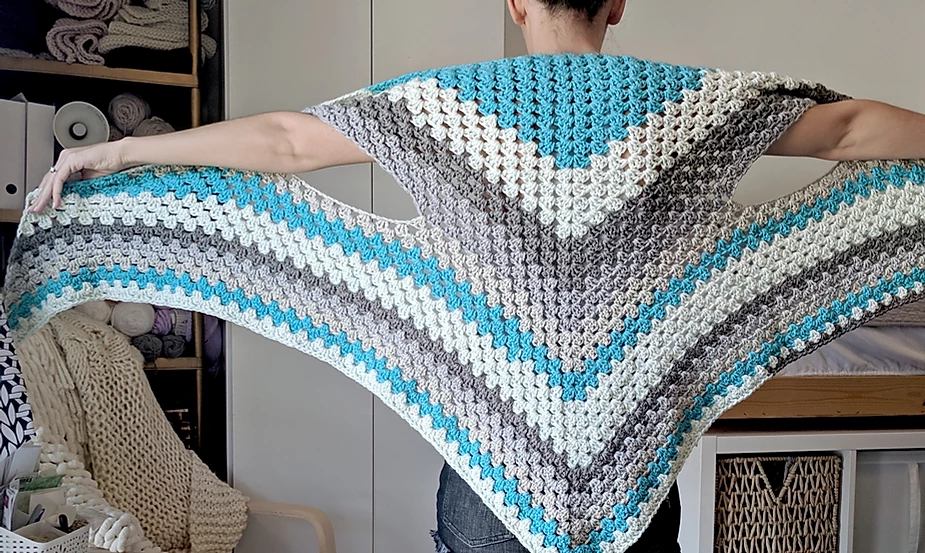
The arm holes are done and now you can just continue in pattern, joining the new ball of yarn, until your shawl is as long as you'd like! Mine was 43 rows and used almost all of my 2 cakes measuring 70in from end to end and 35in down the center.
Drape:

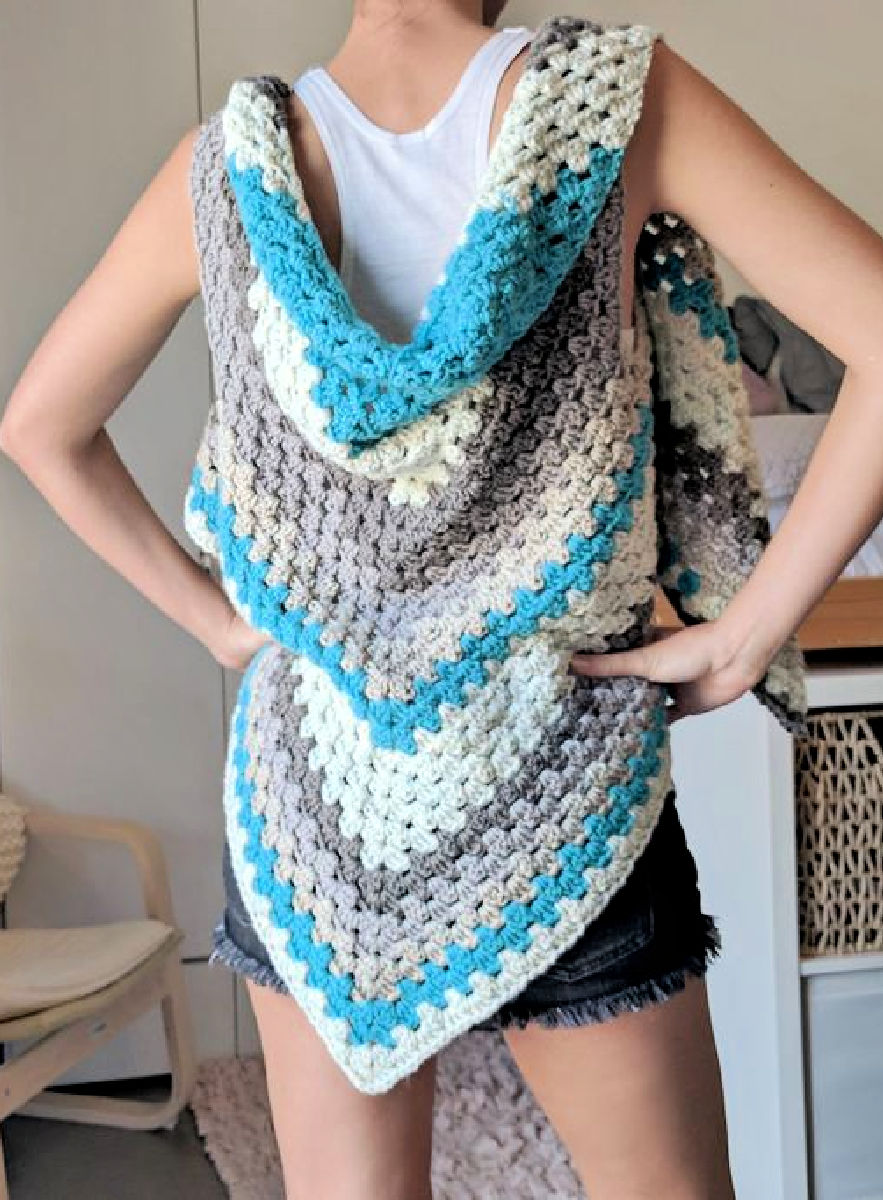
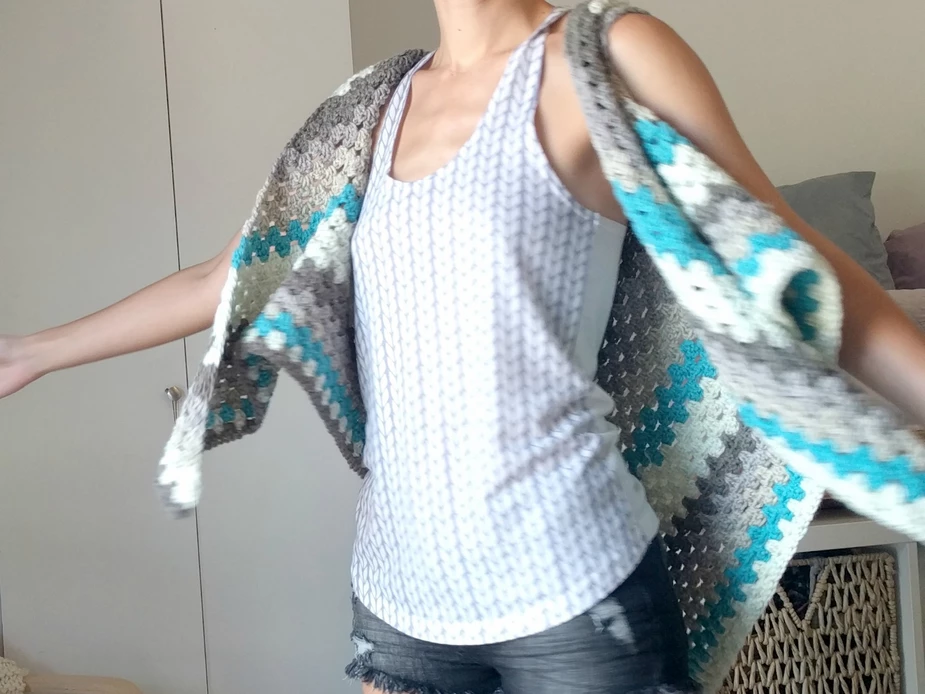
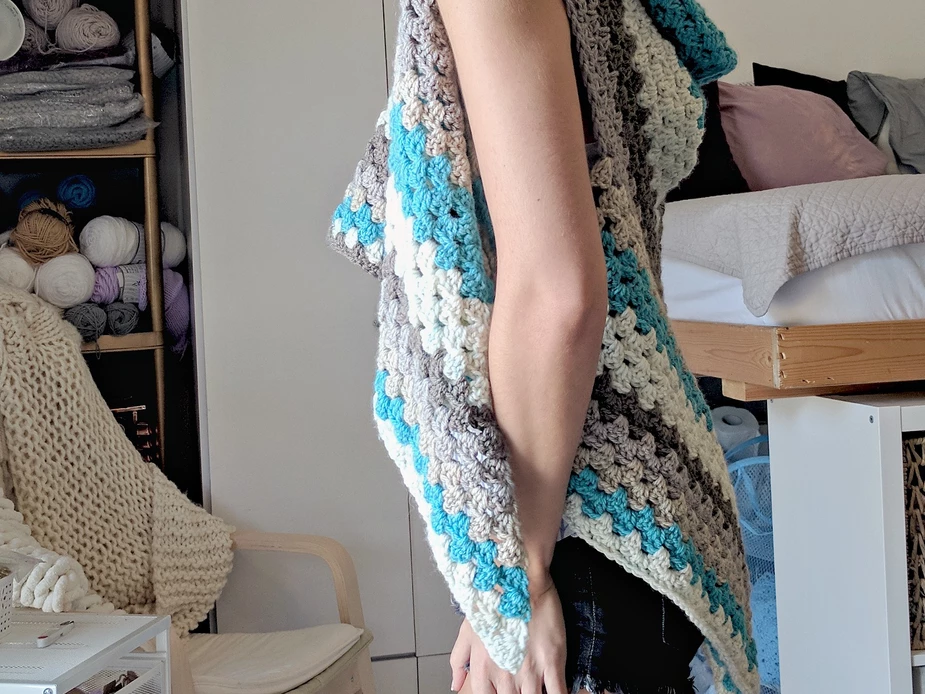
In the image above, you can see if the vest is worn tilted forward (longer in the front than the back) it will be more "squared off" in the back and flare out, making a wider appearance. I recommend wearing your vest like the picture on the right with it longer in the back than the front. To make this change, grab all of the vest that drapes in front of you, pick it up and adjust it up and back.
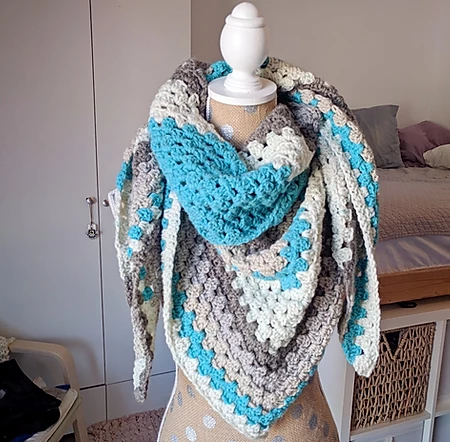
I hope you enjoy this versatile pattern that can be worn as a vest, shawl, scarf or wrap! It was so much fun to see the striping work up effortlessly. I'd love to see what you create with this pattern. You can also click HERE to download/print this pattern as a PDF if you'd like. Thanks for stopping by!