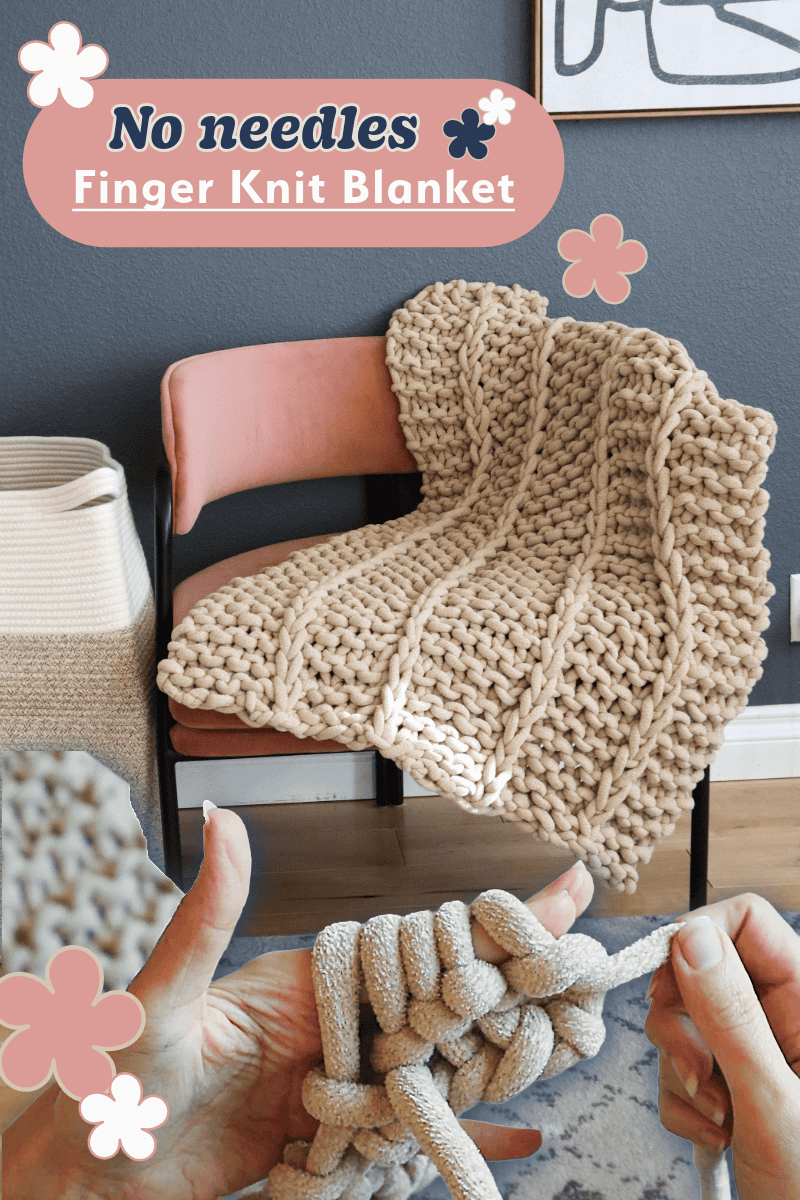
No-Needle Knitting
If you've been curious about arm knitting but hesitated because of those loose, loopy stitches everyone complains about, I've got something better for you. This finger knitting method gives you all the chunky blanket vibes with way tighter, more professional-looking results, and you still don't need knitting needles!
I just finished this garter stitch blanket using only my fingers. It was so much easier and satisfying than I expected. The technique emulates actual needle knitting, stays consistent, and lets you make full-sized pieces without that stretched-out look. Let me walk you through exactly how it works.
Choosing Your Yarn
First things first: you need the chunkiest yarn you can find without breaking the bank.
I used Bernat Plush Big, which comes in 45-yard balls. These days, big box craft stores are loaded with jumbo yarns, so pick the thickest one that catches your eye. Just make sure each ball has close to 45 yards or more-I'll explain why that matters in a sec.
For my blanket, I used five balls total, which gave me five panels. The one-ball-per-panel approach made planning and sizing the blanket easy, but you can absolutely use multiple balls per panel if yours are shorter or you want a bigger blanket.
Video Tutorial
Now, these sorts of manual crafts are much better demonstrated than explained so be sure to check out the video tutorial:
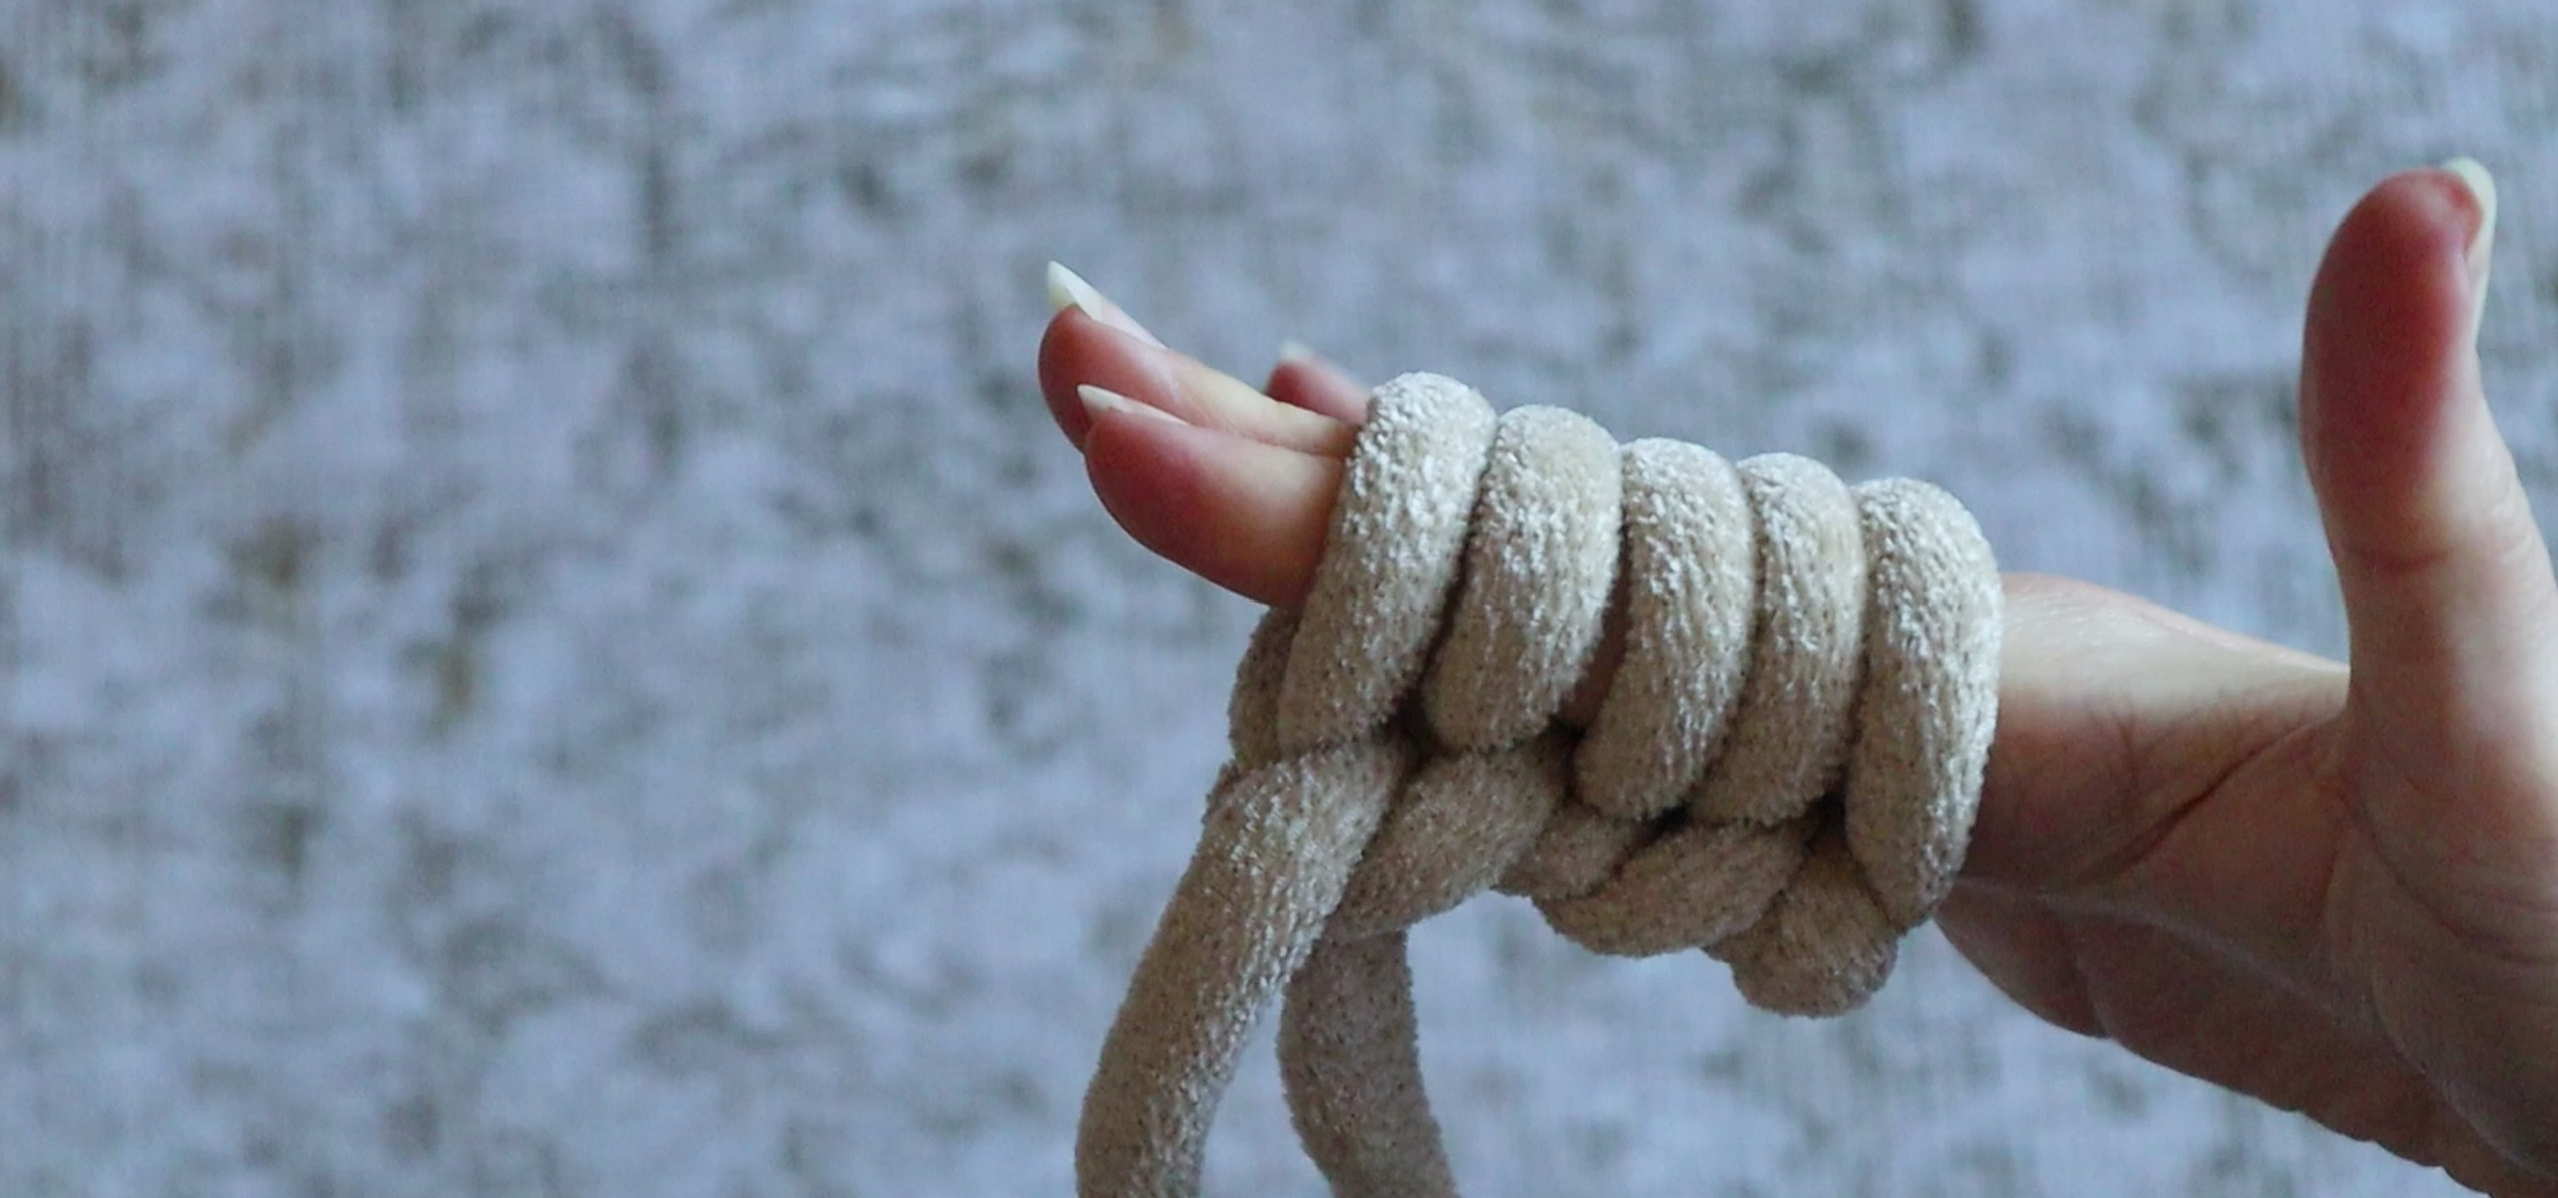
Casting On to Your Fingers
Grab your yarn tail and pull out about 2 feet from the ball. Make a slip knot and pop it onto two fingers-these are now your "knitting needles."
Tighten that slip knot, then with your other hand, grab the two strands coming out of the knot. Separate them with your index finger and thumb to make a little slingshot shape.
Here's the casting-on sequence:
- Weave your two fingers under the first strand from your thumb
- Go over the next thumb strand
- Scoop up the strand from your index finger
- Pull it through the loop on your thumb
- Drop the thumb loop and tighten
Repeat until you have five stitches cast on. It feels fiddly at first with that big tail hanging around, but just ignore it completely-you're only working with the yarn coming from the ball.
The Basic Knitting Motion
Now for the actual knitting. This is where finger knitting gets cool because it genuinely mimics needle knitting.
To purl (yarn in front):
- Pinch the working yarn between your right fingers
- Let the strand drape in front of your fingers
- Pull the first stitch off your right fingers over the working yarn
- Slip the new loop onto your left fingers
- Tighten by pulling the working yarn
To knit (yarn in back):
- Pinch the yarn between your left fingers
- Keep the working yarn hanging behind your fingers
- Pull loops off and slip new stitches onto your right fingers
The rhythm is simple: purl onto the left hand (yarn in front), knit onto the right hand (yarn in back). This creates that tight garter stitch pattern you see in the finished blanket.
Why This Method Actually Works Better
I've tried arm knitting and other no-needle methods, and here's why finger knitting won me over:
- More consistent tension - your arms are narrower at the wrists than they are further up your arm so arm-knitting stitches can be more inconsistent
- Tighter gauge - Your stitches are only as wide as your fingers, not your entire wrist or arm
- Easy breaks - Working with just five stitches means you can pause mid-project (pull the yarn through all stitches, make a large loop, and come back later)
I think the gauge difference alone is worth it. And easily adding the garter stitch texture is fun too!
Binding Off Your First Panel
When you're running low on yarn, it's time to bind off. Knit one stitch normally, knit the next stitch, then pass the back stitch over the front stitch on your right fingers. Keep going-knit one, bind off, knit one, bind off-until you pull your remaining tail through the last loop.
Congrats! You just made your first blanket panel (or scarf, if you're stopping there).
Joining Panels for the Ribbed Effect
This is where things get interesting. For subsequent panels, you'll cast on the same way, but before starting your first row, pick up your existing panel and find the very corner.
Locate that loop coming out of the cast-on edge, reach through it, and pull up a loop with your working yarn. Now you have six loops total. Pass the first stitch on your right fingers over the new loop, then place that new loop on your left fingers.
As you work down the edge:
- Purl across four stitches normally
- On the fifth stitch, turn it and place it on your right fingers (don't knit it)
- Find a tight loop on the panel edge and pull up a new loop through it
- Pull the new loop through that fifth stitch you didn't knit
This join-as-you-go method creates the ribbing detail automatically. I'll be honest-it's the trickiest part. If it's not clicking for you, there's a bonus method at the end for seaming finished panels together.
Finishing Touches
When you're ready to bind off at the top of your previous panel, work through the top corner the same way, pulling your working yarn through the slip stitch and the last bind-off stitch.
For loose ends, tie them off in the back of your blanket. Pull the knot tight and trim close. With standard plied yarns, you can separate the plies and tie them. With fluffy chenille, strip off some fluff and tie the inner core strands.
Full disclosure: With the Bernat Plush (which is a fiber-filled knit tube), I actually grabbed a needle and thread and popped a couple of stitches through the tail to secure it before cutting. Totally extra, but I was gifting this blanket and wanted zero unraveling risk.
The Alternative Seaming Method
If join-as-you-go feels too complicated, you can seam two finished panels together afterward and still get that ribbing effect.
Look closely at your panel edges-you'll see ridges made of "frowns" and "smiles." Line them up so frowns match with smiles. Using a separate piece of yarn (I used a different color so you could see it in the video), tie onto the corners, keep your yarn behind the blanket, and:
- Grab a frown and a smile, overlap them
- Pull up a loop through both
- Grab the next frown and smile
- Pull up another loop and pass it through the old loop
It's a little easier than join-as-you-go if the rhythm isn't clicking for you. Or if you want a completely seamless join, search for "seamless garter stitch join"-there are tons of resources already out there.
Final Thoughts
This no-needles knit blanket is honestly such a satisfying project. It's quick, customizable, and totally handmade in the best way. Plus, with all the fun jumbo yarns hitting stores lately, you've got tons of color and texture options to play with.
Whether you make one panel as a scarf or go all-in on a five-panel blanket, you'll end up with something chunky, cozy, and way more polished than typical arm-knit projects.
If you give this a try, I'd love to see what you make! Tag me wherever you're hanging out online-I'm always excited to see these chunky creations come to life.
Happy finger knitting! 🧶