Every year, when the weather gets colder, the leaves change color, and jumbo chenille yarn starts popping up everywhere! You can hardly scroll through insta or tiktok without these luscious textures appearing on your feed. Sometimes called blanket yarn or velvet yarn, loads of crafters, from beginner to advanced, love tackling all sorts of home décor projects, using this yarn, with (or without) hooks and needles!
For how many beginners this yarn attracts, it's not without its challenges! Uneven tension... breaking yarn... shedding... and then, of course, how to join a new ball of yarn? I got you! The last thing I want is for that beautiful yarn that reeled you into crafting, to be the one thing that discourages you from continuing on in your knitting adventure. So if you're fed-up, with a pile of tangled chenille and no project, come along with me and I'll share all the tips and tricks that I know for dealing with jumbo chenille yarn.
To demonstrate just how beautiful projects made in this yarn can turn out, we'll be working on a basic, chunky knit throw blanket! (Who's entire pattern is basically contained in the table below ?).
| Yarn | Needles | Cast On | Stitch Pattern | Rows | Final Size |
| Ice Yarns Chenille Superbulky | 9mm (36+ inch long circular cords) | 58sts | Stockinette (slipped first st selvedge) | 150 | 48"x60" |
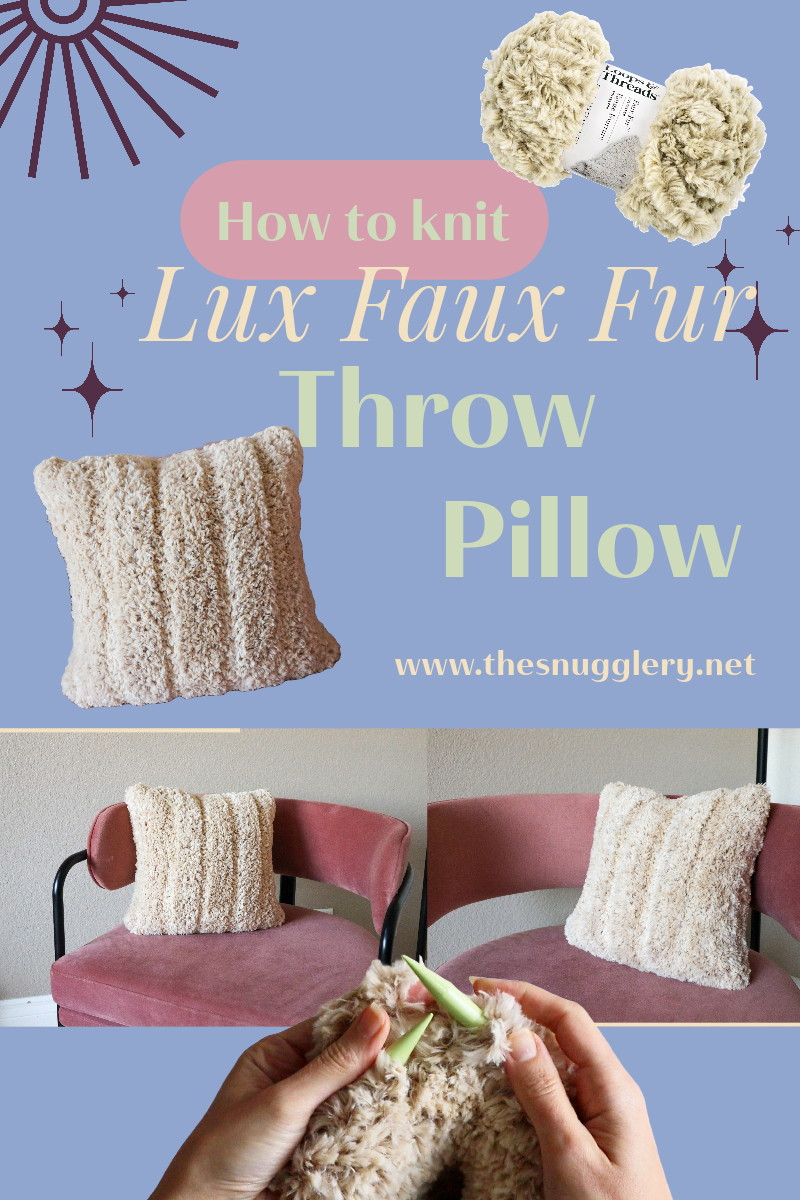
This one pairs perfectly with my new, modern corduroy couch that just didn't vibe with any of my existing boho-style afghans. No, I needed something modern... something kitschy... something...seafoam! And that meant straying away from the typical, plied, woolen fibers that we think of when it comes to yarn.
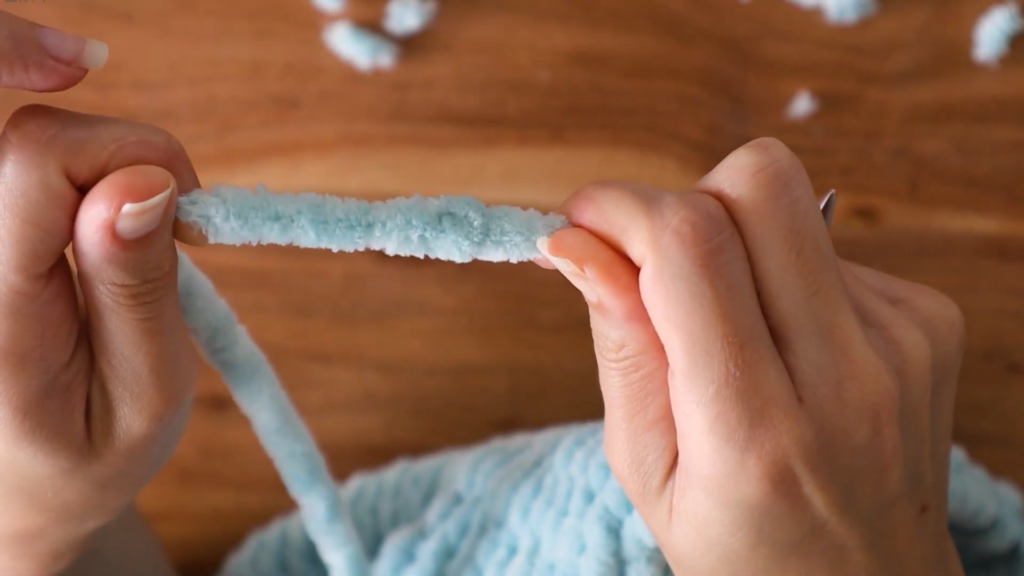
What makes chenille different is its construction. You see a fuzzy, tubular yarn that looks kinda like a caterpillar. What's going on inside is that there are a few strands of string, tightly wound around each other, clasping onto that shiny chenille fuzz. So the fiber you see is essentially teeny little bits of fringe held in place by some sturdy, core strands.
This means that anything that compromises the integrity of those core strands can cause the fluffy fibers to fall out! Making this otherwise cheap and cheerful yarn, actually quite fussy to care for. No washing, no drying, no hanging. All these things could cause those core fibers to stretch and lose their grip on the chenille fuzz. They can be dry-cleaned and/or very gently hand washed or spot washed while always laying flat to dry.
With all of that "fun" stuff out of the way, let's talk about actually working with this yarn!
When it comes to things like casting on and picking a gauge, it's important to remember that this yarn does not have the same natural stretch to it as many wool yarns. You'll know if you've ever pulled t00 tightly on two ends of chenille. The core strings are brittle and prone to snapping right in half rather than stretching. I actually think this feature is kind of fun, because I don't need to keep a pair of scissors near by if I ever need to break (literally) the yarn.
So, when you work with this yarn, the stitch you make is the stitch you make...and the tension won't necessarily even out over time. This is sort of unforgiving for beginners who can struggle with even tension in their projects. A quick way to make this part easier on yourself is to go down a couple needle sizes!
The yarn I used in my blanket called for 12mm needles but I actually went with 9mm needles for my project. This ensured tight stitches that would be less prone to looking loopy or wonky if my tension was off a bit from stitch to stitch.
I also made sure to go with a structured cast-on like "the long tail cast on." A crochet equivalent to this would be a row of foundation double crochet or foundation single crochet rather than a typical chain. Just a bit more insurance against worming (when a loop pulls out long and twists around itself). The "backwards loop cast on" would be an example of a cast on that is too loose for working with chenille.
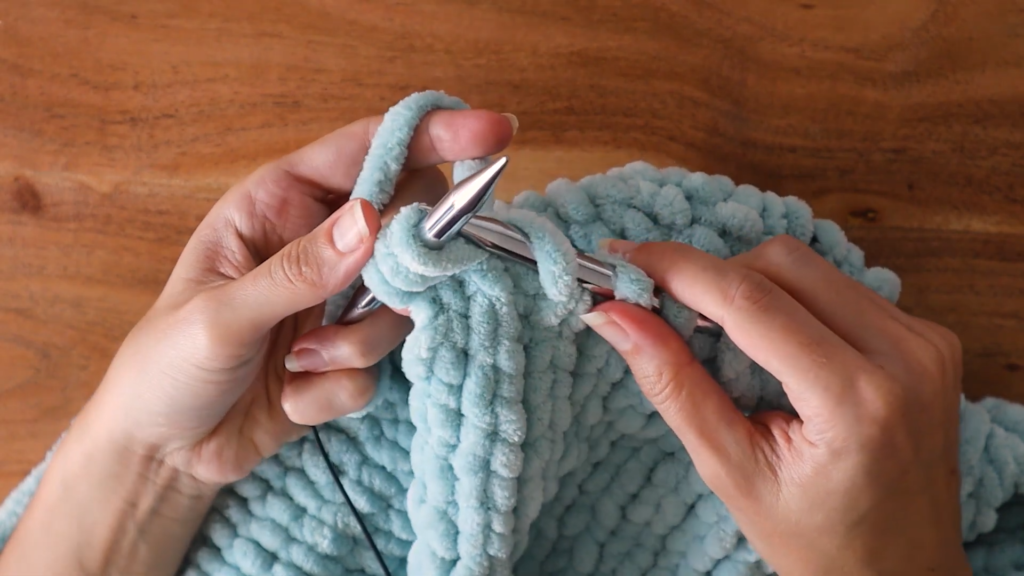
This next tension tip is kinda crazy but hear me out. Knit backwards. What?
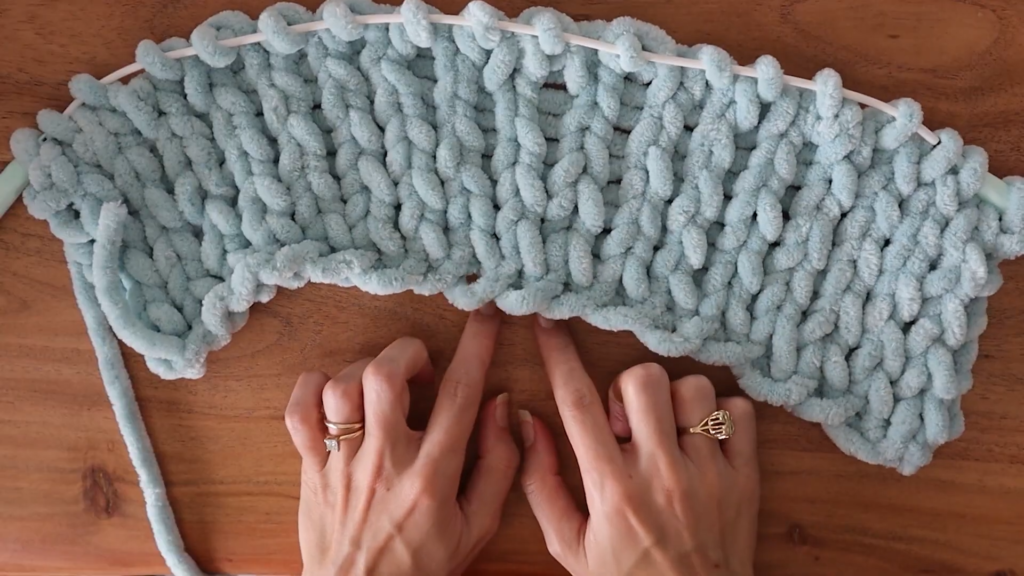
That's right, instead of turning your work at the end of a row, simply knit back the other way.
Believe it or not, I knit this entire stockinette blanket without actually purling a single stitch. And for me, that meant avoiding any tension differences between my knits and purls, helping to keep my stitches more consistent throughout the project.
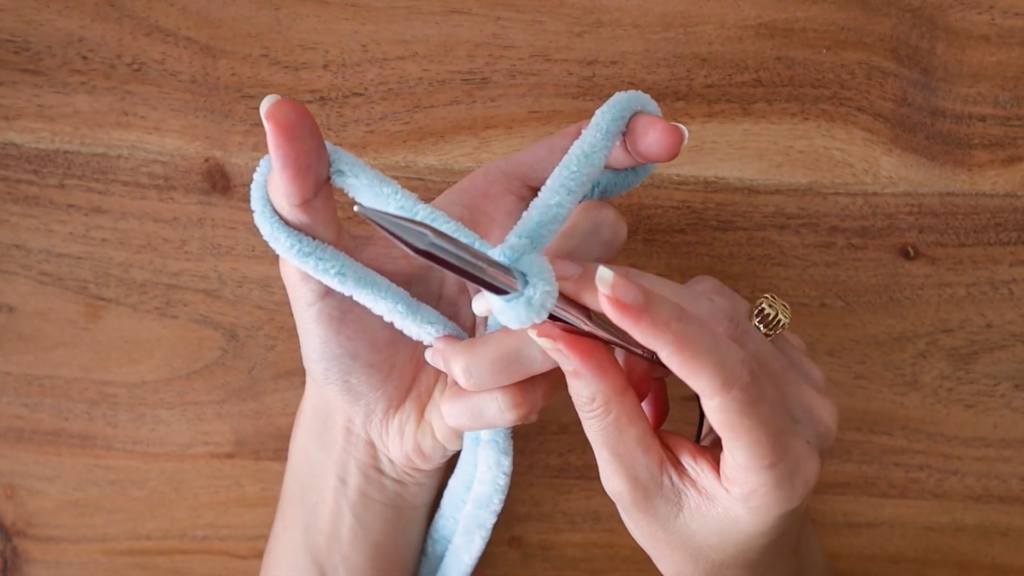
A visual is really required for a concept like knitting backwards, so I made a handy video for you to check out!
But, essentially, knitting backwards is just like knitting forwards, except you'll insert your left needle through the back loop of the stitch (from the left side). Then, be sure to wrap your left needle counterclockwise, and pull the new stitch through. You'll knit stitches this way OFF of your right needle and ONTO your left needle. Backwards of how you're likely used to.
***disclaimer time! I know some people knit this way normally! There's nothing wrong with knitting like this, I just know its the opposite of how many of my, likely English speaking readers tend to knit. Any way that you love to pull loops of yarn through other loops of yarn is perfectly perfect for you!
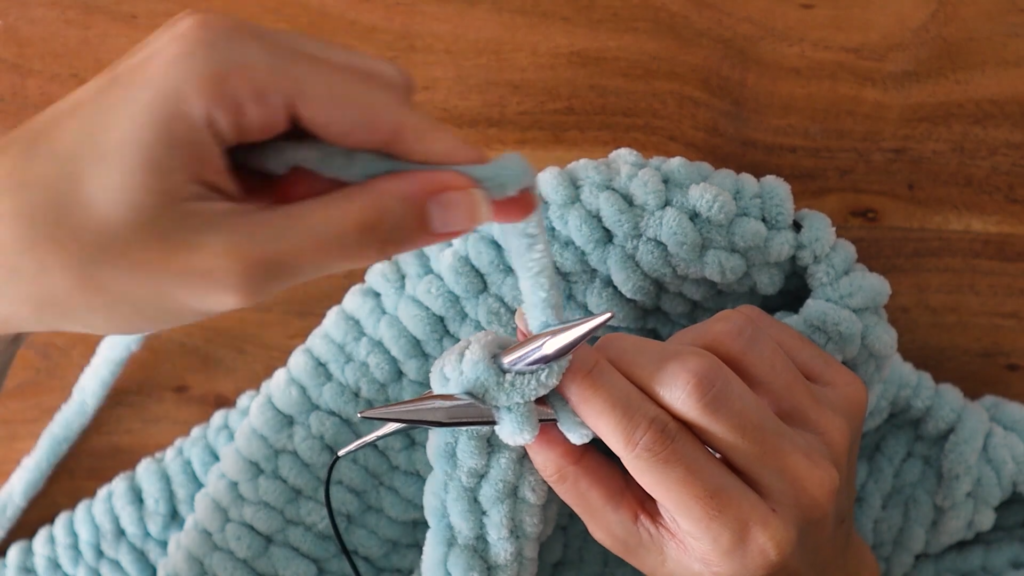
Now that I've hopefully gotten you also hooked on knitting backwards (honestly, am I ever gonna purl again?), lets talk about joining a new ball of chenille yarn!
If you've ever tried to "weave in ends" with chenille, they've likely made several reappearances. And, again, due to chenille yarn's unique construction, your trusty methods of weaving in yarn ends likely won't do the trick.
But I have a solution that works so well, I actually like joining ends of this velvety yarn better than traditional plied yarn.
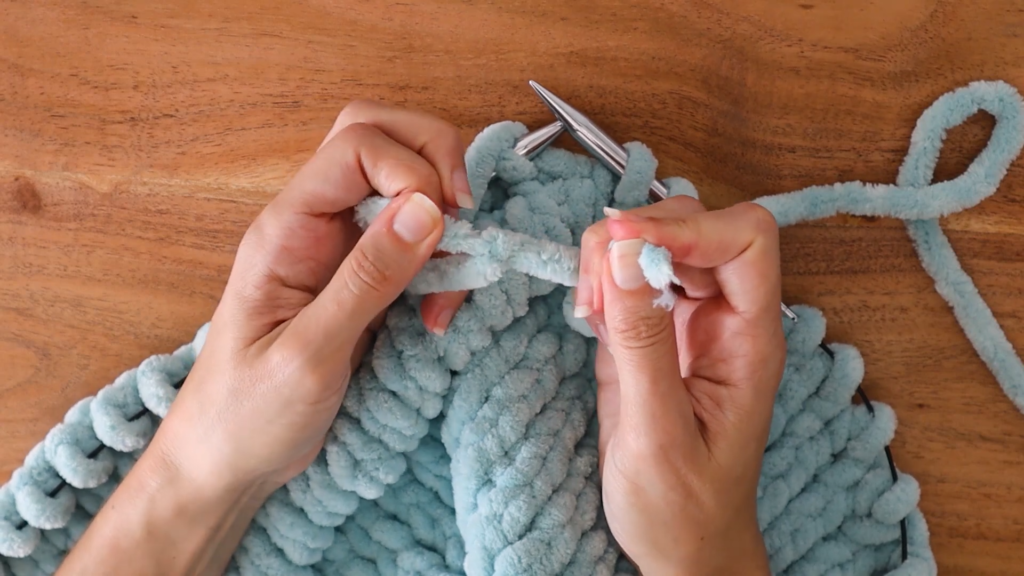
Joining Two Ends Of Chenille Yarn
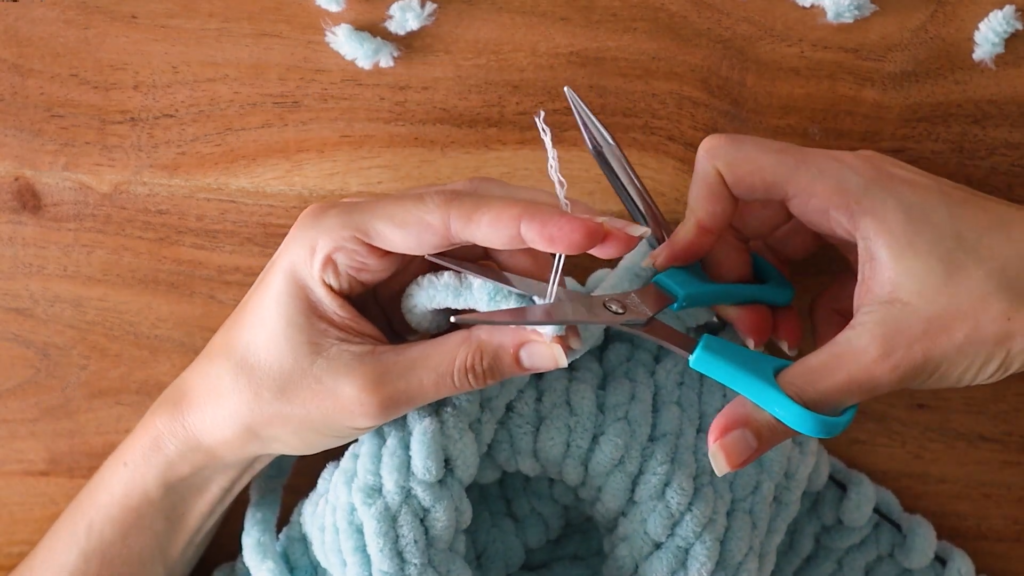
- Tie the two ends in a simple not with about 2 to 3 inches left on either end. Make it tight but be careful not to snap the brittle core strand
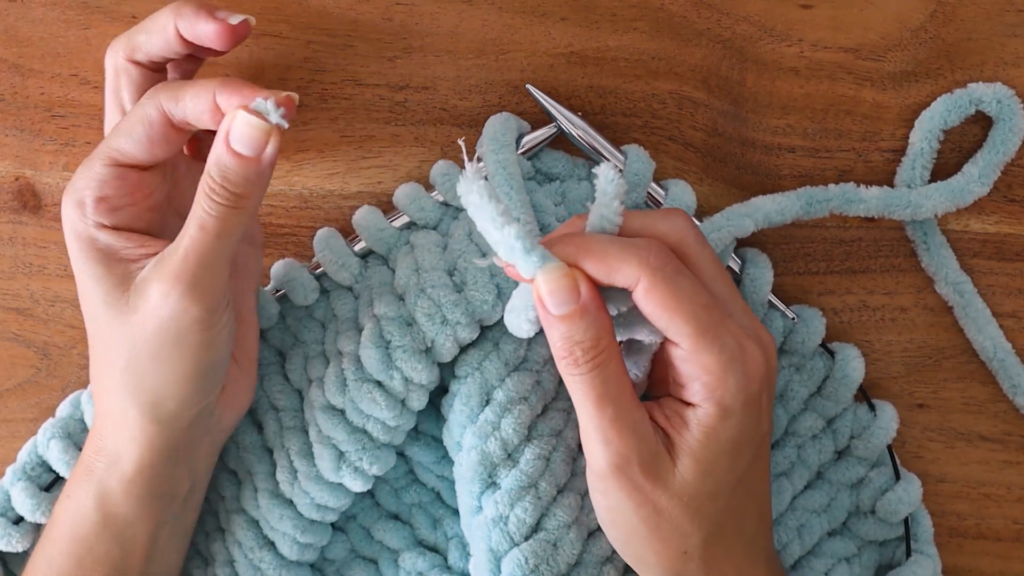
- Strip the inner core strands of the chenille fuzz on your yarn ends, almost right up to the knot. You can pull this off with your fingers. You may need to snip the very end to release the chenille and this may not work for every type of velvet yarn
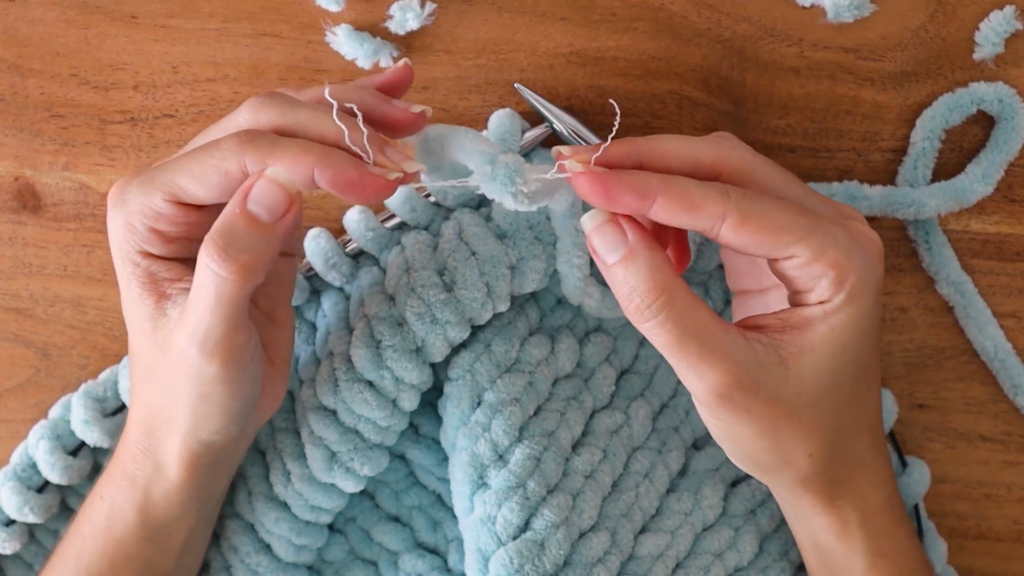
- Tie the bare core strands together in several very tight knots
- Cut the stripped core strands short and what little stripped bits that are left will be hidden in the remaining chenille fuzz of the initial knot that you tied.
I know some crafters are vehemently opposed to knots in their work but who could argue with results like this! If you have any other choice methods for joining velvet or chenille yarn, I would love to hear about them so please feel free to drop a comment below!
Finally, most projects will end with a bind-off. Again, structure is key here. The basic bind-off provides a good amount of structure but tension can also be an issue and the risk here is a bind-off that is too tight. I recommend going up a needle size or two just for the bind off so that you can confidently keep a firm tension without getting a blanket that narrows at the end.
So there you have ALL of my yarnie wisdoms about how to best tackle this unassuming yet demanding little princess of a yarn that we call Chenille. I hope this inspires you to wind up that clump of messy yarn in the corner and give it another go! You can do this!

Excellent tips for working with this Chenille yarn! And I have not seen them anywhere before. Wondering how many balls/skeins of yarn this blanket might need? I have some to use up and think it could be enough. Thank you!