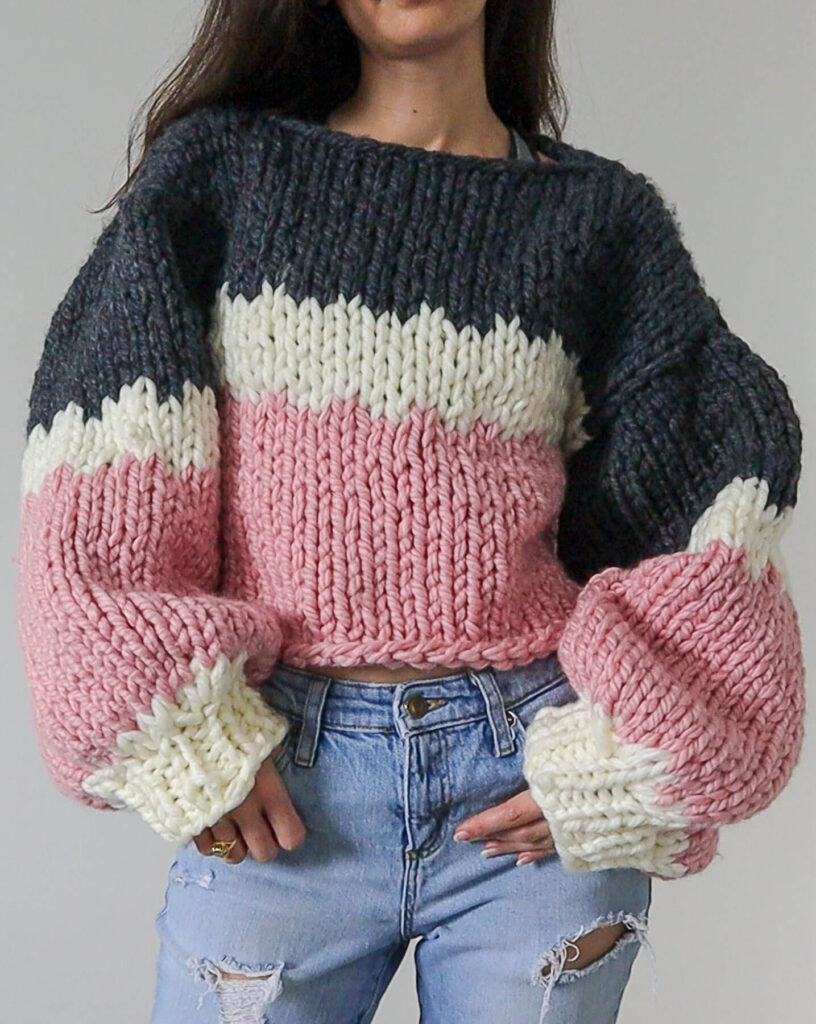
No pattern? No problem! If you've got your hands on some epically chunky yarn and can't find a pattern to go with it, I'll show you how you can easily figure out how many stitches to cast on and knit to make a custom sweater that fits great!
There's a helpful video tutorial to go along with this post so be sure to check that out here:
Materials
So, before we get into sweater pattern writing 101, you're probably curious which yarn and needle size I used in my example sweater! Well I used one of my old faves: Ice Yarns Alpine XL.
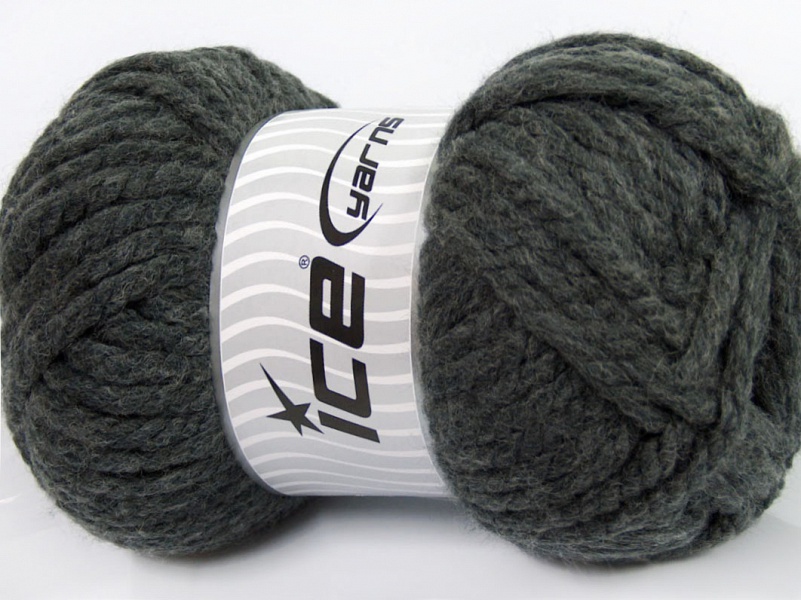
It's a super bulky, borderline jumbo weight yarn that's a great cheaper dupe for Red Heart Grande.

I also used my Loopy Mango Three Musketeers interchangeable needles in 16mm (and 12mm for the sleeve cuffs). Unfortunately, those needles are often out of stock but a perfect alternative to those super chunky, interchangeable needles are these ones by Denise.

Sweater Pattern 101
The very basics of a knitting pattern consist of how many stitches to cast on and how many rows to knit. It can get endlessly more complicated from there once you start adding in shaping, working in the round, increases, decreases and so on.
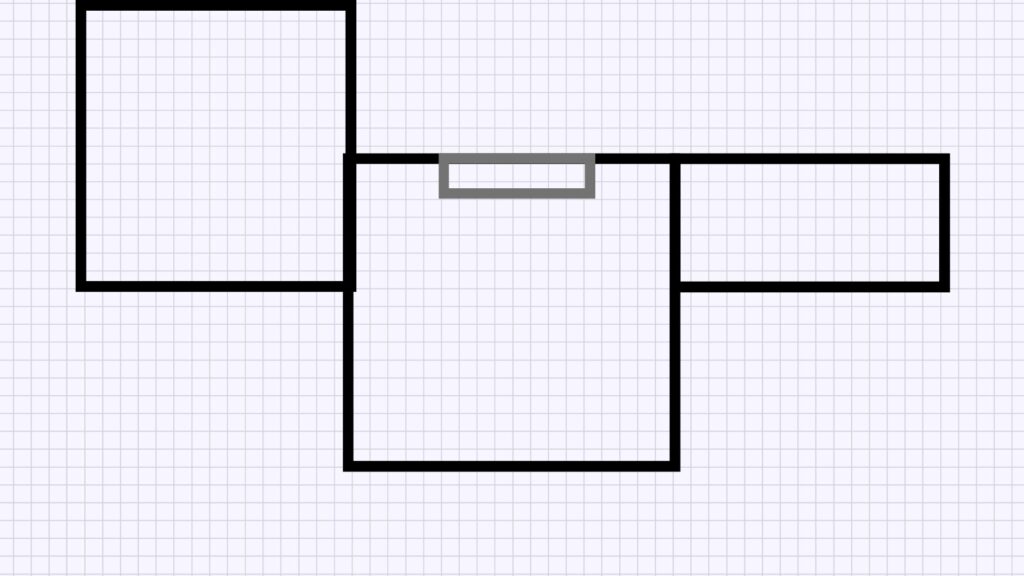
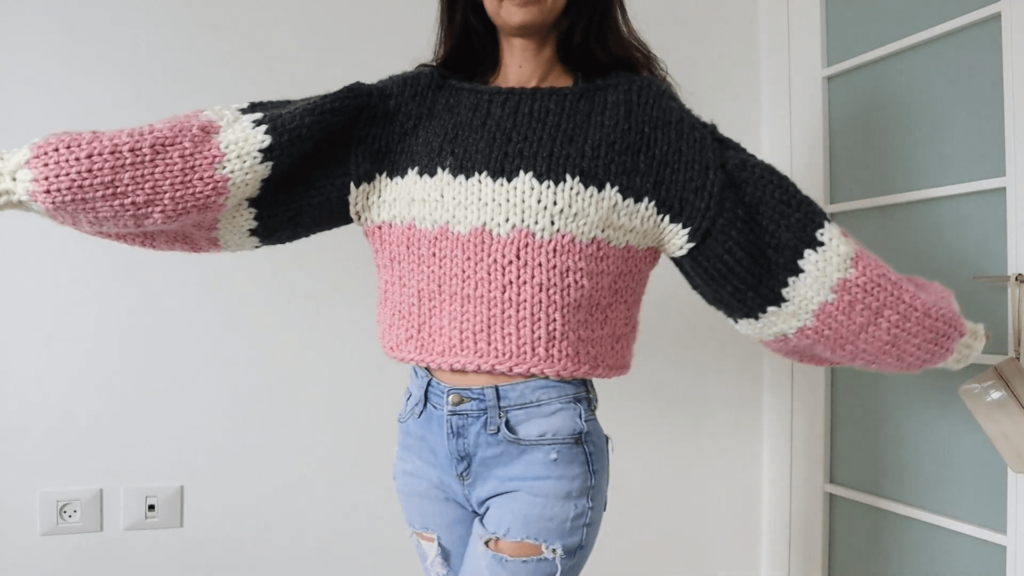
For our very basic sweater, we're taking the "rectangles" approach. The body, being two rectangles seamed together with an opening left on top for your head. The sleeves can also be two sets of rectangular panels, or each made of one big rectangle, seamed along the underarm into a tube.
To figure out the length and width of your rectangles, you'll need to grab a sample top, that you already own and like the fit. Be sure to pick a top that more or less has a similar construction.
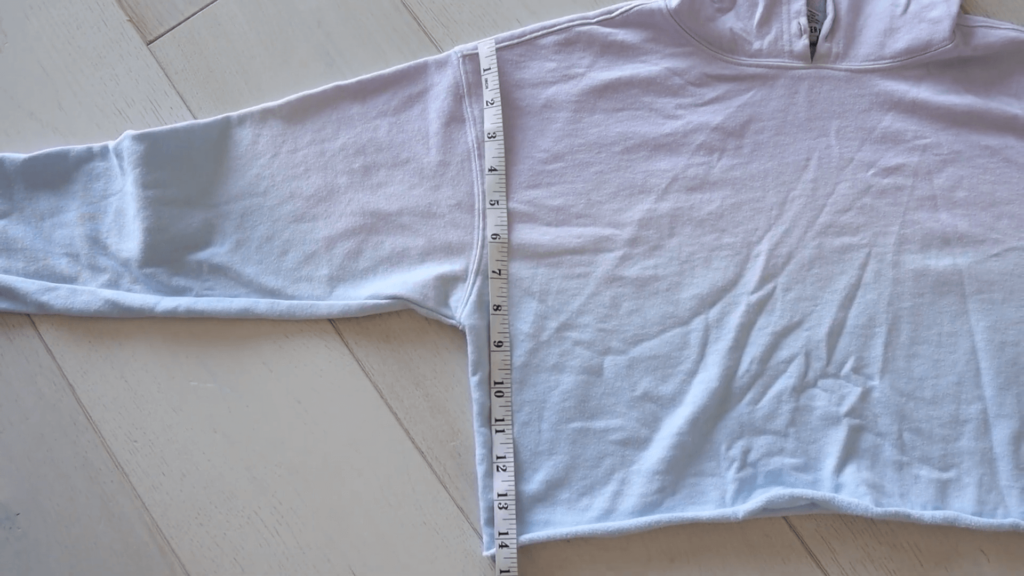
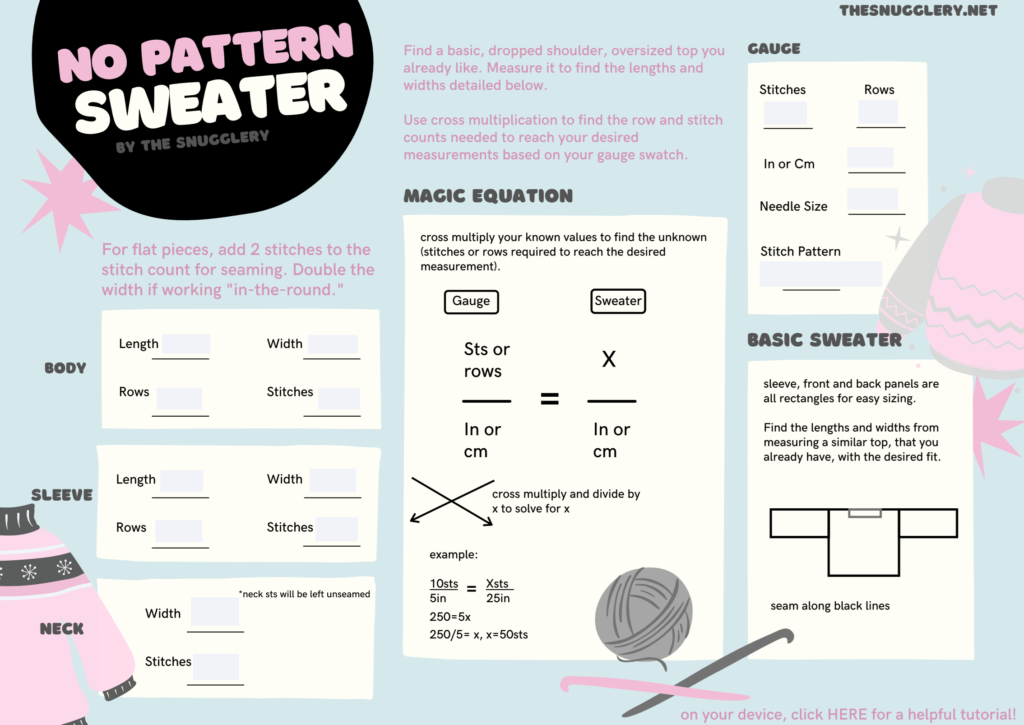
You'll then measure the body length and width, sleeve length and width, and the size of the neck opening. To make this part easier, I made a helpful FREE worksheet you can fill out! You can get a copy by clicking on the picture of it here.
Gauge
Once you've got your desired measurements, we can calculate how many rows and stitches you'll need to get those measurements by knowing your gauge! To find your gauge, you'll have to make a gauge swatch.
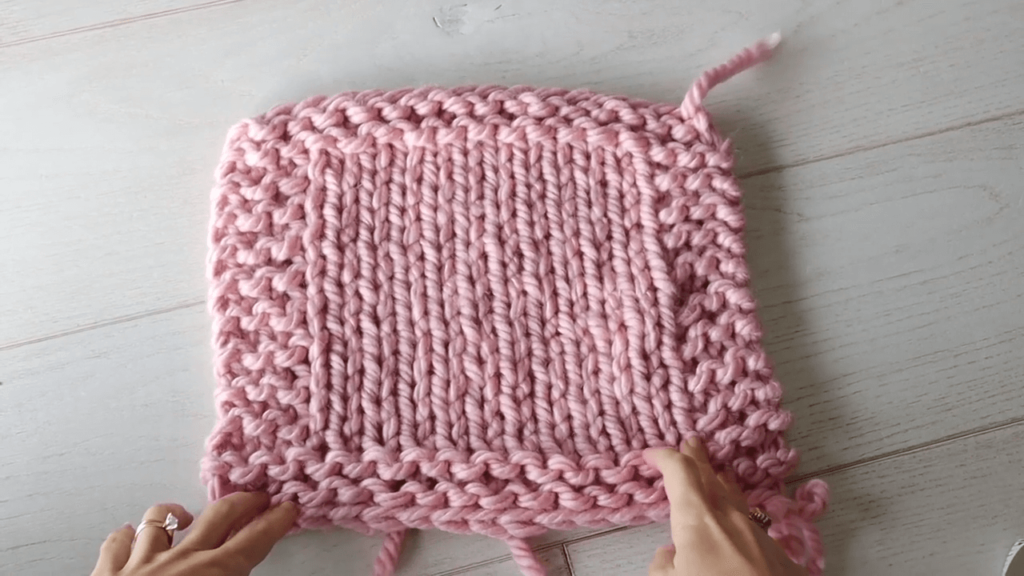
Which is just a little square of the stitch pattern you want to use in your sweater. Then, you'll measure and count how many stitches and rows you have in a certain number of inches (or centimeters).
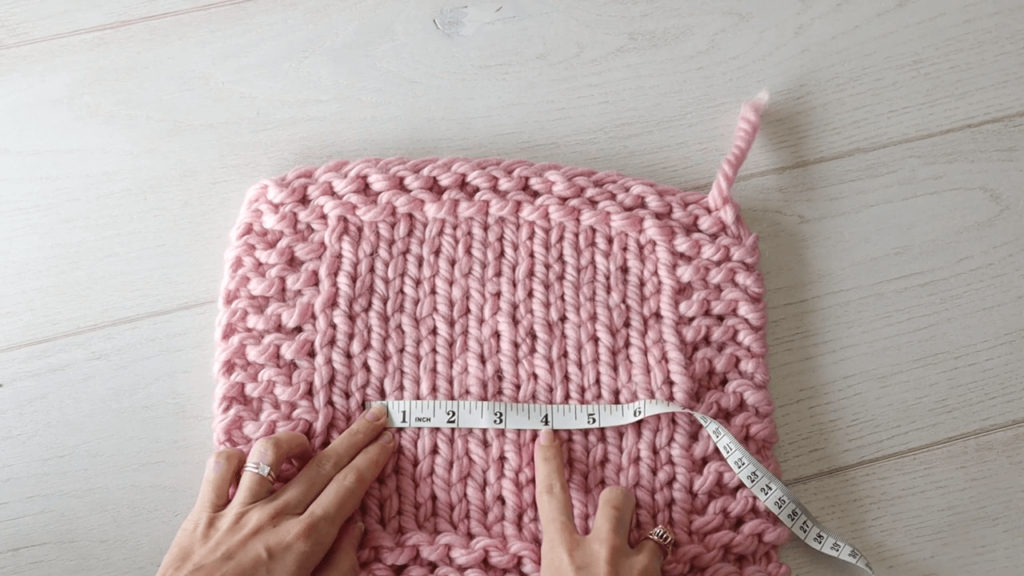
Write that gauge on your sweater pattern worksheet. And with your gauge and desired sweater measurements, it's time to cross multiply!
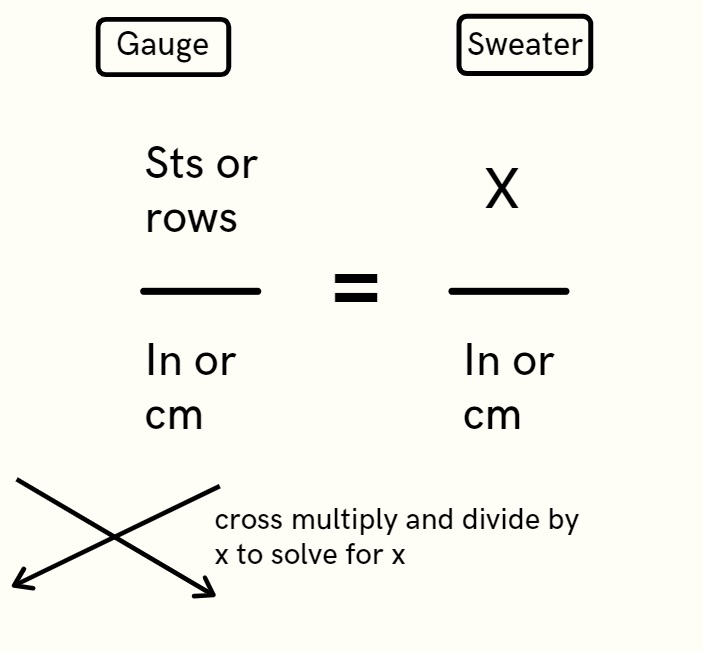
That's right, that silly math trick from middle school is all you'll need to convert your gauge to your sweater. Use your stitch gauge for widths and row gauge for heights or lengths.
And if you were sleeping in 8th grade math, I go over this idea in more detail in the helpful video tutorial. So be sure to check that out!
Body Panels
Using your gauge and sweater measurement calculations, it's simple for even beginner knitters to figure out how many stitches to cast on and knit to get the right size rectangle for front and back panels.
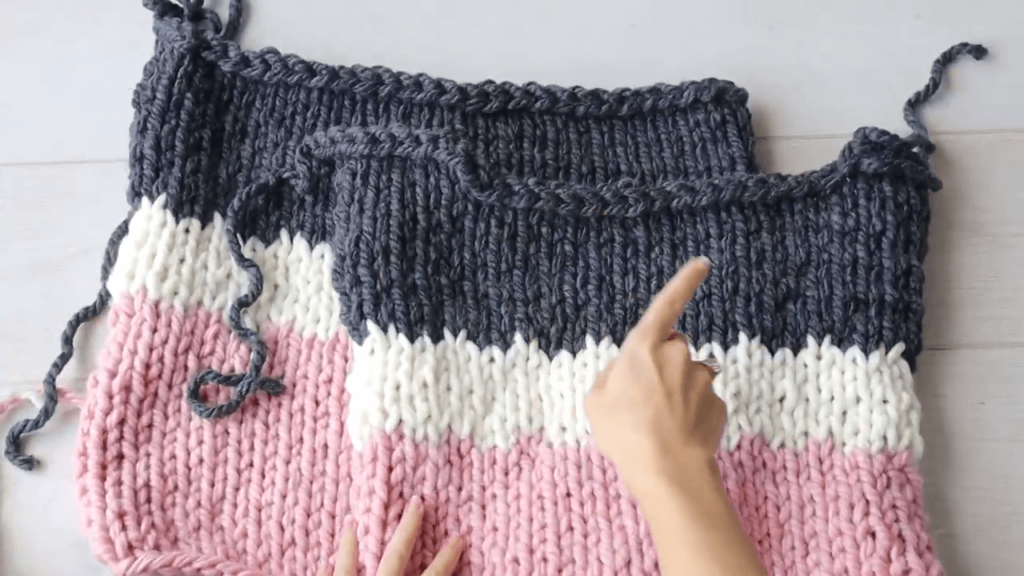
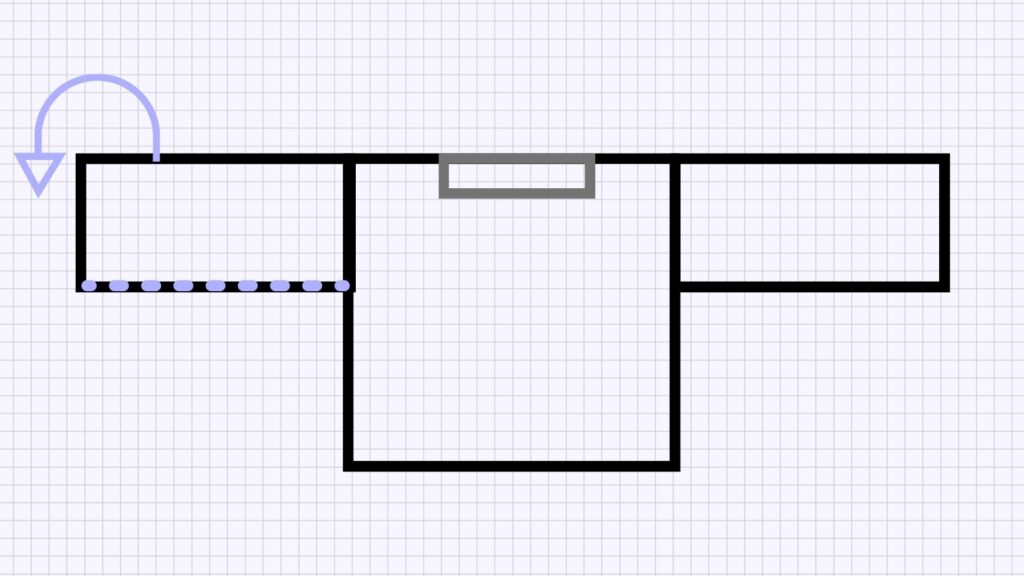
I chose to bind off my neckline stitches in the middle of my work for the front panel to help keep the neckline from riding up too high on my neck. To do this, I simply knit my shoulder stitches, bound off my neckline stitches, then knit the remaining shoulder stitches.
Then, you can add as much length as you want at the shoulders before binding them off as well. I added a total of 2 rows after binding off my neckline stitches.
I recommend seaming the front and back panels together at the shoulders first before considering what to do for the sleeves.
Sleeves
You have a lot of options when it comes to sleeves!
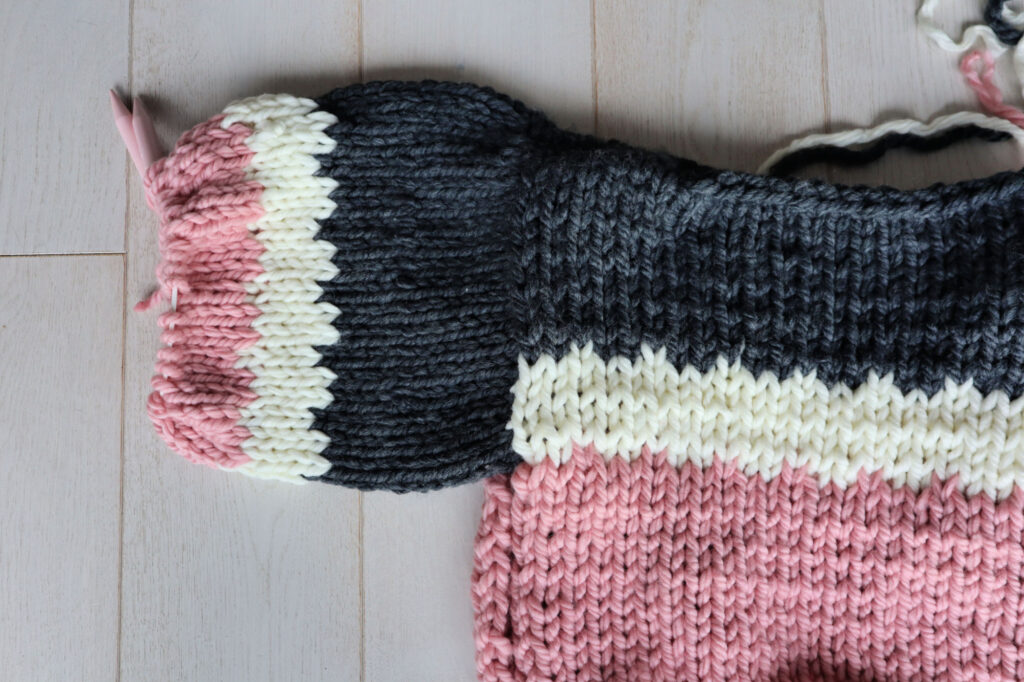
Like I mentioned, you can again go with rectangles like you did for the body, but I prefer to work in the round. So I picked up stitches all along my body panels for the number of rows that I calculated using my row gauges and sleeve width measurement.
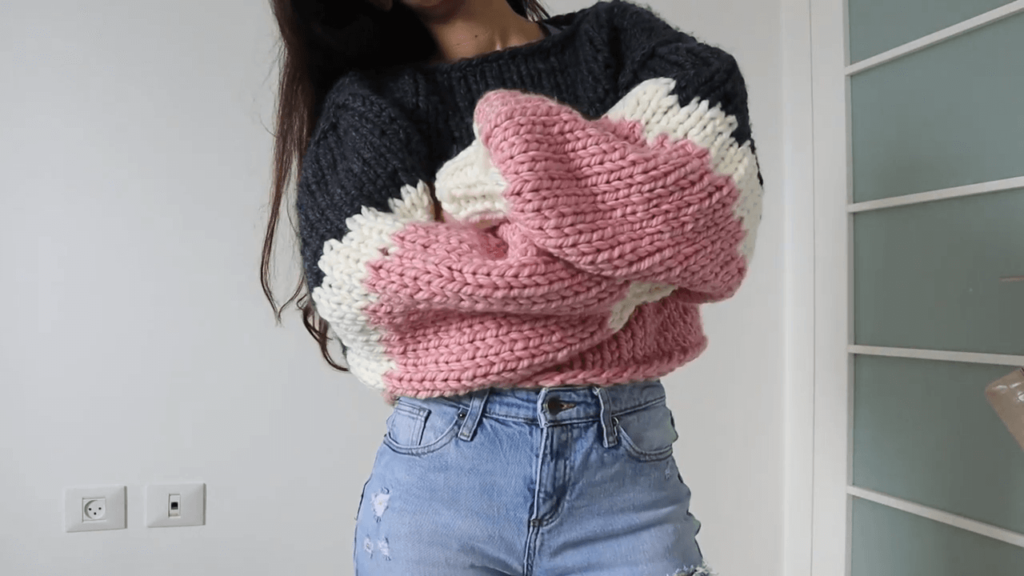
Since knit stitches are wider than they are tall, picking up my sleeve width in rows meant that my sleeves would be extra wide (based on the resulting stitch count). But I did this intentionally to get these billowy, trendy balloon sleeves!
So, If you want balloon sleeves too, that's a neat short-hand trick to get the right proportions. Cast on the same number of stitches that you'd need to get the arm-hole depth in rows.
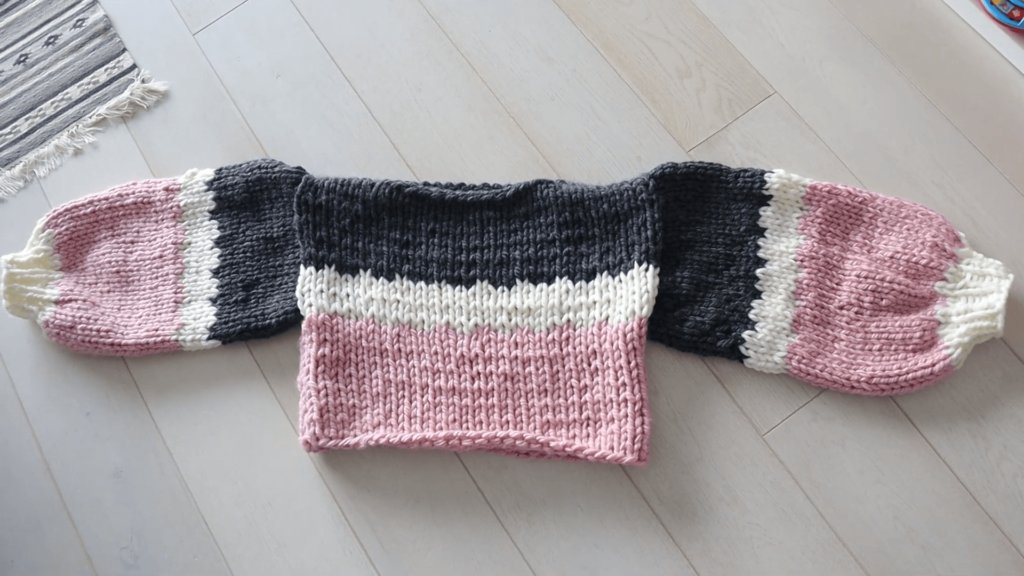
All that's left is to seam up the sides of your body panels up to the underarms. And seam your sleeves if you worked flat rather than in the round.
For a little extra demo of how I made the synched, ribbed cuffs at the bottom of my balloon sleeves, and other finer finishing points of this specific sweater, make sure to check out the video tutorial!
I hope you liked this idea for knitting a very basic sweater with no pattern at all! I'd love to see how you put your own spin on it with colors, lengths and sleeve shapes. Be sure to tag me on Insta, Facebook or Ravelry so I can see your projects too!
More Tutorials
- How to Finger Knit a Chunky Ribbed Blanket (No Needles Required!)
- 6 Crochet Stitches You ALREADY Know (If You Can Make Single, Half Double, And Double Crochets)
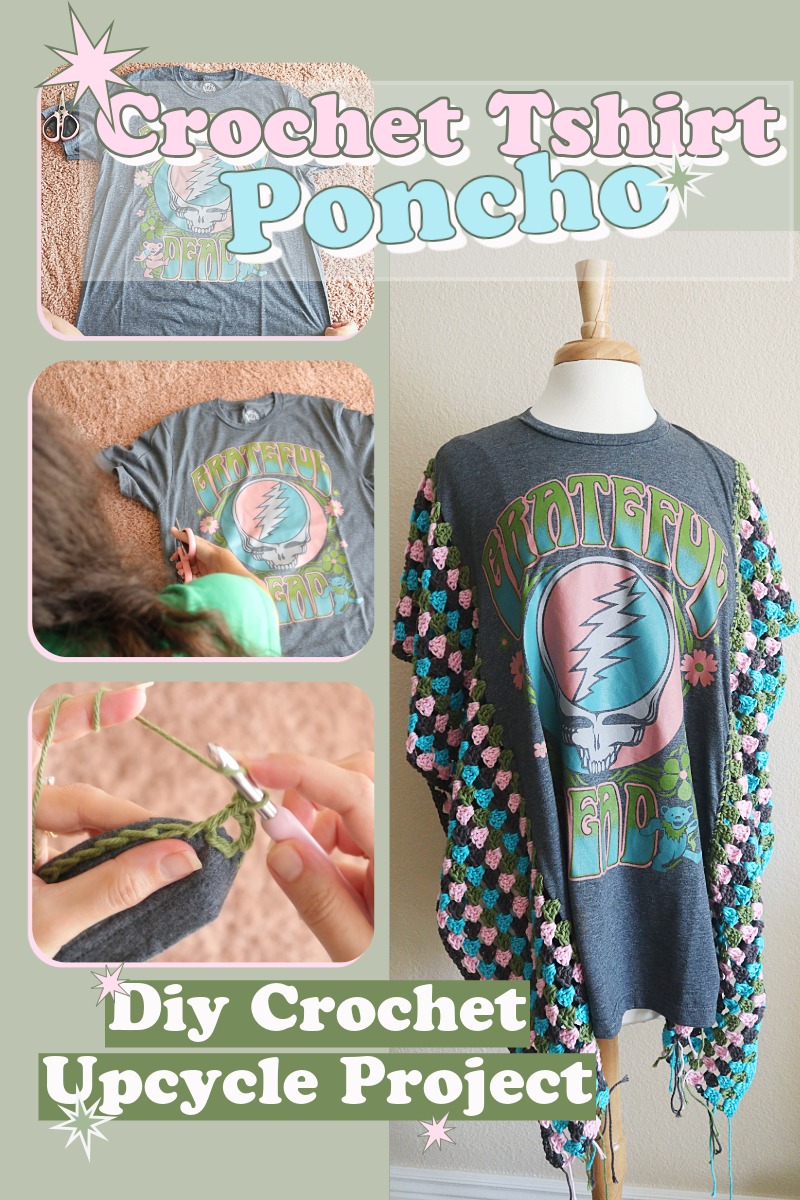
- DIY Crochet T-Shirt Poncho – Upcycle an Old Tee into Festival-Ready Style
- Are You Really Gonna Crochet A Labubu? - Paid, and Free Patterns To Help You On Your Lafufu Journey