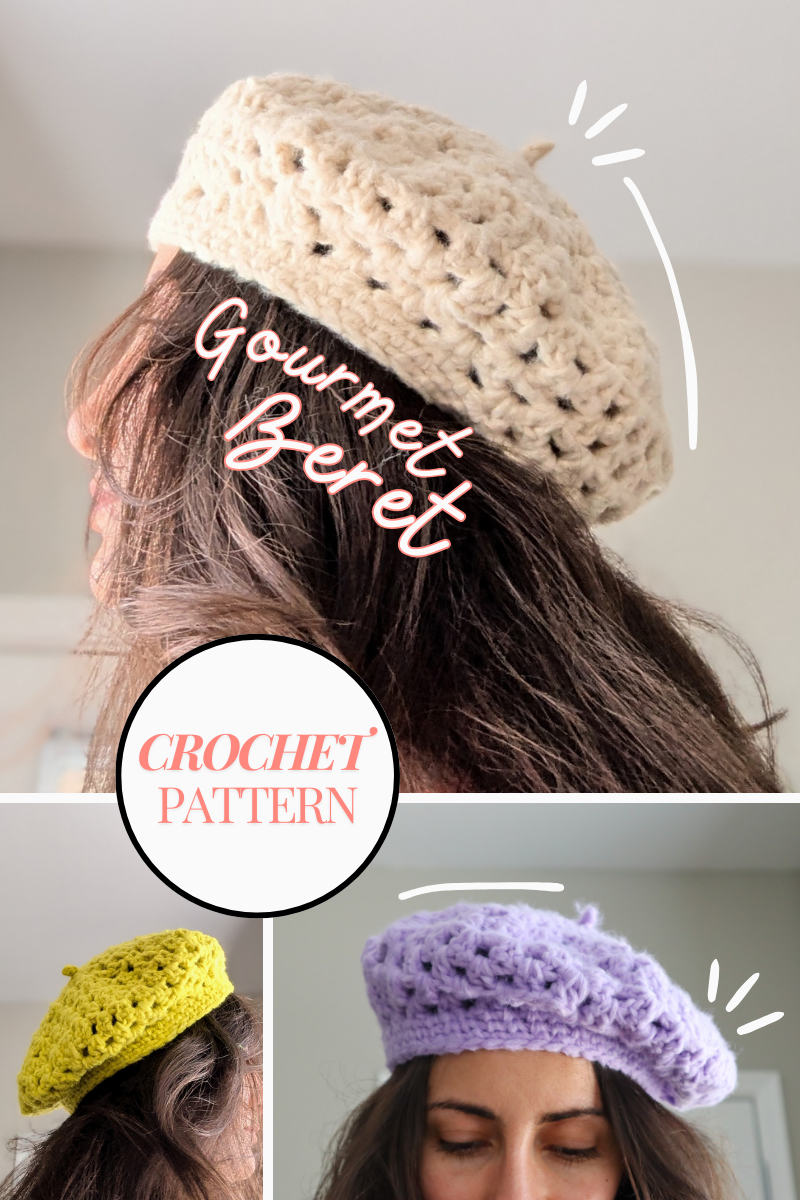
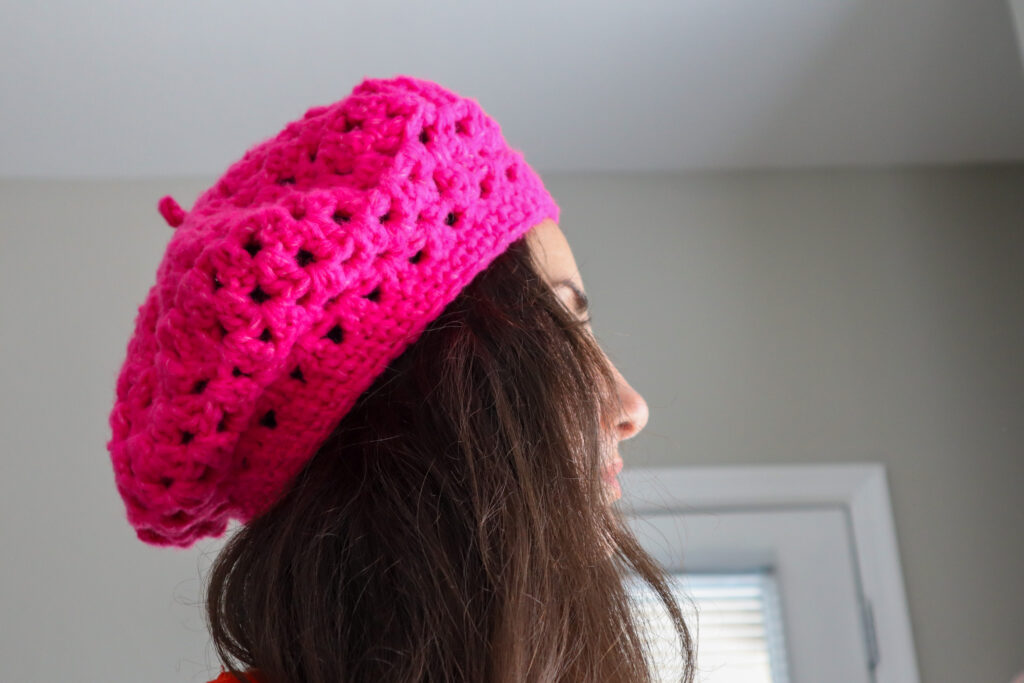
I'm excited to share with you the pattern for what my 5-year-old likes to call "the painter hat," but what I call, The Gourmet Beret! This fabulously floppy beret is not only stylish but also so fun to make. For my fellow visual peeps, there's a video tutorial that you can follow along to with the written pattern.
Materials
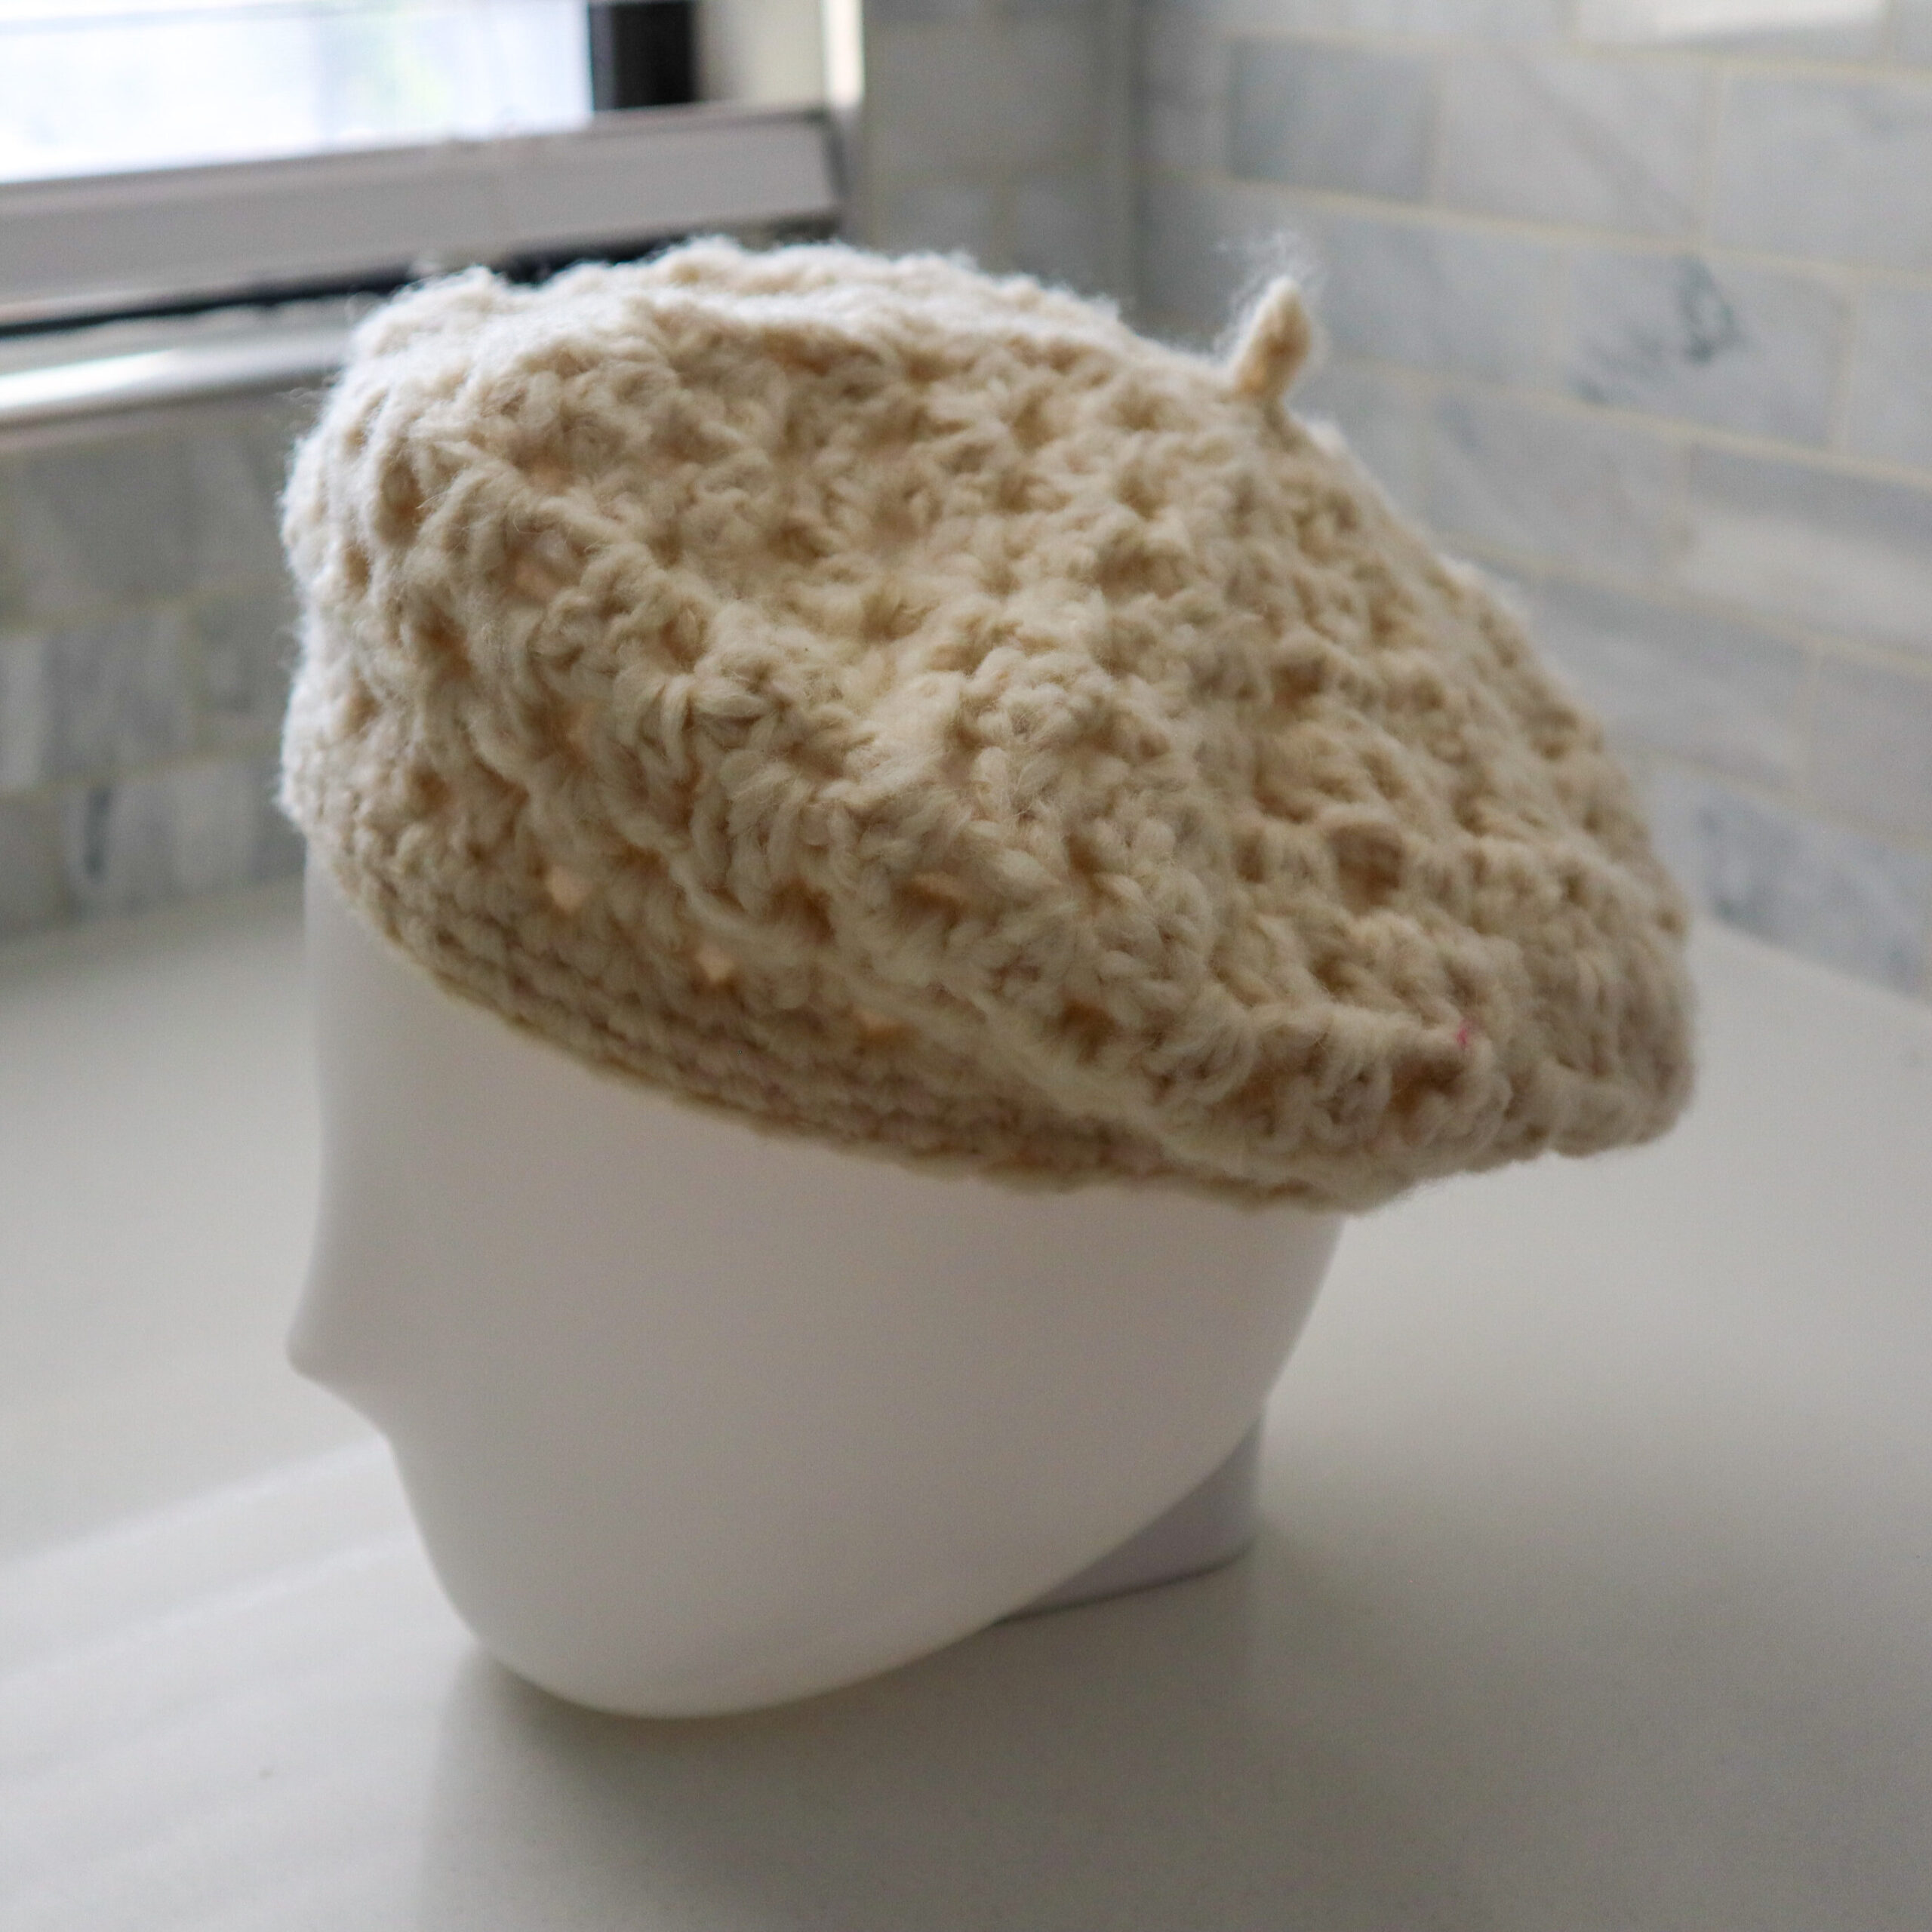
- Bulky weight yarn (I used Bernat Fluffee for its light and lofty texture)
- 7mm hook (US size K)
- Scissors
- A smaller hook for weaving in ends.
Abbreviations
- ch = chain
- dc = double crochet
- sc = single crochet
- sl st = slip stitch
- ch sp = chain space
- dc3tog = double crochet 3 together (decrease)
For a downloadable, printable crochet abbreviations chart, click HERE.
Pattern
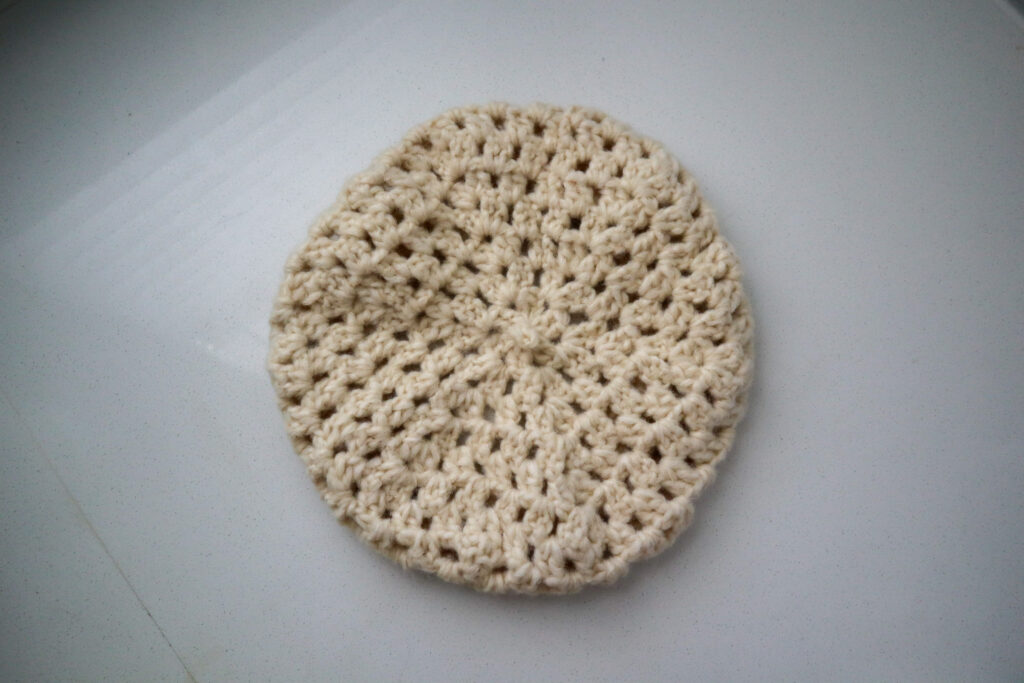
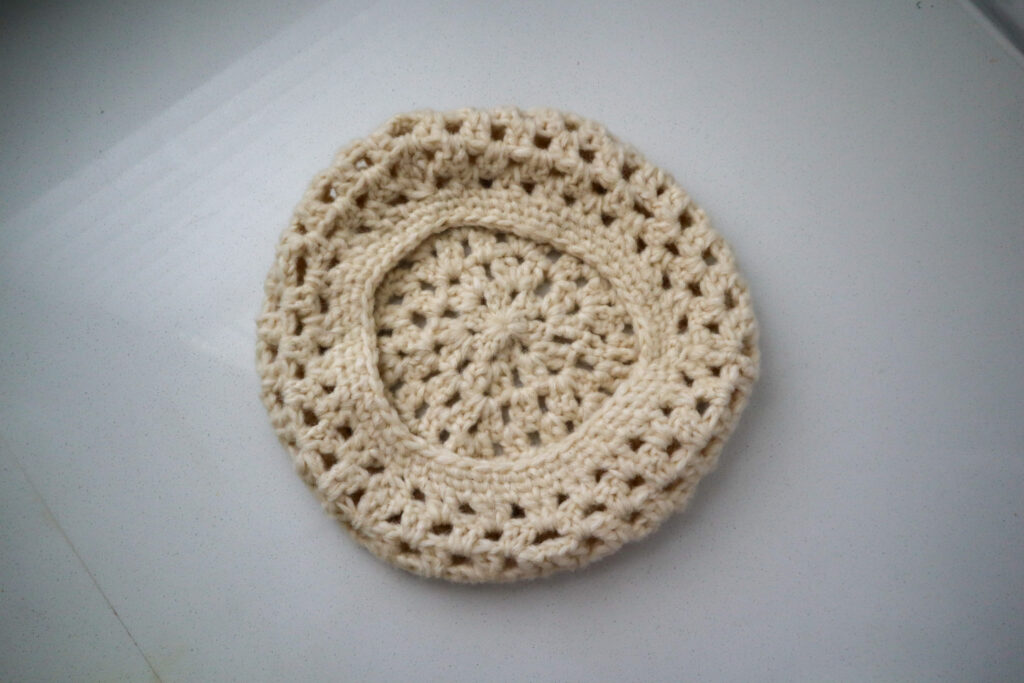
Top of the Beret (Hexagon motif)
Round 1: Start with a slipknot, ch 4, sl st to first ch to form a ring. Ch 3 (counts as 1 dc), 1 dc in ring, *ch 1, 2 dc in ring; repeat from * 4 more times, ch 1, sl st to top of beginning ch-3. (6 sets of 2-dc clusters with ch-1 between)
Round 2: Ch 3, turn, 1dc in the ch sp below, ch1, 2dc in the same ch sp, ch1. *2 dc in next ch-1 sp, ch 1, 2 dc in same sp (corner made), ch 1*; repeat from * around, sl st to top of starting ch-3. (6 corners)
Rounds 3-6: Ch 3, turn. 1 dc in the ch sp below, ch1. *work a corner (2dc, ch1, 2dc) into the corner ch sp, ch1. 2dc, ch1 into regular ch1 spaces*; repeat from * around, ending with sl st to top of starting ch-3.
Shaping the Beret
Round 7 (No increase round): Ch 3, turn. 1dc in the ch sp below, ch1, *2 dc in next ch-1 sp, ch 1*; repeat from * around, sl st to top of staring ch-3.
Decrease Round 1: Ch 3, turn. 1dc in the ch sp below. Counting that first 2dc cluster, work a total of 5 clusters with ch 1s bewteen them. *dc3tog decrease across the next two ch spaces (work the center dc of the decrease between the 2dc of the prev row). Then, work 10 2dc clusters*; repeat from * until you've worked 3 dc3tog decreases total, then work 5 more 2dc clusters. Sl st to the top of your starting ch3 to complete the rnd.
Decrease Round 2: Ch 3, turn. 1dc in the ch sp below. Counting that first 2dc cluster, work a total of 10 clusters with ch 1s bewteen them. *skip the next ch sp, Then, work 10 2dc clusters*; repeat from * until one ch sp remains, sl st to the top of your starting ch3, skipping that last chain space.
Decrease Round 3: Ch 3, turn. 1dc in the ch sp below. Counting that first 2dc cluster, work a total of 5 clusters with ch 1s bewteen them. *skip the next ch sp, Then, work 9 2dc clusters*; repeat from * until you've completed 3 decreases (skipping ch spaces) and 4 ch sps remain, work 4 2dc clusters and sl st to the top of your starting ch3 to complete the rnd.
Decrease Round 4: Before chaining or turning, slip stitch into the top of the next dc, and slip stitch to the next ch sp. Then, ch2 and turn. Begin completing a dc3tog across the next 2 ch sps. *Ch1 and work a total of 7 clusters with ch 1s bewteen them. dc3tog decrease across the next two ch spaces; repeat from * until you've worked 3 dc3tog decreases total, then work 7 more 2dc clusters. Sl st to your first dc3tog to complete the rnd.
Brim
Round 1: Ch 1 (no need to turn) sc in same st, *sc in next ch-1 sp, sc between next 2 dc; repeat from * around, sl st to first sc. (you make work 1sc in the dc3togs from the prev row as well)
Rounds 2-3 (Waistcoat Stitch): Ch 1, sc in center of each sc post around, sl st to first sc.
Fasten off.
Finishing Touch: The Nubbin
- With a new yarn, make a slipknot with a tail about hand-length long.
- Wrap the tail over the front of the hook, cross it over the working yarn.
- Yarn over with working yarn, pull through 2 loops.
- Repeat steps 2-3 twice more.
- Cut working yarn and pull through.
- Attach the nubbin to the top center of the beret, weaving both ends, in opposite directions, under the first round of stitches and secure tightly to close up the ch4 ring.
Tips
- Keep your tension loose on the brim rounds to make the waistcoat stitch easier.
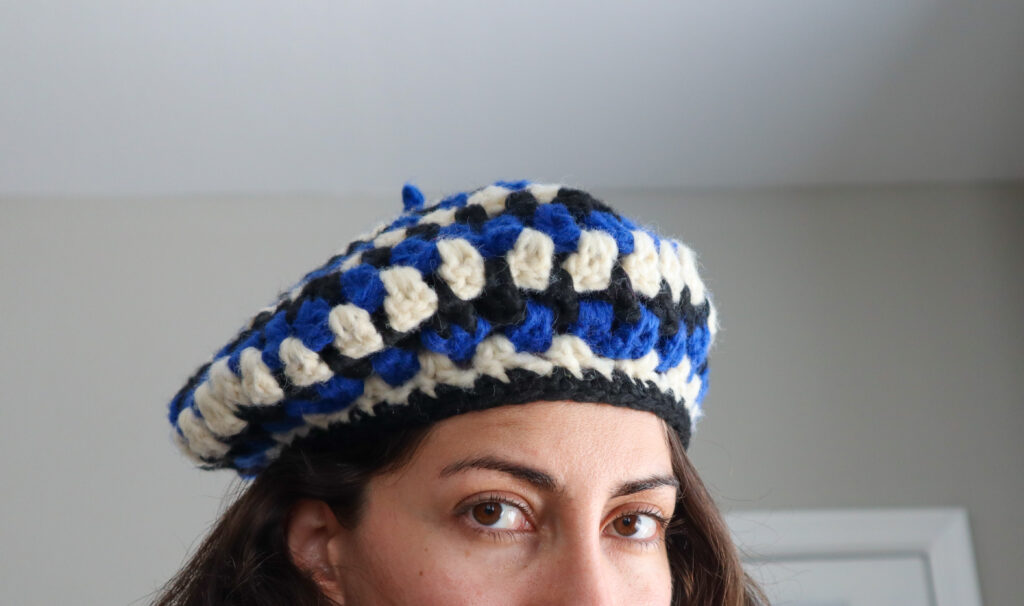
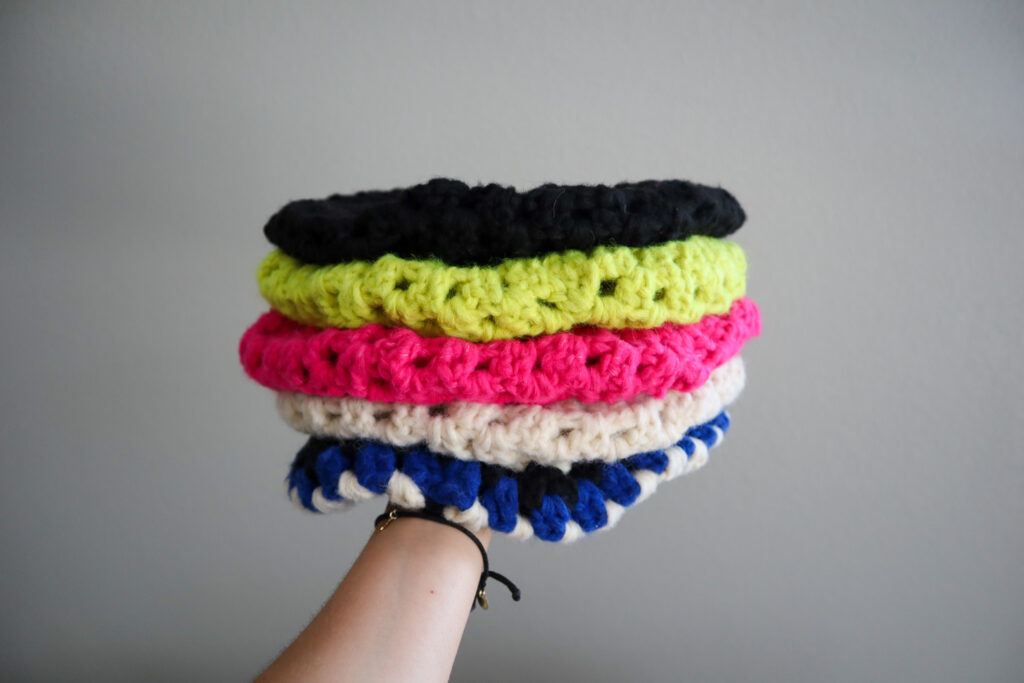
- For a fun twist, try alternating colors every round. I made one with blue, black, and cream that turned out très chic!
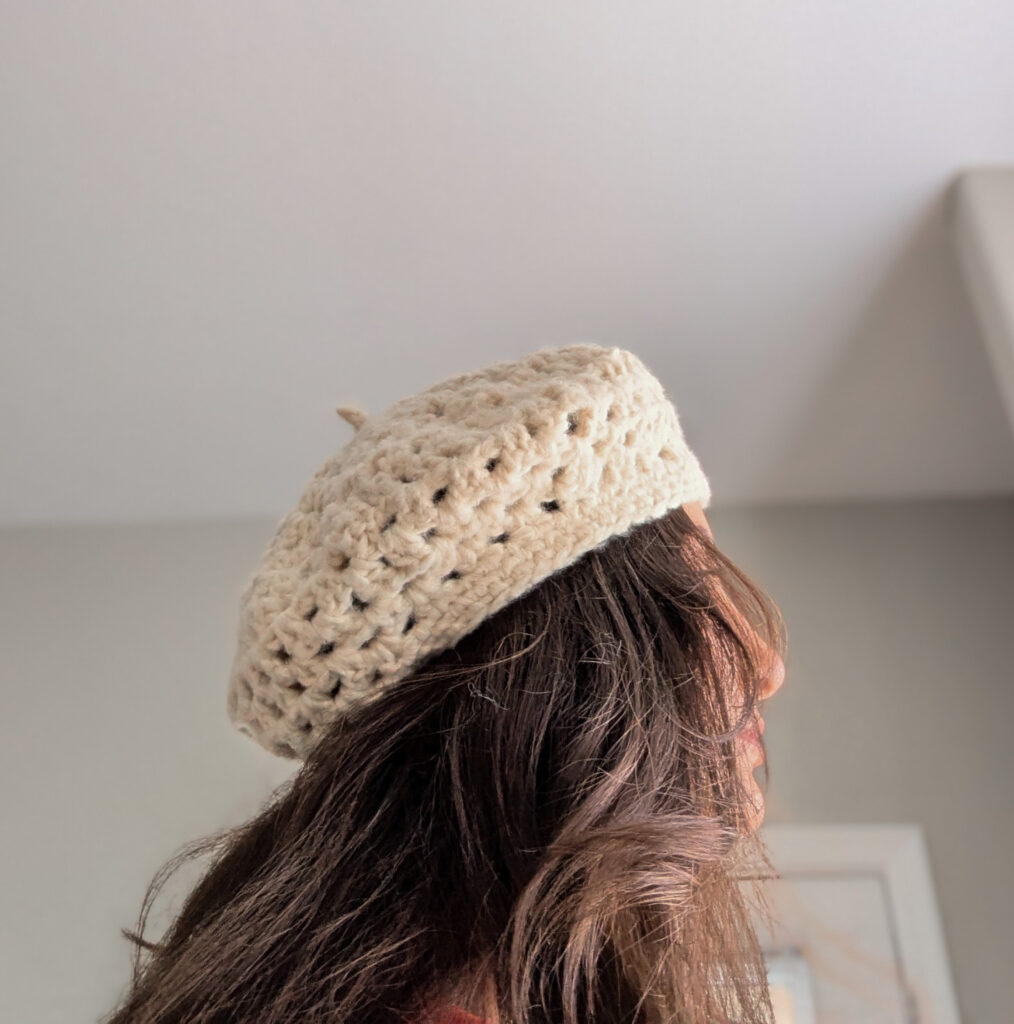
And there you have it - your very own Gourmet Beret! Whether you're channeling your inner Parisian artist or just want a cozy and stylish hat, this beret is sure to become a favorite in your wardrobe.
Don't forget to share your creations online and tag me - I'd love to see your Gourmet Berets in action!
Happy crocheting!

How wide is it? Thank u 🙂