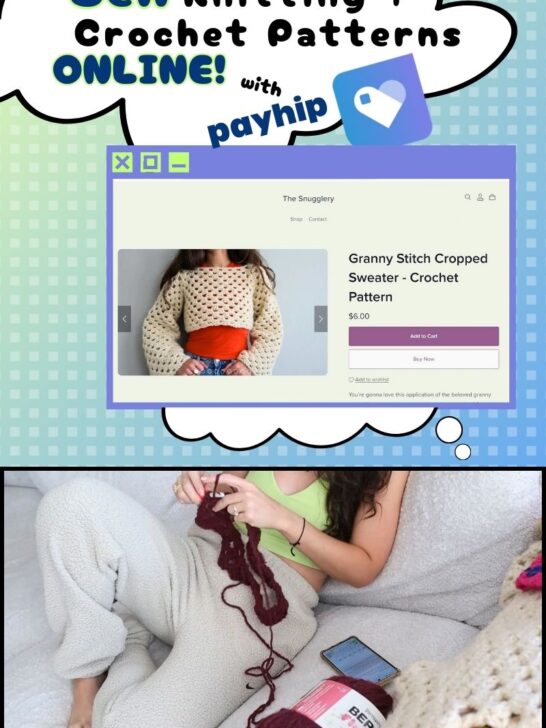
Hey crafty friends! So you've been creating gorgeous knit and crochet designs, and everyone keeps asking "Do you sell your patterns?" Let's talk about how to actually make that happen quickly and easily - with no upfront cost!
First Things First: Learning to Write Patterns
You know how you wouldn't try writing a novel without reading books first? Same goes for pattern writing! Before diving in, spend some time reading patterns from all sorts of designers. There are endless free resources from big yarn brands and indie designers. You'll notice everyone has their own style - some are super detailed, others more concise.
Some rely heavily on abbreviations for the actual instructions. To brush up on some of the most common knitting and crochet abbreviations, I have some handy printable charts for you! But, for more beginner friendly patterns, fully writing instructions out and even explaining simple stitches, in words, might be in order.
Sizing can be written in several ways, it all depends on the design you are making. I've seen patterns where the pattern is the same but multiple sizes come with different charts and diagrams. Commonly you'll see size instructions written like S(M, L, XL) so a pattern will say, "cast on 40 (42, 48, 52)stitches." Then, readers of your pattern will simply memorize which position relative to the parenthesis their size is and ignore the other numbers while working the pattern. There's no one "right" way to do it, which is actually pretty freeing!
Start Designing!
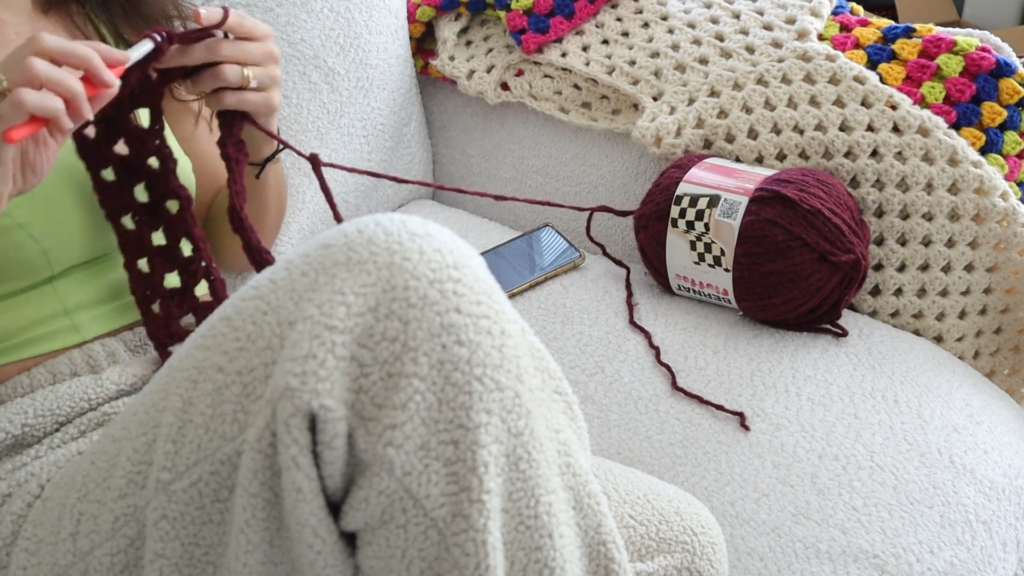
When you've figured out how you want to word/format your patterns, start working on your sample! Make a swatch and roughly calculate out what you want to cast on for your sample size. You may also write out the whole pattern after just making a swatch but, personally, I'm a bit less of a theoretical girlie and I like to actually get my hands on the project before I write out the whole pattern.
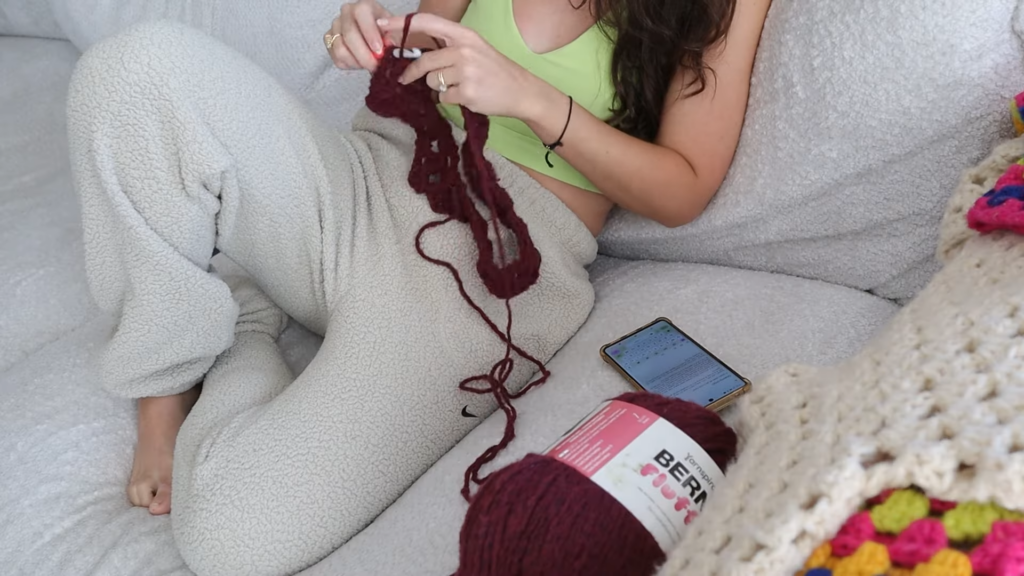
While I work on my sample, I write out what I'm doing on the notes app on my phone just how I would want it written in the pattern itself. This is a huge timesaver and a lot easier than having to go back later and read your stitches to try to figure out what you did!
Take Killer Product Photos And Consider Testers
When your sample is done and your instructions are chilling in your notes app, you simply must take photos, dahling! I'm not going to pretend like I have special insight into photography in this day and age with my 1980's birthdate. The truth is, most people are fantastic photographers by now and perfectly capable of taking amazing pics with just their phone. Make sure the photos are clear and bright and showcase your gorgeous design!
For some extra reassurance that your instructions are easy to understand and actually guides folks in recreating your design, you can ask around for people to test your pattern in different sizes. Don't know any knitters in your day to day life? Reach out on social media! #testerscall will get you more attention then you know what to do with! I may add that pattern testing is not 100% necessary and for simple designs you may trust yourself (and maybe a spell checking software) to make sure that your pattern math is mathing and all making sense.
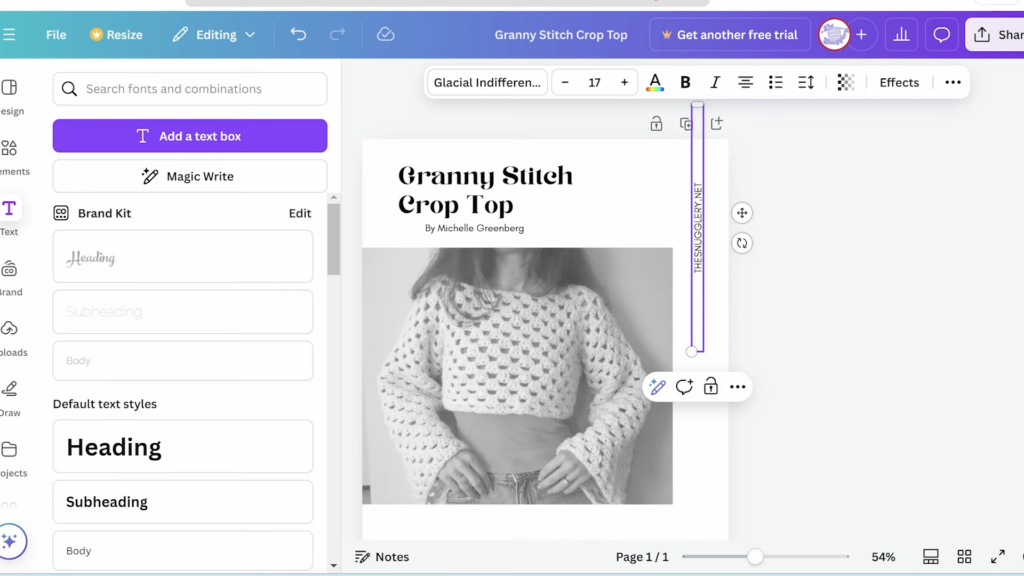
Grab A Document Editor - Canva Is A Great Place To Start
With your sample done, photos taken and pattern mostly written up... all you need is a document editor. I love using Canva because it has design in mind with loads of pretty design assets and tools to help me make a modern looking pattern. But, anything that gets words and pictures on a page will work! Microsoft Word is perfectly fine.
Check out this Canva tutorial where I show you exactly how I format my crochet patterns:
Save as a PDF file, and you're ready to go!
Setting Up Shop: Enter Payhip
Here's why I'm excited about Payhip for new designers: it's completely free to start! No kidding - you get all the features right out of the gate. The only catch is they take a slightly higher percentage of sales (5%) on the free plan, but hey, that's way better than paying monthly fees when you're just starting out. Because, un-like Etsy or Shopify, you pay nothing if you don't make a sale right away.
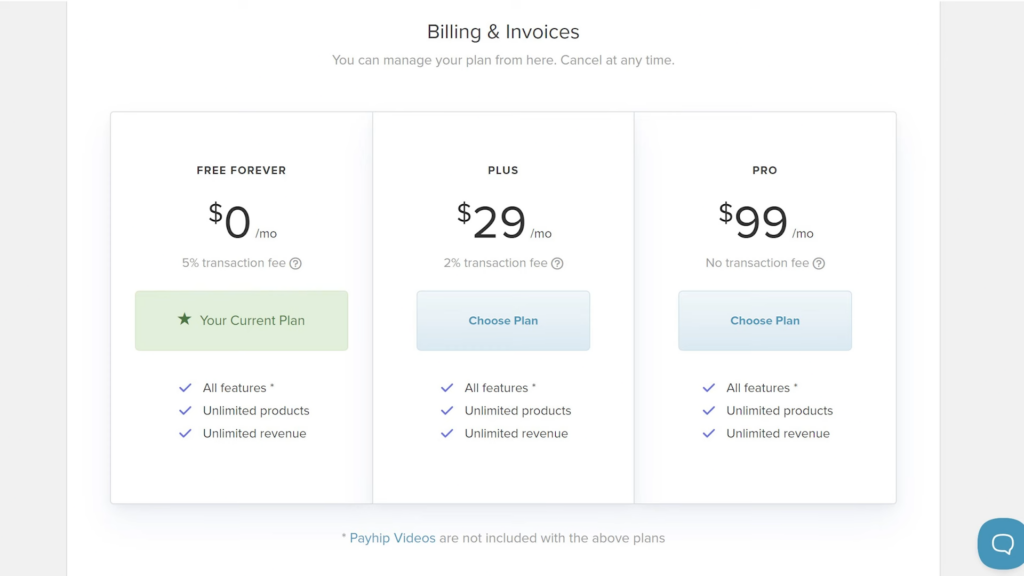
With just Payhip's free plan, you get:
- Your own customizable storefront (own website).
- The ability to sell pattern bundles (which is surprisingly tricky on some other platforms)
- Built-in blogging
- Email marketing tools
- Sales tracking
- Coupon codes
- You can even run your own affiliate program!
Making It Look Professional
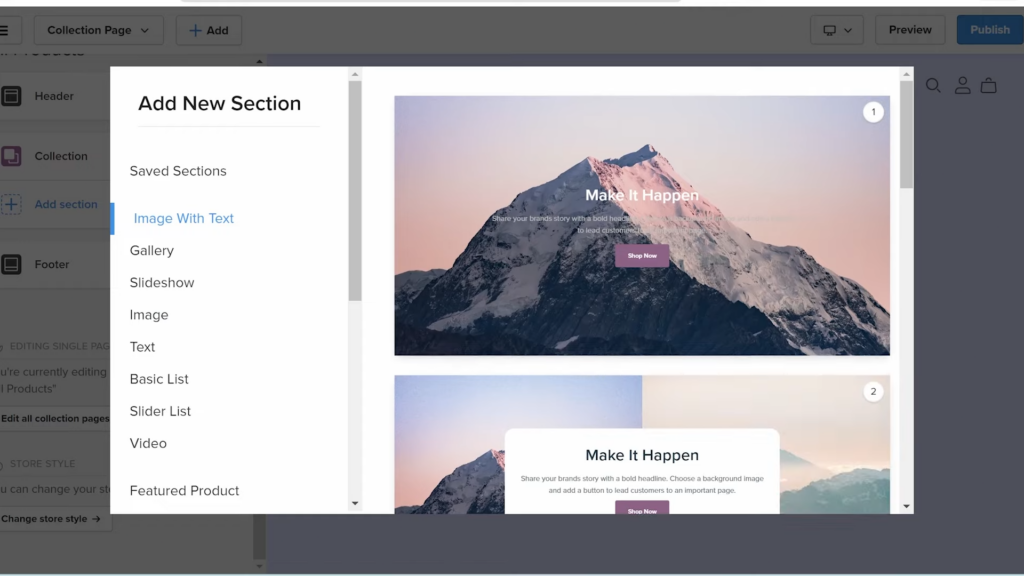
After signing up for Payhip, take some time and toodle around with their intuitive visual site builder. You can customize the look and layout of your website, no coding experience required.
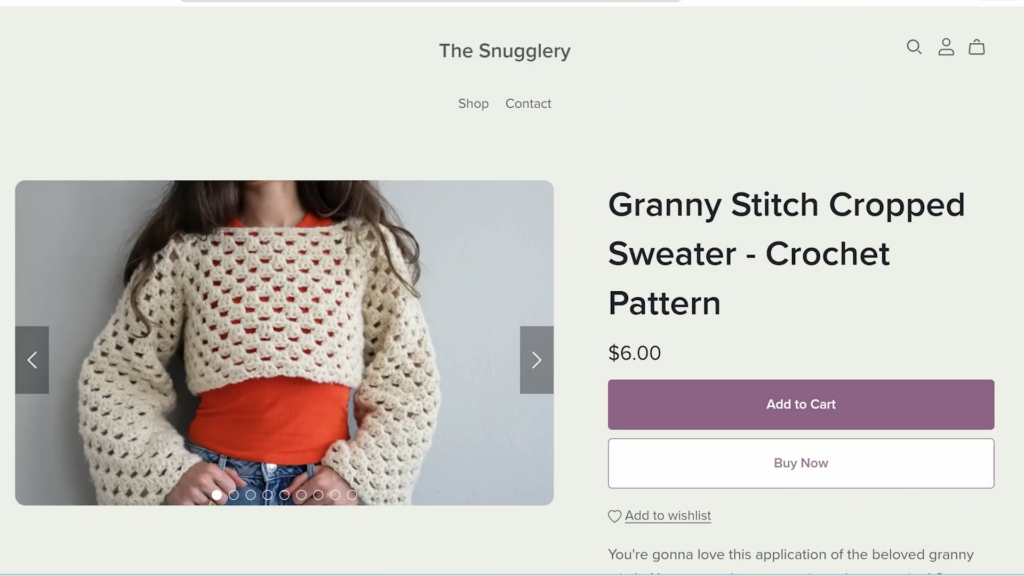
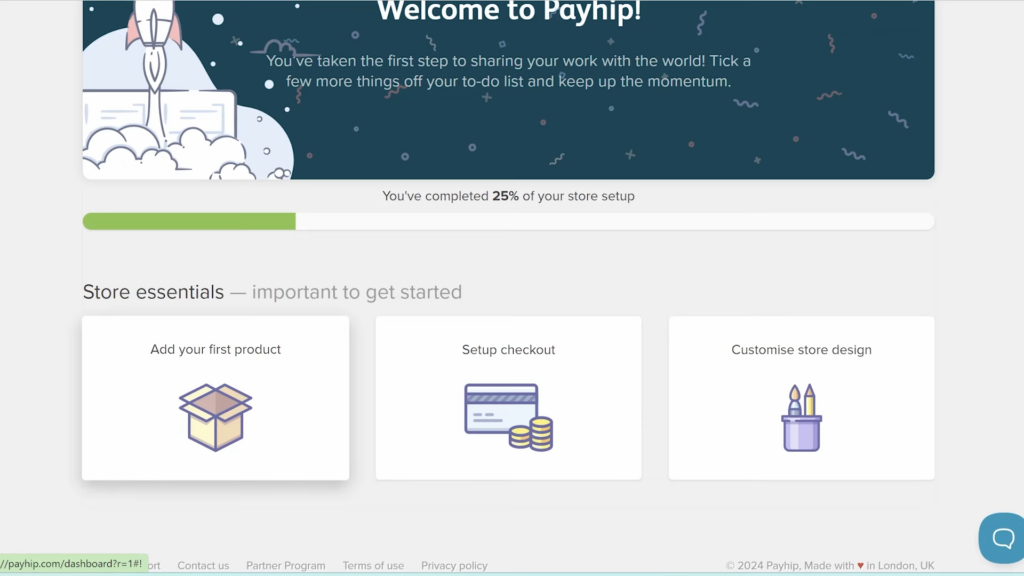
Then, add listings for your new digital download patterns! Simply follow their beginner friendly onboarding process to add a new listing.
Only you know how to price your pattern but, lately, $5-$12 dollars seems to be the going rate depending on pattern complexity and popularity.
Ready to Take the Plunge?
Starting your own pattern shop might feel intimidating, but it is honestly the dream "selling online" job! If you are already knitting and crocheting up new things willy nilly "without a pattern," then you've already got some amazing info locked in your lil' brain, waiting to get out, that people will pay you for! Writing patterns and setting up shop is a lot of up-front work. But, once it's done, you can keep selling the same patterns forever! And, the more people buy, craft, and share their projects, the more new customers you'll get. You can totally do this! Plus, with platforms like Payhip eliminating those scary startup costs, there's really nothing holding you back.
Happy designing!
