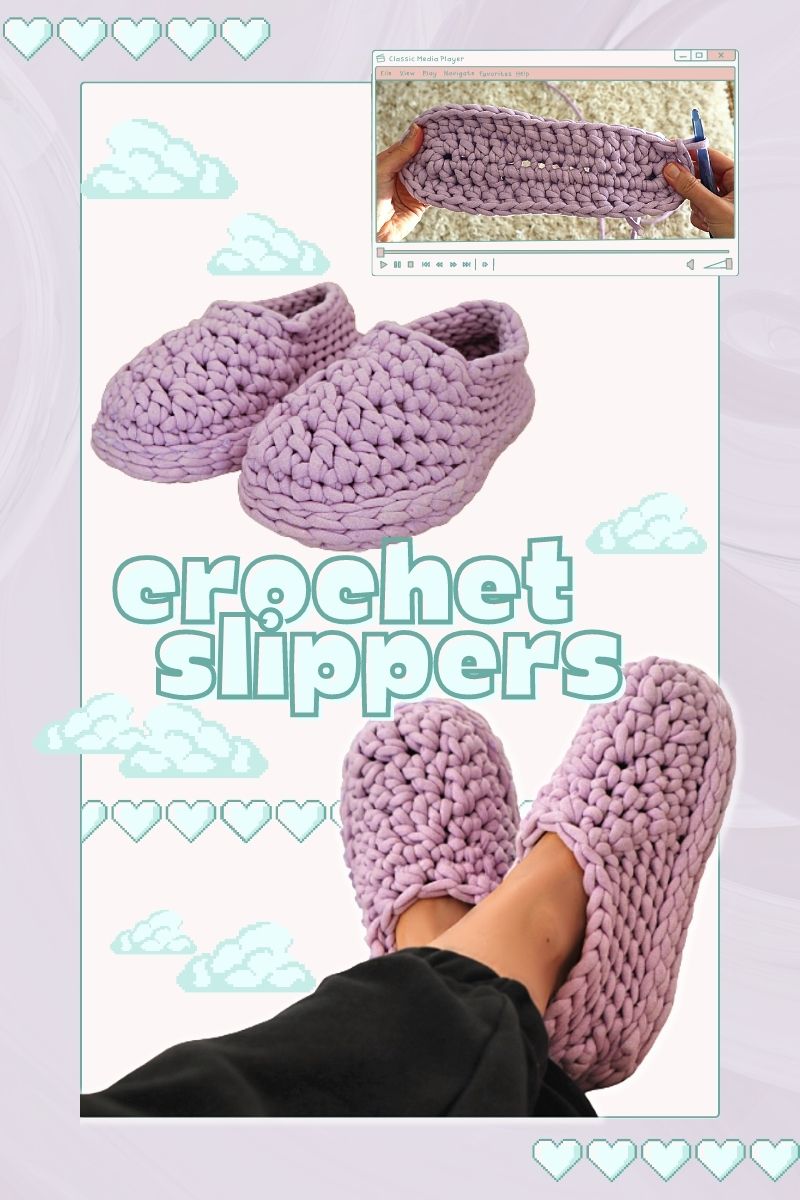
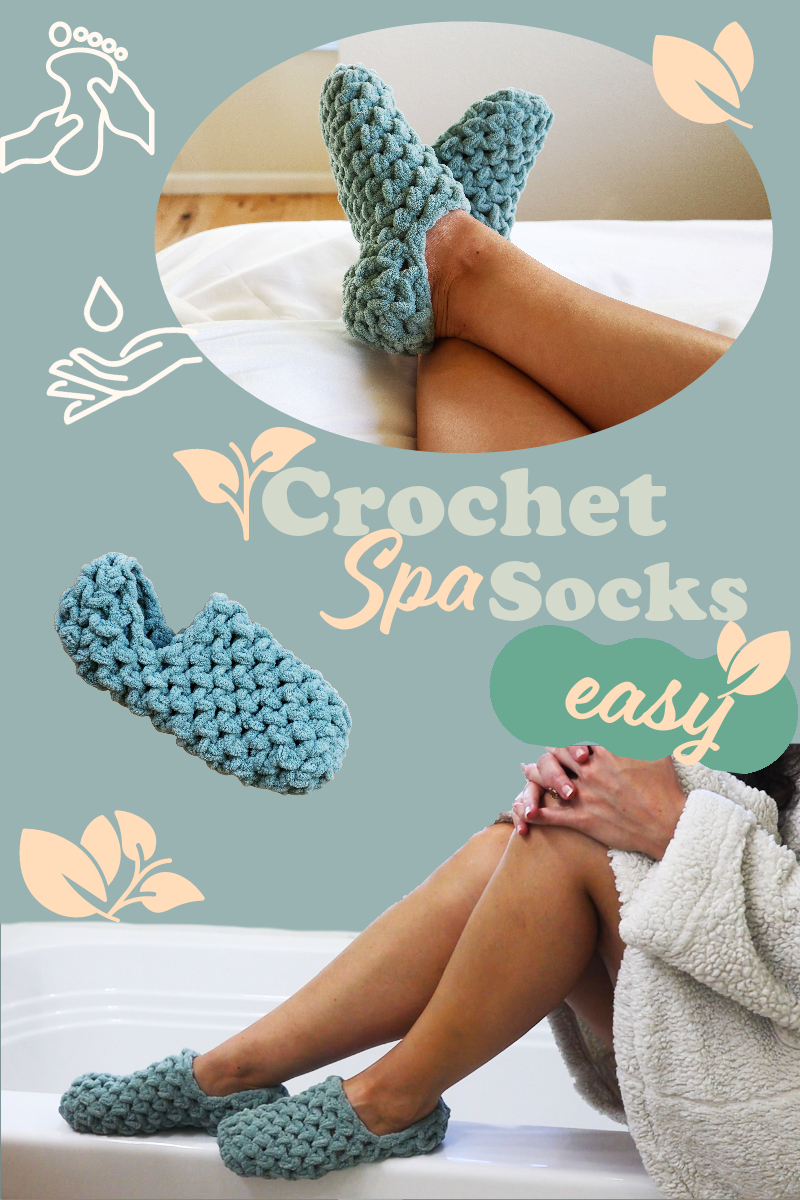
You are gonna love the construction of these super chunky crochet slippers. Included in this pattern, is a very versatile slipper sole motif that you could use for any project! Then, after we make and seam the soles...
Would you believe the rest of these slippers are crocheted in only 6 rounds!?
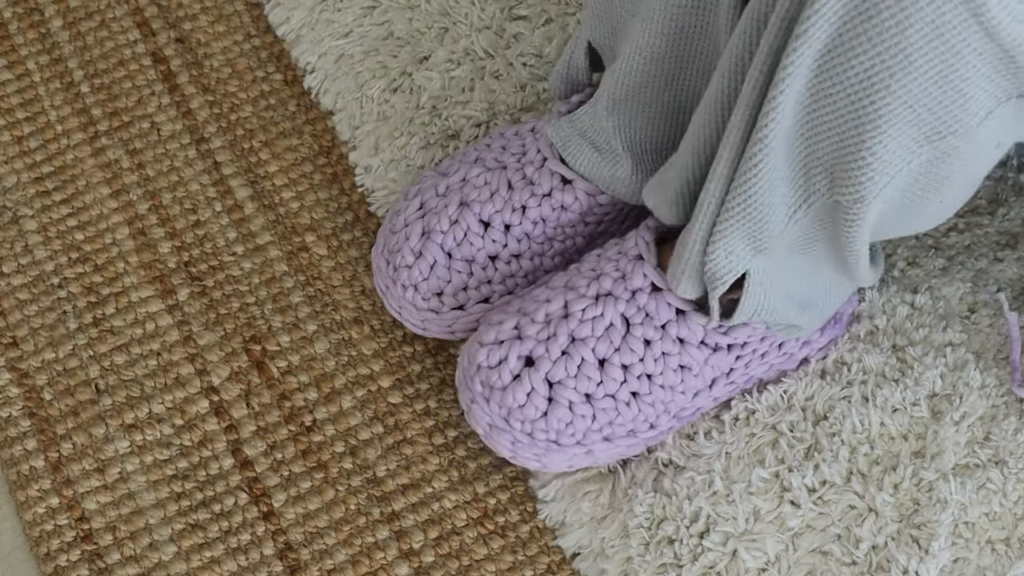
That makes them work up super fast for a satisfying project you can sit down to make in the evening and be wearing 'um by bedtime.
Now, I bet you've never seen a crochet slipper quite like this one. Fortunately, there's a video tutorial!
Materials
For my pattern I used a 9mm hook for the slipper soles
And a 10mm hook for the actual slipper portion
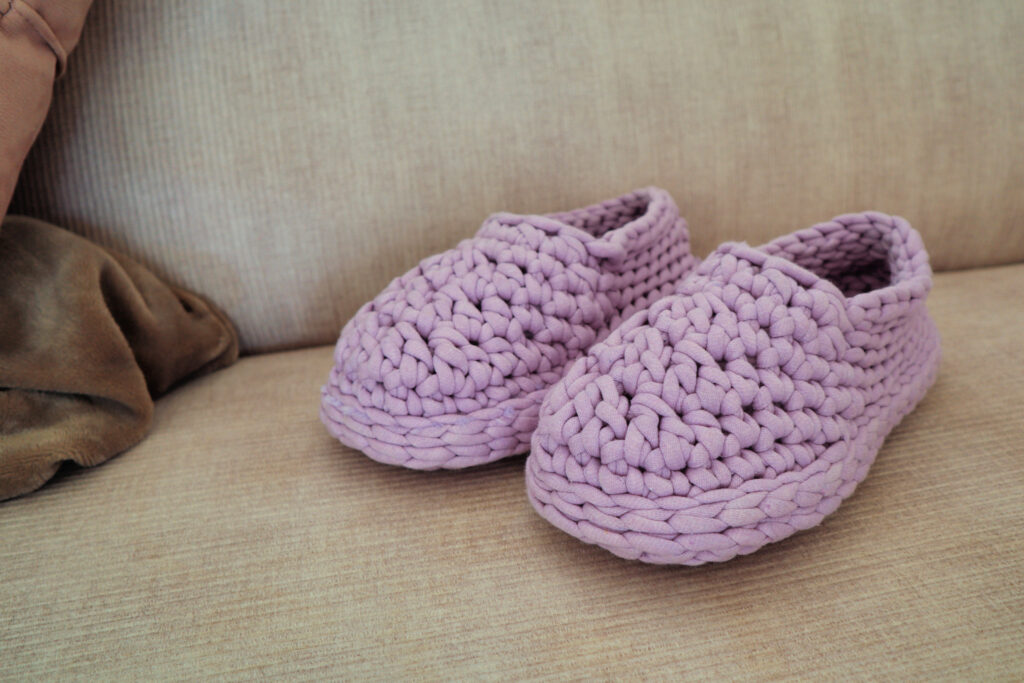
What really sets these slippers apart is the special yarn I used. Specifically it was Tube Cotton Jumbo by Ice Yarns. It's a tube made from a sturdy cotton mesh and filled with polyfiber (kind of like a plushie). That makes these slippers durable enough to wear while still being cushy and cozy. An alternative would be Bernat Maker Big but it has a slightly thicker gauge and will require a bigger hook so be sure to go down a shoe size to compensate. In a pinch T-shirt yarn will do just fine!
And a 10mm hook for the actual slipper portion
What really sets these slippers apart is the special yarn I used. Specifically it was Tube Cotton Jumbo by Ice Yarns. It's a tube made from a sturdy cotton mesh and filled with polyfiber (kind of like a plushie). That makes these slippers durable enough to wear while still being cushy and cozy. An alternative would be Bernat Maker Big but it has a slightly thicker gauge and will require a bigger hook so be sure to go down a shoe size to compensate. In a pinch T-shirt yarn will do just fine!
Slipper Sole Motif Round 1
ch 14 (15, 16, 17, 18), sc 8 (9, 10, 11, 12), 1hdc, dc 3, 5dc into last ch. Working along the underside of the chain, dc 3, 1hdc, sc 7 (8, 9, 10, 11). sc4 in last ch.
Slipper Sole Motif Round 2
1hdc (to build up to your spiral), dc in each st. 2dc in each of the sts of the 5dc cluster from round 1 (toe sts), fasten off.
Seaming The Soles
Make two sole motifs and slip stitch seam them together. Consider making a 3rd motif out of fuzzy yarn and seam it down at the same time for slippers that are fuzzy on the inside!
Fastening On To Work The Slipper Rounds
Locate the top of the stitch that was worked into your half double crochet from sole round 1. Fasten on a new yarn and you'll work the first stitch of slipper round 1 into that stitch.
Slipper Round 1
sc 16 in back loop, sl st back loop to back 5 heel sts (5 sts centered in the back of the slipper), 5sc, sl st back loop to end of rnd.
Slipper Round 2
into st before first sc, 1sc. then sc 4. 1hdc, dc2togx4, 1hdc, 3sc, sl st back loop rem sts.
Slipper Round 3
into st before sc, 1sc. then sc 4, 1hdc, dc2tog x2, 1hdc, sc 2, sl st back loops to heel sts (see heel options) sl st back loop to end of rnd.
Heel Options
I didn't quite settle on what to do at the heel of the shoe, so you have two options.
Heel type 1 (pictured on right): on rnd 3 1sc, dc2togx2, 1sc
Heel type 2 (pictured on left): on rnd 4 1sc, dc2tog, 1sc, on rnd 5 sc2togx2
Heel type 1 (pictured on right): on rnd 3 1sc, dc2togx2, 1sc
Heel type 2 (pictured on left): on rnd 4 1sc, dc2tog, 1sc, on rnd 5 sc2togx2
Slipper Round 4
sl st back loop into first 2 scs, sc 4, dc3tog, sc 2, sc2tog, sl st back loop to end of rnd
Slipper Round 5
sc2tog, sc 5, sc2tog, sl st back loop to end of rnd.
Slipper Round 6
sl st back loop to end of rnd, fasten off. Weave ends into the space between sole motifs.
I hope you enjoyed this slipper pattern! Don't forget to check out the video tutorial over on my YouTube channel. Thanks for stopping by 🙂
How do you determine the size
How much yarn did you use (balls?)
Deze slippers heb ik geprobeerd te maken. Ik spreek echter geen Engels. Dus met de vertaal app geprobeerd. Dat gaat prima tot ik bij de afkortingen kom. Deze kan google niet vertalen. En dus kom ik niet verder. Het zou fijn zijn als er een lijstje bij staat die de betekenis van de afkortingen vermeld.