A (too) Trendy Knitting Pattern
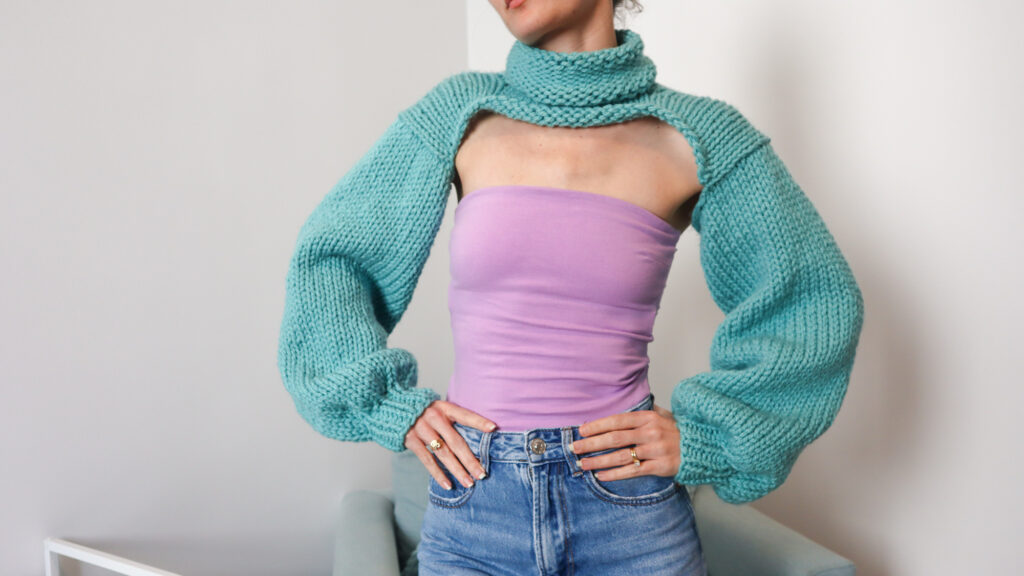
Ever wish you could ditch the rest of your sweater and knit just the sleeves!? No?? well... I made the pattern anyway, haha!? I'm curious to know what you think about this quasi bolero garment thing. They've been quite controversial since the trend started not too long ago. I don't even know what to call it! But the working title around my house has been "just the sleeves." So that's what I'm calling this one... Just the sleeves!
Whether you think its cool or weird, I used some interesting techniques in this design to get it seamless and adjustable so this tutorial has lots of fun knitting know-how to learn even if the shrug isn't your cup of tea.
Overview
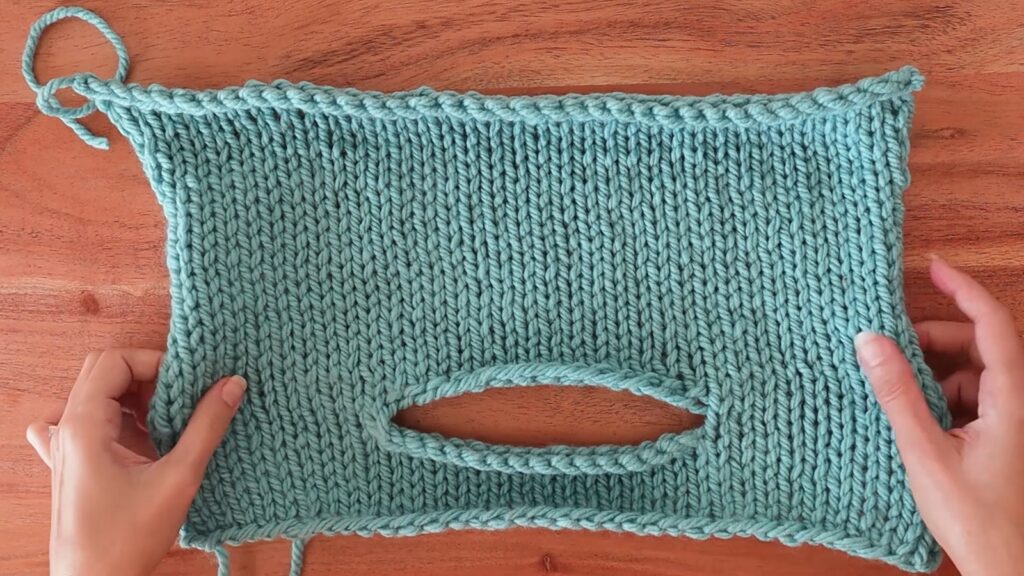
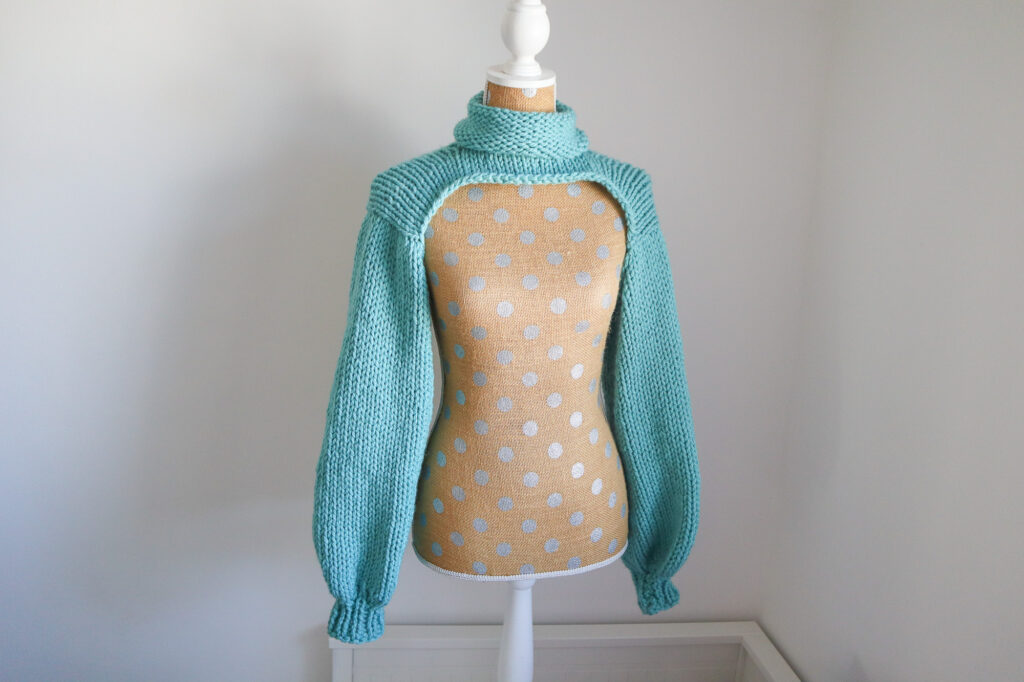
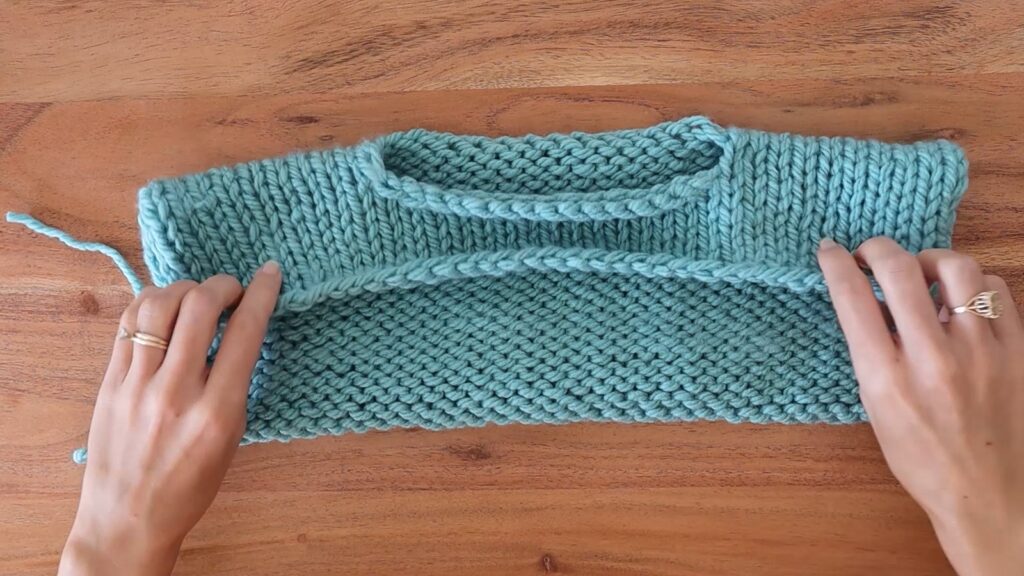
The first part of the pattern is to create this thing.. it's actually a rectangle with a hole in the middle. Most beginner knitters already know how to knit a rectangle, so I'll start by showing you how to create that hole with a stretchy bind off and re-casting on in the middle of your work. Then, we'll pick up stitches along the short edge of the rectangle to knit the sleeves in-the-round and pick stitches up once more around the neck hole to add a turtleneck for a polished look.
The pattern is written in the small/medium size with alterations for the large/xl size and 2x/3x written in parenthesis after the small/medium instructions when applicable. For example: s/m (l/xl, 2x/3x)
Since we're maneuvering all around this project, binding off, casting on, picking up stitches and knitting in multiple directions, I think a visual aid would be super helpful, don't you? So below, you'll find the video tutorial that goes along with this pattern:
Materials
I used three balls of Bernat Softee Chunky in the colorway Seagreen (larger sizes may need an additional ball), and some 10mm (US 15) circular needles on a 20" cord. This was long enough to carry all of my stitches and to work in the round on the sleeves. The gauge is about 9sts x 12 rows on a 4x4" swatch in stockinette but I give absolute measurements in the pattern wherever I can and this particular accessory isn't fitted so gauge isn't super important.
Pattern
To begin, cast on 36 (42, 52) stitches.
Yoke front:
Work in stockinette (knit the right sides, purl the wrong sides) for a total of 7 (9, 11) rows (2.5 ((3, 3.5)) inches).
Neck hole:
On the next right side row, knit 9 (11, 16) stitches. Then, using a stretchy bind off, bind off 18 (20, 20) stitches. Knit the remaining 9 (11, 16) stitches.
On the next row, purl 9 (11, 16) stitches. Cast on 18 (20, 20) stitches, then purl the remaining 9 (11, 16) stitches.
Yoke back
Continue working in stockinette for a total of 22 (24, 26) rows (7 ((7.5, 8)) inches) and bind off.
Picking up and knitting the sleeves
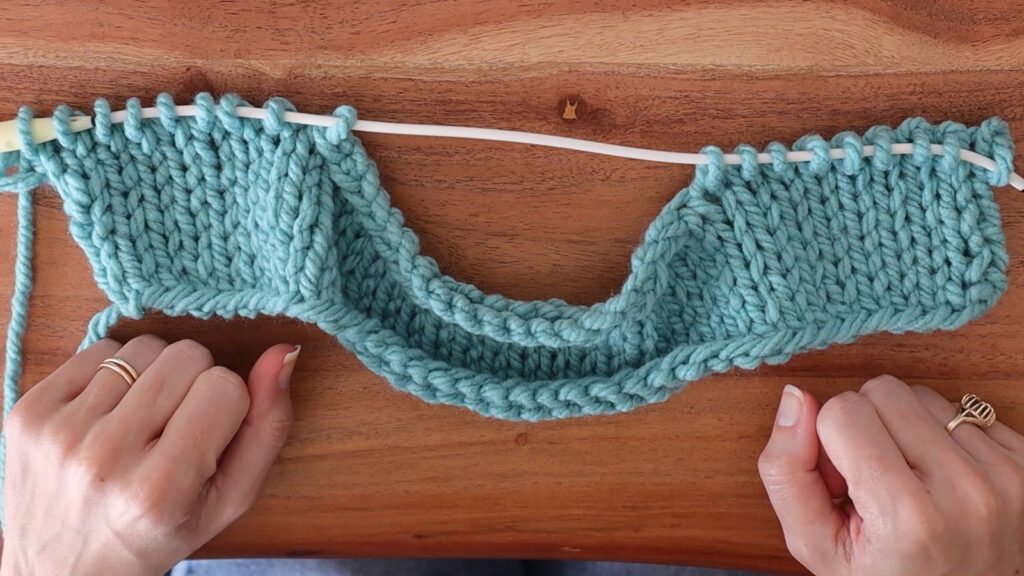
Pick up 24 (26, 30) sts along the short edge of your rectangle at about a 3 to 4 ratio (pick up 3 sts for every 4 sts of the yoke edge). Then, cast on an additional 18 (22, 22) stitches. Knit into the first stitch that you picked up, to join in the round. Continue knitting in the round until your sleeve measures 29 (31, 32)in from the center of the neck hole. Repeat for the opposite sleeve.
Sleeve cuffs
Decrease your stitch count by half by working k2tog for every tow stitches in the round. Be sure to end with an even number of stitches on your needles. (For the small/medium size only, this means k2tog to the last stitch, then knit 1). As your stitch count decreases, you may need to switch to DPNs or use the magic loop method to continue knitting in the round.
Working in k1, p1 rib, work an additional 9 rounds or however many rows you'd like for your sleeve cuff. Bind off in-pattern.
Turtleneck
Pick up stitches at a 1 to 1 ratio, all along the neck hole plus an additional stitch in each "corner" (the spaces between the cast on and bind off of the hole). Knit in the round until your turtleneck measures 7 inches, do a stretchy bind off.
There you have it!
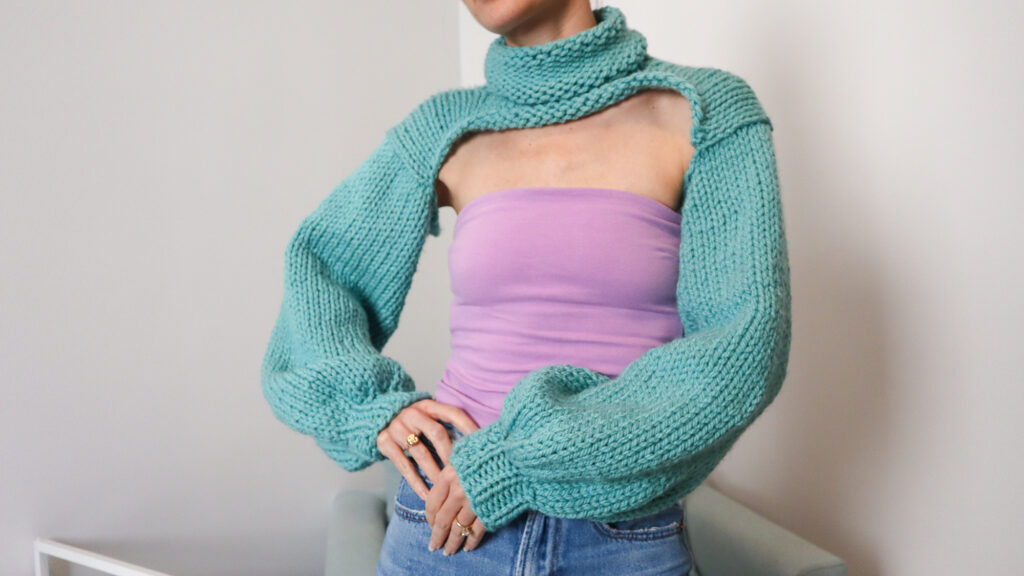
And that's it! Just the sleeves! let me know what you think of this type of garment idea? trendy? practical? weird? let me know! I think its a much cooler version of the little boleros we used to wear in school to follow the dress code! either way, I hope you learned some fun techniques that you can apply to your next project! Make sure to check out the video tutorial and let me see your projects on social media 'cuz I'd love to see what you do with this pattern!

Jennifer
Wednesday 26th of March 2025
I have been looking for this very idea a long time LoL! Thank you for posting the pattern, video, and great instructions. Love it!