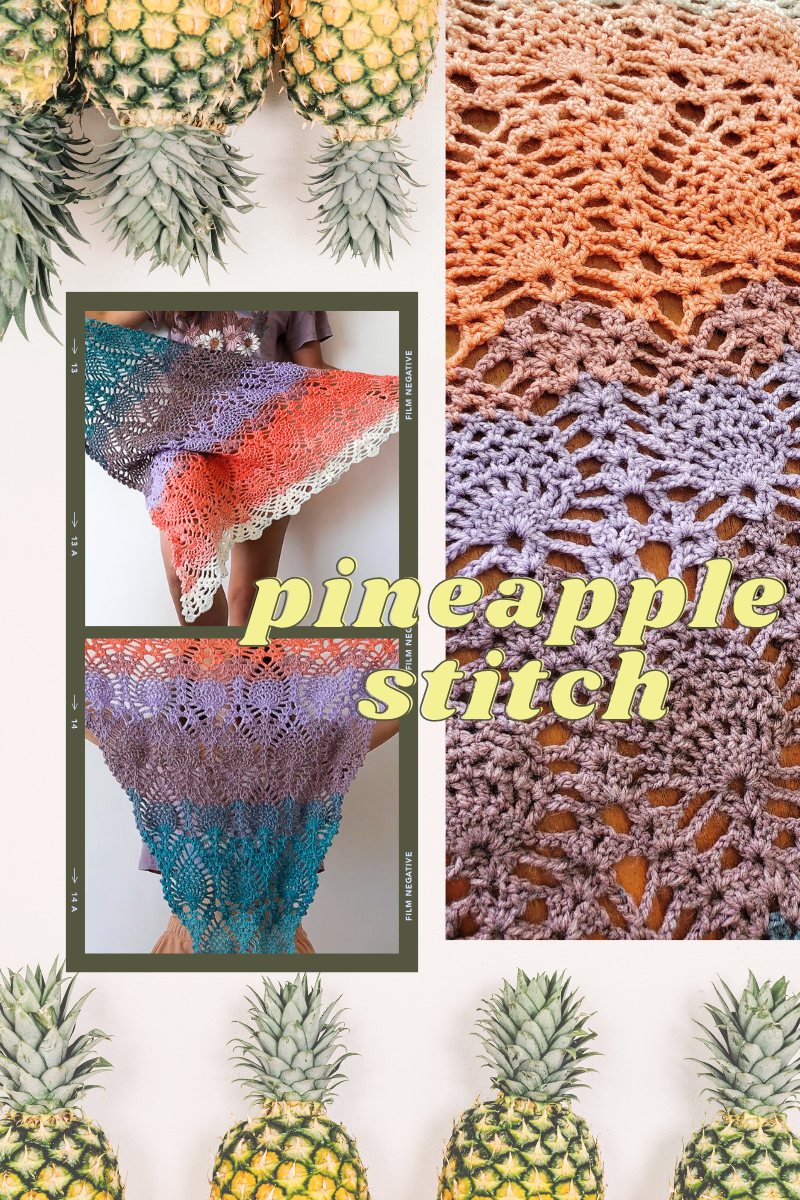
Don't let its intricate appearance fool you - the pineapple stitch may look complex at first glance, but with the right approach, this beautiful lace pattern can become a manageable and enjoyable crochet technique. Once you understand how these elements work together, you'll be able to "read" your work and anticipate what comes next, making the pattern feel more intuitive and less daunting.
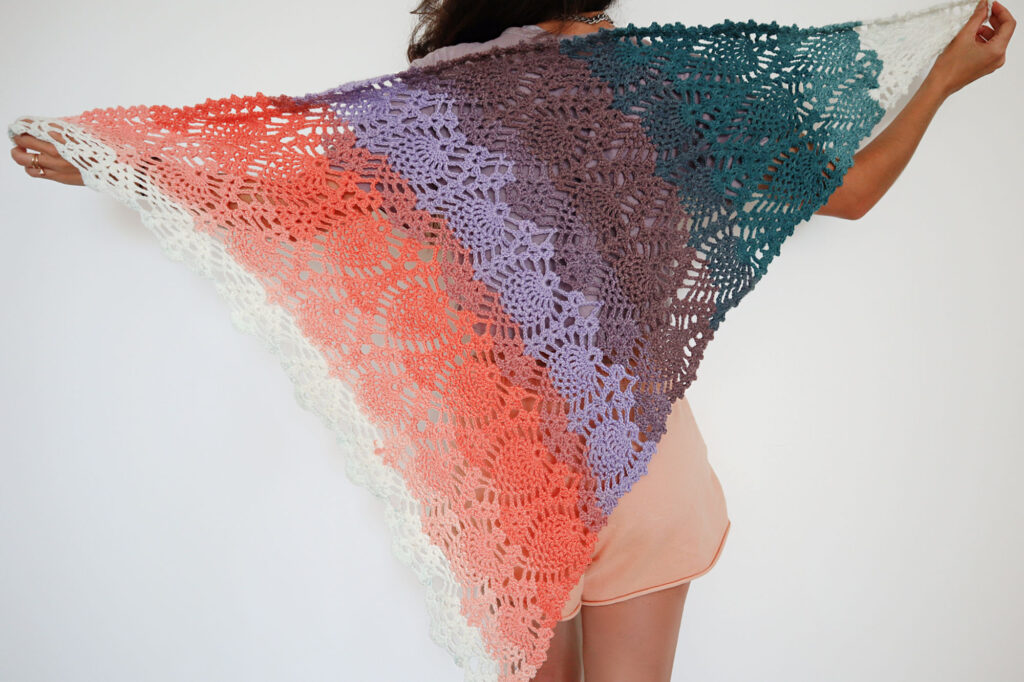
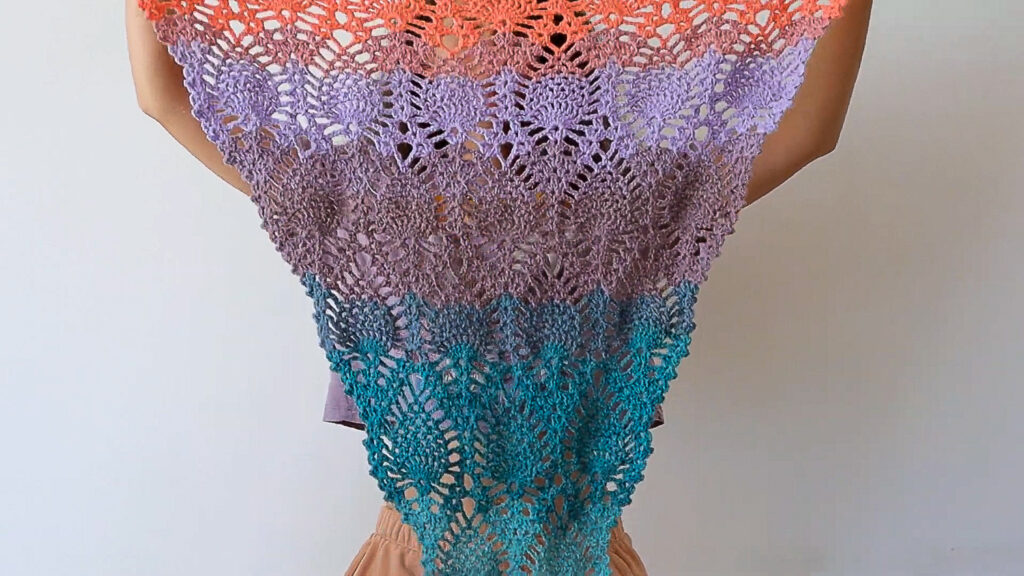
We'll be creating a gorgeous triangular shawl that showcases this technique perfectly, starting with a single pineapple motif and gradually expanding to create a cascade of pineapples that dance along the bias of the finished piece. Using just one cake of Lion Brand Mandala yarn in the colorway Pegasus and a 4mm hook, you'll be amazed at how this delicate and sophisticated design comes together.
Ready to master the pineapple stitch? Let's dive in!
Starting Chain
To begin, make a chain of 4 or 5 chains and slip stitch to the first chain to create a ring.
Row 1
Ch 3 (counts as 1dc) and make 1dc into the center of your ring. *Ch2, 2dc into the ring* Repeat between ** once more. You'll have 2dc, (ch2, 2dc)x2 all into the starting chain ring.
Row 2
Ch1, turn. To work your way over to the ch2 space, slip stitch into each of the next two stitches and into the next ch2 space. Ch3 (counts as 1dc) and complete 1 **shell into your ch2 space. Immediately work another shell into the next ch2 space. This row will have a total of 2 shells.
**For this pattern, when I refer to a "shell," that indicates 2dc, ch2, 2dc generally all worked into the same ch space.
Row 3
Ch1, turn. Sl st into the next 2 sts and ch2 space of the next shell. Ch3, complete a shell into the previous shell. Make another shell into the space between your previous 2 shells. Make 1 last shell into the next ch2 space. You'll have a total of 3 shells after this row.
Row 4
Ch1, sl st over to next ch2 space. Ch3, complete a shell into the previous shell *Ch2, shell into next shell* repeat between ** once more. You'll have 3 shells separated by ch2 at the end of this row.
Row 5
Ch1, sl st over to next ch2 space. Ch3, complete a shell into the previous shell. *Ch3, shell into next shell* repeat between ** once more. You'll have 3 shells separated by ch3 at the end of this row.
Row 6
Ch1, sl st over to next ch2 space. Ch3, complete a shell into the previous shell. Ch3, 9dc into the next shell. Ch3, shell into the next shell. You'll have 1 shell, ch3, 9dc, ch3, 1shell at the end of this row.
Row 7
Ch1, sl st to next ch2 space. Ch3, complete a shell into the next shell. Ch3, 1dc into the next dc, *ch1, 1dc in the next st* repeat between ** until you've worked across all 9dcs from prev row. You'll have a total of 9dcs and 8 ch1 spaces. Ch 3, shell into next shell.
Row 8
Ch1, sl st to next ch2 space. Ch3, complete a shell into the next shell. *Ch3, 1sc in the ch1 space* repeat between ** until you've worked across all ch1 spaces from the prev row. You'll have a total of 7 ch3 loops with scs between them. Ch 3, shell into next shell.
Row 9
Ch1, sl st to next ch2 space. Ch3, complete a shell into the next shell. *Ch3, 1sc in the ch3 space* repeat between ** until you've worked across all ch3 loops from the prev row. You'll have a total of 6 ch3 loops with scs between them. Ch 3, shell into next shell.
Row 10
Ch1, sl st to next ch2 space. Ch3, complete a shell into the next shell. *Ch3, 1sc in the ch3 space* repeat between ** until you've worked across all ch3 loops from the prev row. You'll have a total of 5 ch3 loops with scs between them. Ch 3, shell into next shell.
Row 11
Ch1, sl st to next ch2 space. Ch3, complete a shell into the next shell. Then make an additional ch2, 2dc into the same ch sp (increase) *Ch3, 1sc in the ch3 space* repeat between ** until you've worked across all ch3 loops from the prev row. You'll have a total of 4 ch3 loops with scs between them. Ch 3, (2dc, ch2, 2dc, ch2, 2dc) all into the last shell.
Row 12
Ch1, sl st to next ch2 space. Make 1 shell in each of the next ch2 spaces. *Ch3, 1sc in the ch3 space* repeat between ** until you've worked across all ch3 loops from the prev row. You'll have a total of 3 ch3 loops with scs between them. Ch 3, make a shell in the next ch2 sp and another shell in the last ch2 sp.
Row 13
Ch1, sl st to next ch2 space. Make a shell into the previous shell. Make another shell into the space between your previous 2 shells. Make 1 last shell into the next shell (similar to how we grew row 3). *Ch3, 1sc in the ch3 space* repeat between ** until you've worked across all ch3 loops from the prev row. You'll have a total of 2 ch3 loops with scs between them. Ch 3, make a shell in the next ch2 sp, 1 shell in the space between previous shells, and another shell in the last shell.
Row 14
Ch1, sl st to next ch2 space. Make a shell into the previous shell. *Ch2, shell in prev shell* repeat between ** once more. *Ch3, 1sc in the ch3 space* repeat between ** until you've worked across all ch3 loops from the prev row. You'll have 1 ch3 loop left at the top of your "pineapple" after this row. Ch 3, make a shell in each of the remaining shells with ch2 between them.
Row 15
Ch1, sl st to next ch2 space. Make a shell into the previous shell. *Ch3, shell in prev shell* repeat between ** once more. Ch3, 1sc in the last ch3 space of your pineapple. Ch 3, make a shell in each of the remaining shells with ch3 between them.
Row 16
Ch1, sl st to next ch2 space. Make a shell into the previous shell. *Ch3, 9dc into next shell.* Ch3, shell into the next shell. Without chaining, make another shell into the next shell, then repeat between ** once more, then ch3 and make 1 shell into the last shell.
Row 17
Ch1, sl st to next ch2 space. Make a shell into the previous shell. Ch3, 1dc in next dc, *ch, 1dc in the next dc.* Repeat between ** for each of the 9dc from the prev row. Ch3, work 2dc into the next shell, ch2, 2dc into the next shell (you can think of the 2dc, ch2, 2dc across the two shells as an "expanded shell."). Ch3, and work the dc, ch1 sequence across the next 9dc. Ch3, work a shell into the last shell.
Row 18
Row 18 will be a lot like row 8, starting your sequence of ch3 loops in each of the ch1 spaces to start your "pineapple." Into the ch2 space of your "expanded shell" work a regular shell.
Rows 19 and beyond
You now have all of the techniques needed to continue to grow your shawl. You know how to build your pineapple off of the 9dc cluster, decrease your pineapples by working ch3, 1sc in each of the previous row's loops and how to increase to begin growing your next triangle. The "2dc, ch2, 2dc, ch2, 2dc" increase will come after you've worked 3 rows of pineapple loops. That's how I read my work to know when to start the next increase row.
If you ever get lost while working this pattern, don't forget there is a helpful video! Here I go over how to read your pineapple shawl to know exactly which stitch to work next without having to count your rows. Check it out here!
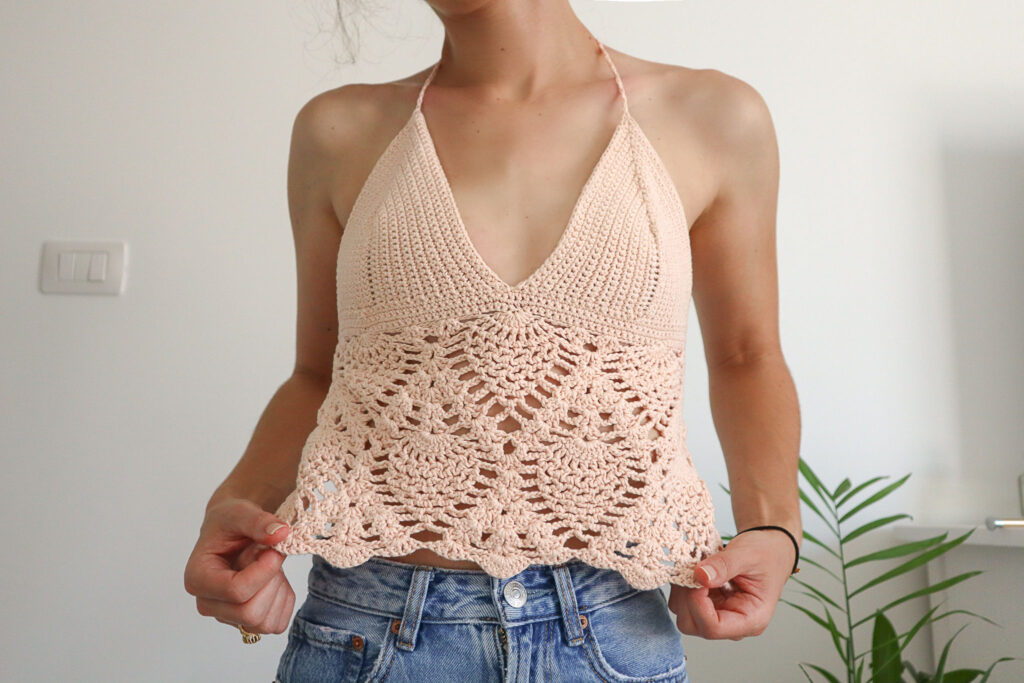
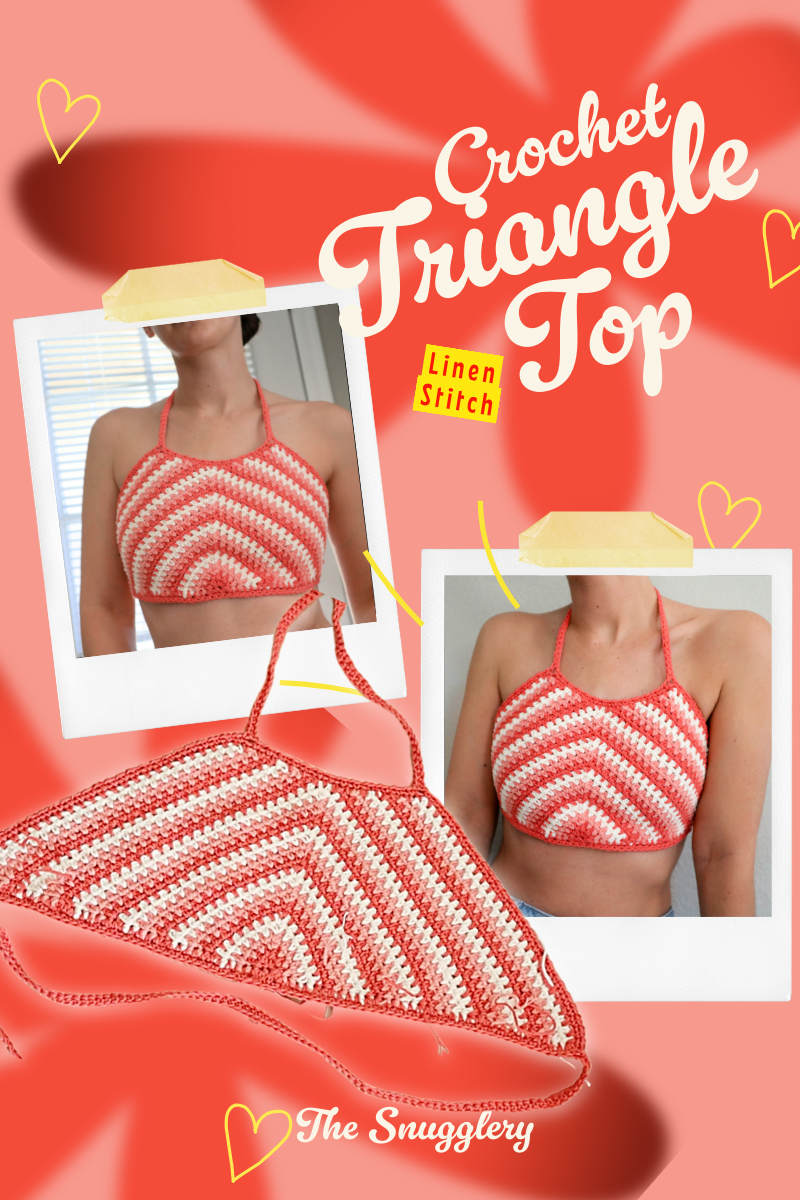
Totally obsessed with the pineapple stitch now? Then you'll love this crochet top pattern in my Ribblr shop!