Think there's no time to DIY a crochet Halloween costume? Think again! I definitely understand what it's like to have October sneak up on you. And whether you're vehemently opposed to store-bought costumes or forced to do a DIY, stuck-at-home Halloween...I've got a quick and easy solution for you!
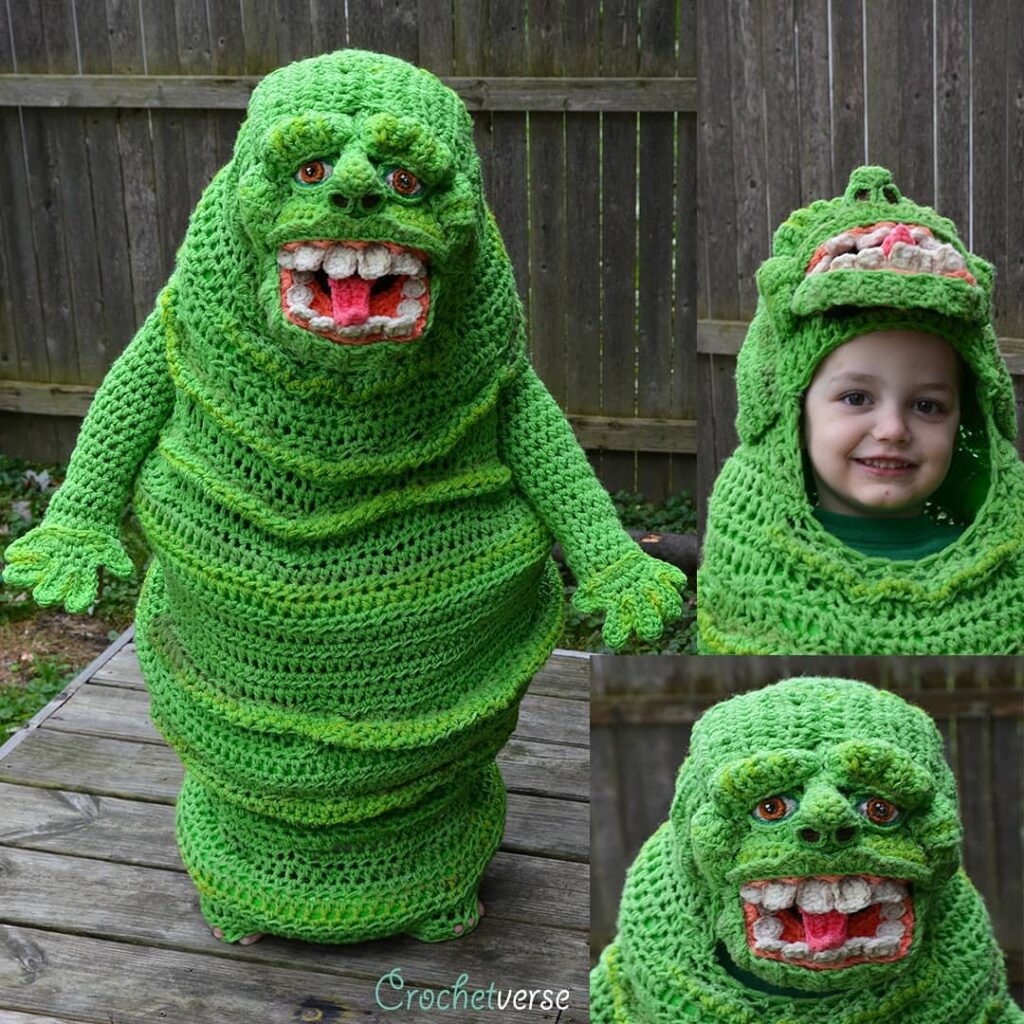
We can't all be the amazing Stephanie Pokorny from Crochetverse who went viral with her 2018 Halloween crochet creation of a Ghostbuster's Slimer that was so realistic, it put the CGI artists from the movie to shame!
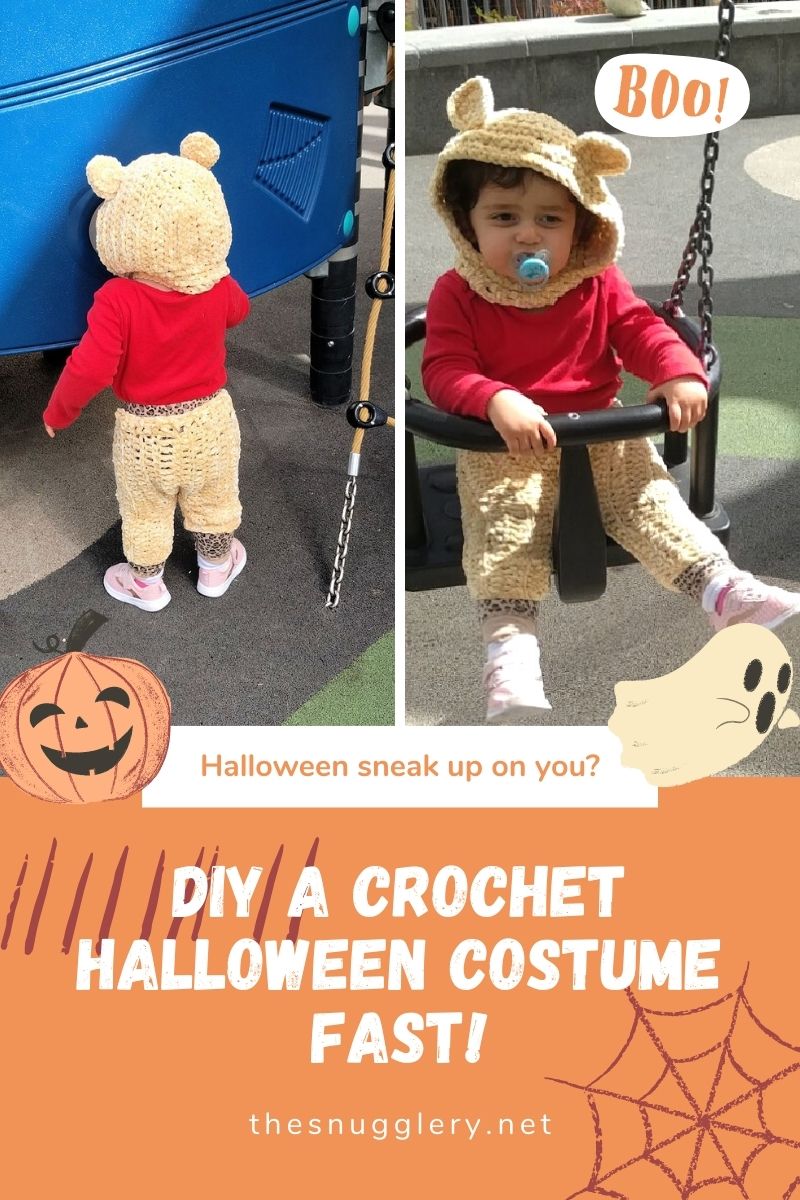
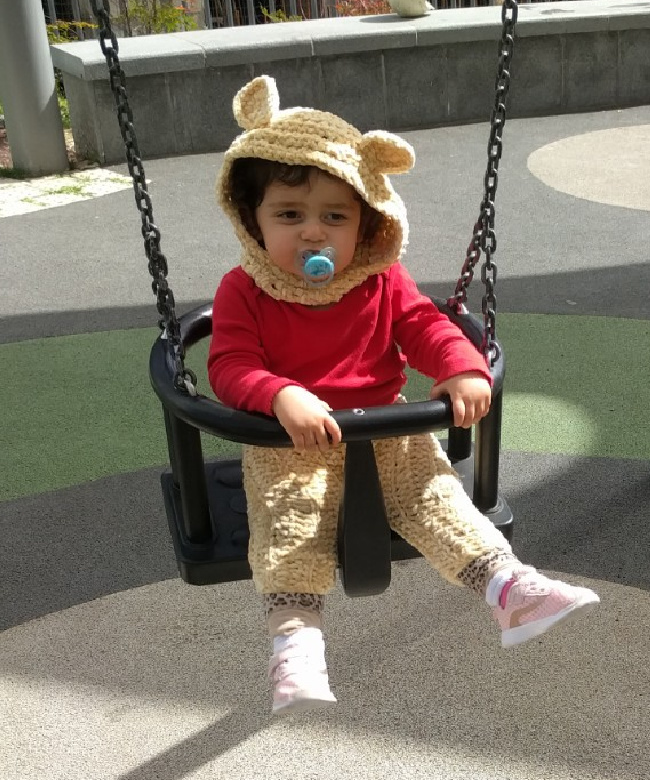
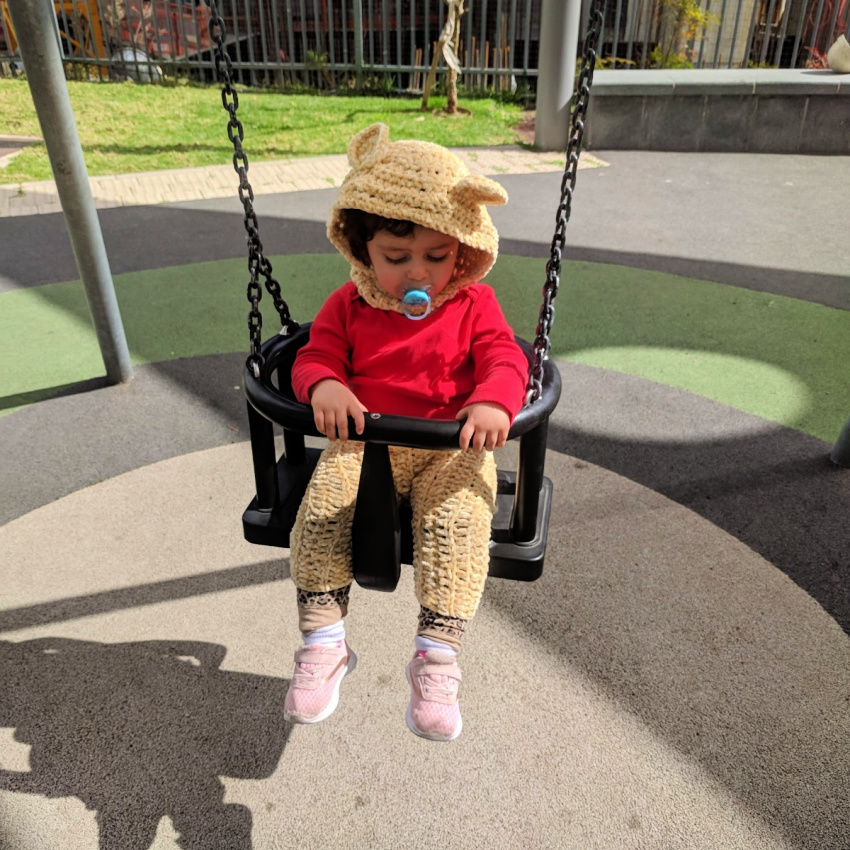
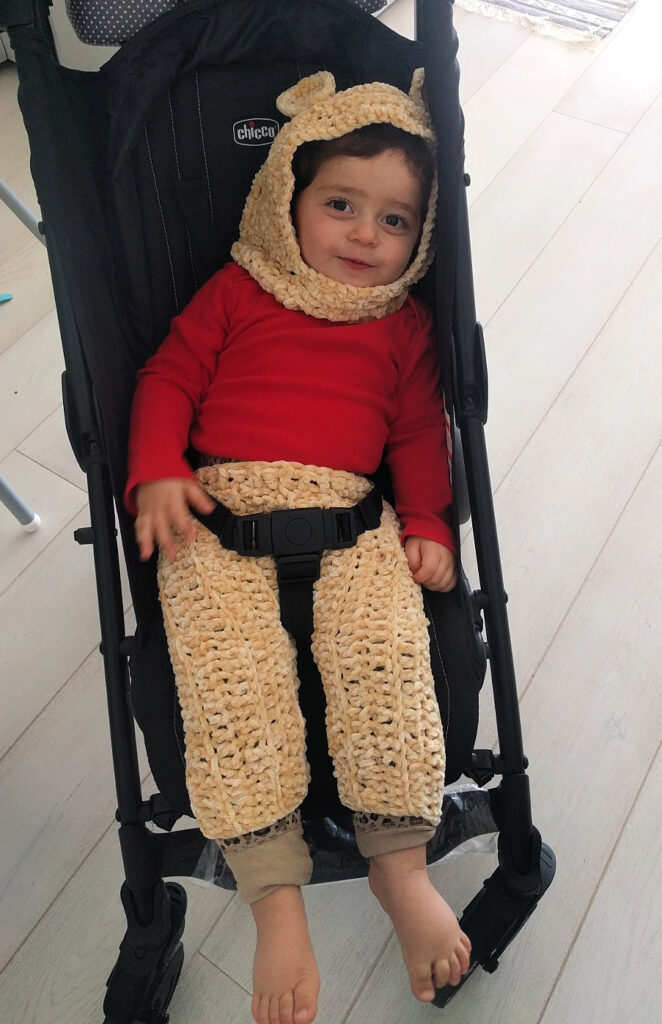
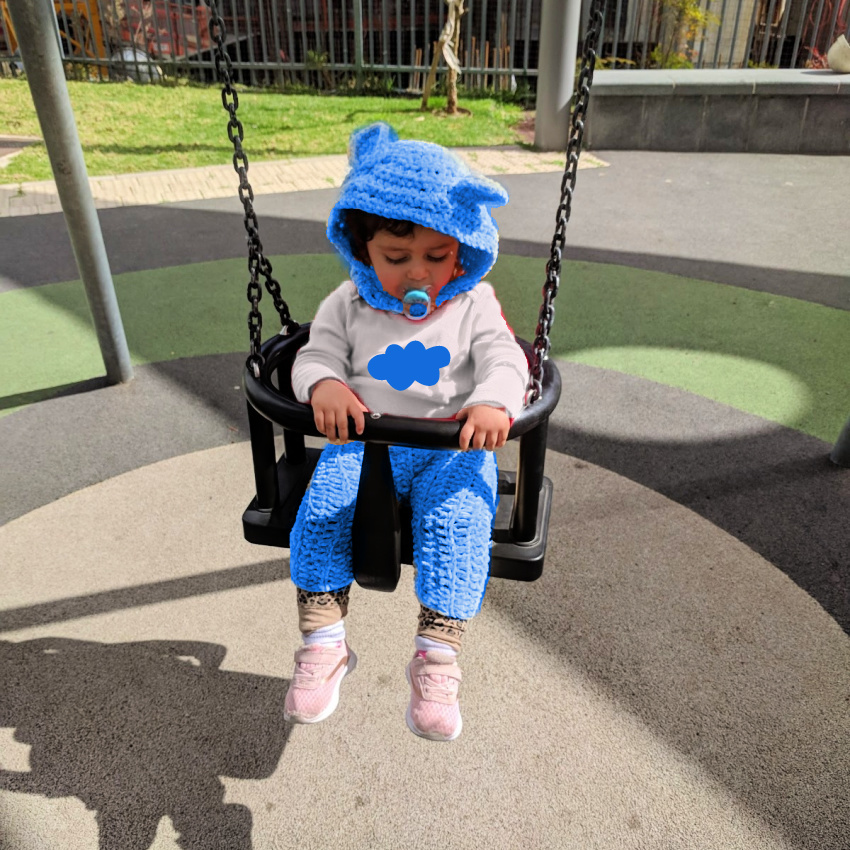
If you're willing to aim a little lower with me or are on a time crunch, like I found myself last Purim (Jewish dress up holiday), I'll show you how I whipped up this cute little Winnie The Pooh costume for my toddler, the night before.
By the way, I made a little video to go along with this blog post! Check that out here:
1. Chunky Yarn
If speed is the name, chunky yarn is the game. For my little girl's set, I used Bernat Velvet in the colorway Soft Sunshine both because, its what I had on hand, and because the bulky/chunky weight yarn worked up quickly but was still light and soft enough to be super wearable.

By all means, feel free to try super bulky weight yarn. There are zillions of great children's patterns available in Lion Brand's Wool Ease Thick & Quick, for example (more on that later). And, if you don't have any bulky to super bulky weight yarn on hand and can't get to the craft store, two strands of worsted or three strands of light weight yarn will do.
So when you've got your bulky yarn ready, and you're using a 7mm or larger hook/needle, It's time to talk about how to get the most costume bang for your buck. That will depend on the pattern you choose.
2. Hood And Pants
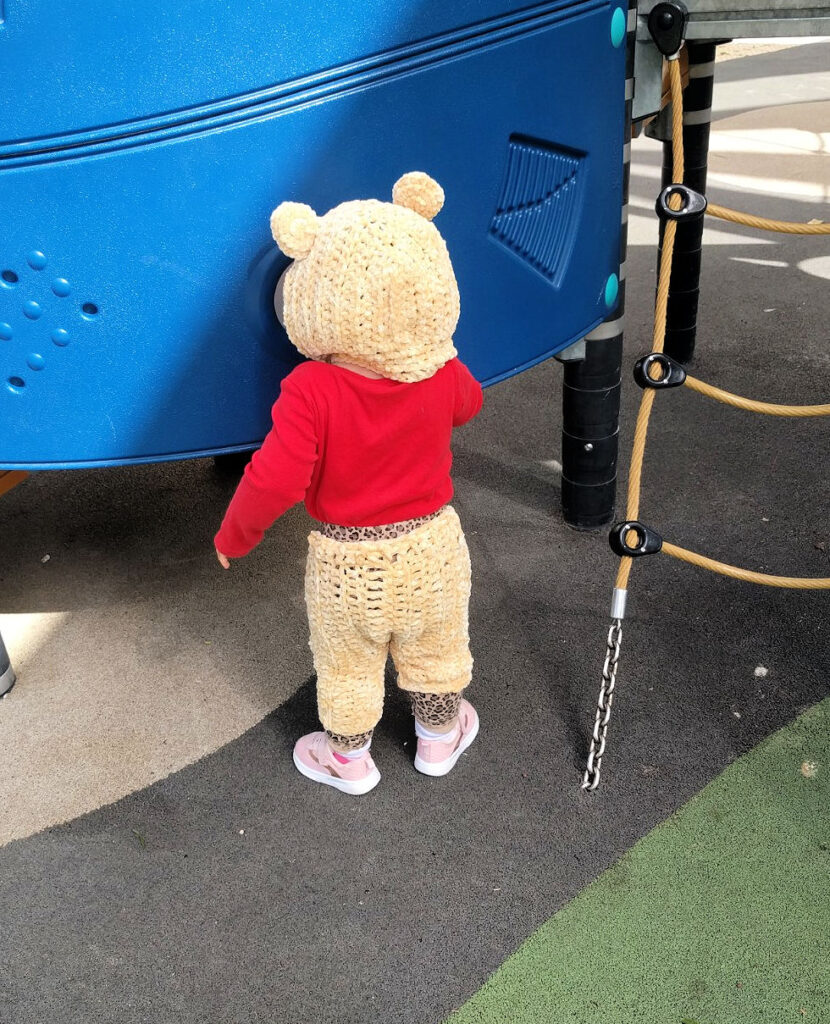
A cape or a hood alone does not a costume make. But what ties everything together in my Winnie The Pooh set is the hood/pants combo. It's just enough of a costume that no one would accuse you of using anything less than your whole booty's worth of effort but can still be completed in just one evening, if necessary.
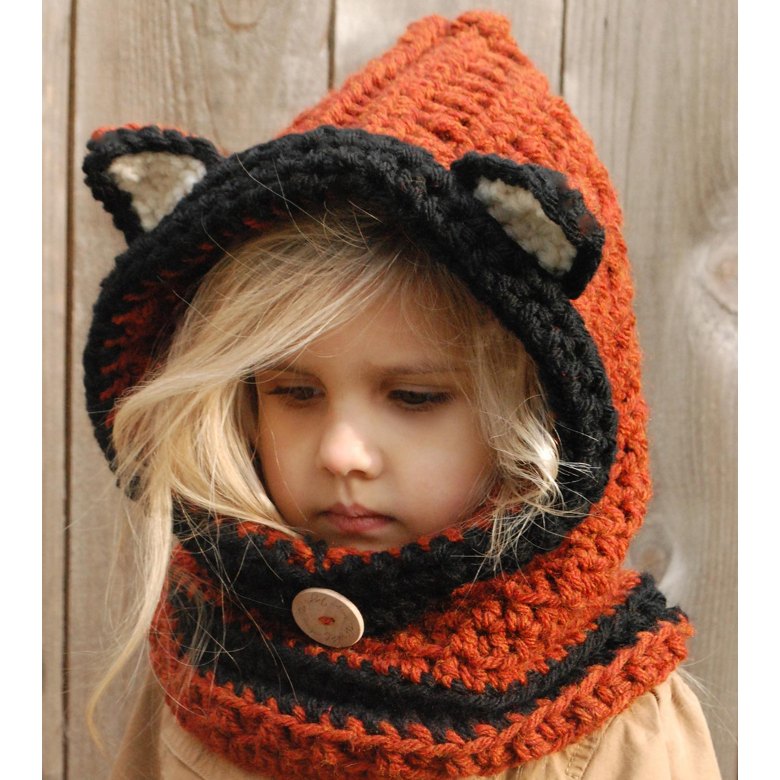
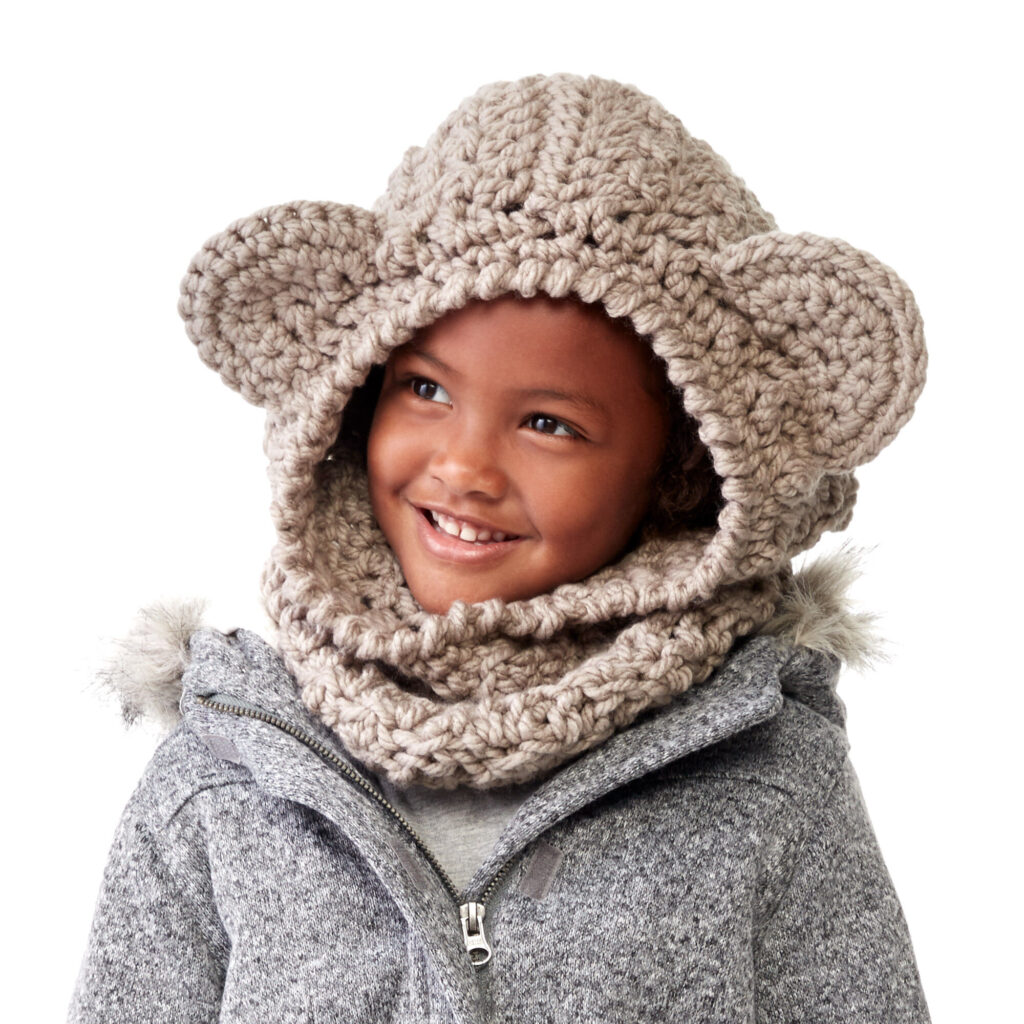
The Animal Hood Queen title goes to Heidi from The Velvet Acorn, who's been a huge pattern design inspiration to me ever since her now tweenaged model daughters were widdle. From panda to fox to bear, Heidi's got you covered in the super bulky hood department.
If you're looking for a hood pattern more in the price range of $free.99, here are a couple great free options and I'll show you how you can turn them into any animal or character you want!

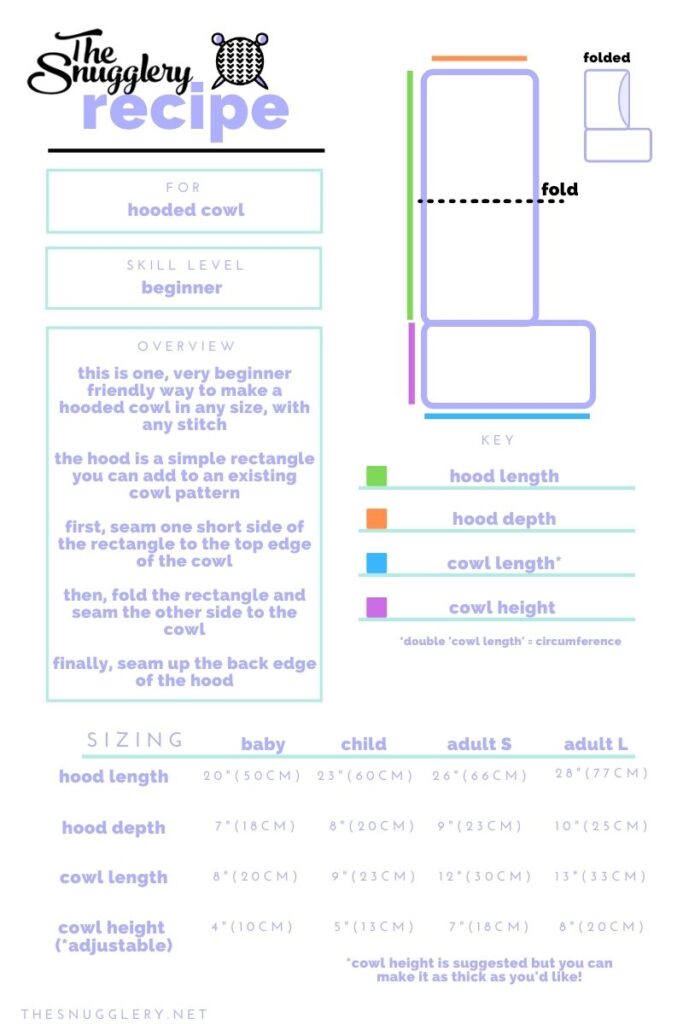
For an equally free but more adventurous option, I created a hooded cowl "recipe." This is a printable PDF I made that you can download. It has all the sizing info you'll need for this super simple way to make a hooded cowl in any stitch or yarn.
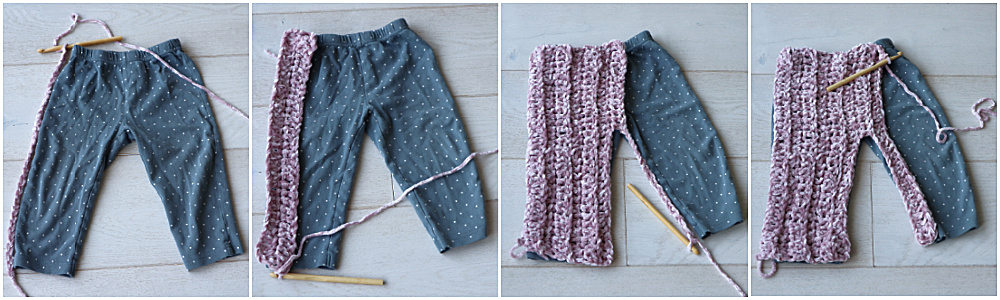
Don't be intimidated by crafting pants or bottoms. I know that's an area of crochet or knitting many of us haven't tackled before. But remember, these are decorative! They don't need to be very functional. My daughter wore a warm pair of leggings underneath her crochet pants. In fact, I used an existing pair of her pants as a template...no pattern needed!
To make my "no pattern" pants, all you need is a loose fitting pair of pants they already have. Chain a length of chains from the top of the waistband to about the bottom cuff of one leg. Work a few rows of any stitch you'd like, I used double crochet.
Then, when you reach the inseam (working down from the waistband) simply chain the remaining number of stitches. Then, on the next row, work your chosen stitch into those chains and in all remaining stitches. And continue working in rows for the other half of the pants until the two legs are the same number of rows.
Repeat the process to make two 2D little "pants" and seam them together up the outter sides, up the inner sides and a little stitch or two in the crotch (for a lack of a better word).
I'll admit, these aren't the most well-fitting pants in the world. But for my mostly stroller-bound, one-and-a-half year-old, they certainly served their very temporary purpose.
If free-handing a pants pattern is a little too spooky, there are a few great children's pants patterns out there and if bottoms in general are just too intimidating for your last minute DIY, simple fingerless gloves are a great alternative to give your crochet Halloween costume "set" a more complete feel.
To make the easiest fingerless gloves/wrist warmers, just chain a length as long as you want your gloves to be (up the arm). Then, work rows of any stitch until the piece fits around the wrist (about 5" for a baby, 6" for a child, 7" for a woman and 8" for a man).
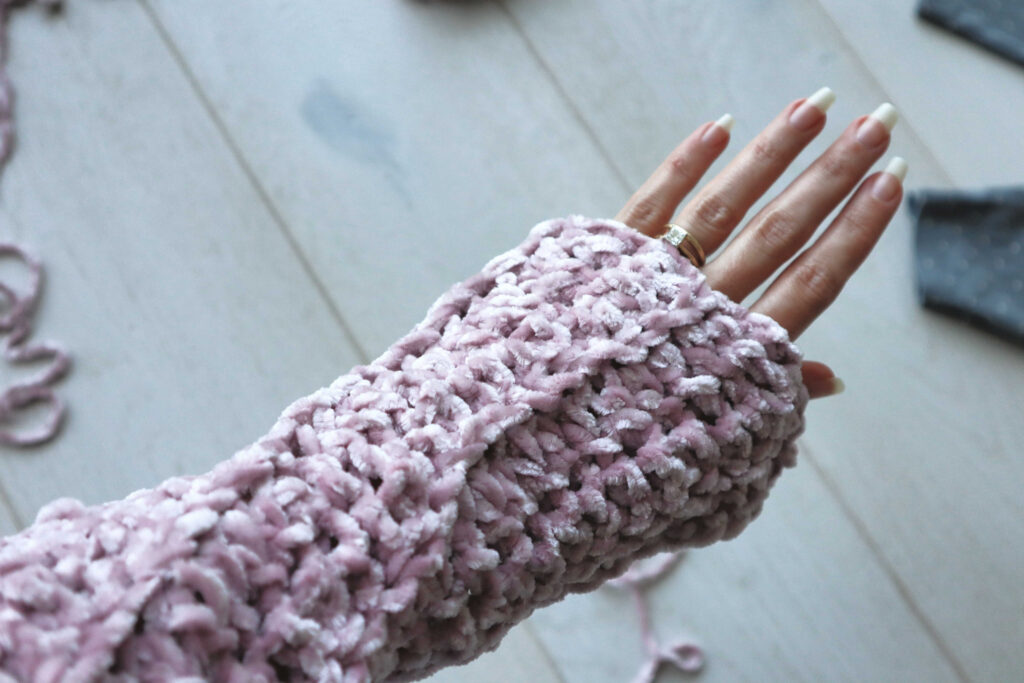
Seam the starting chain and last row together. You can even leave a small hole a couple stitches from the top for a thumb opening!
3. Small Custom Touches Take It To The Next Level
You've worked your hood and pants patterns or your hat and gloves patterns and now you're ready to add the finishing touches. The reality is, little details that make a DIY crochet Halloween costume come to life take almost no time at all!
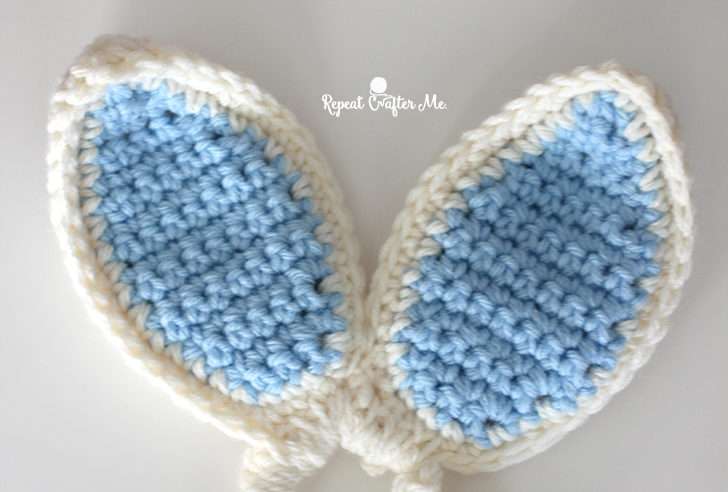
This is also the time to show off your creativity. You can express yourself with the ears and embellishments you choose as well as the placement or size scale of those cute little additions. But, if you're having some crafter's block, I've compiled lists of ears, hair, horns and embellishments as well as links to free resources for how to make them! Add any combo of these elements to turn the same hood or hat pattern into an infinite number of different costumes.
Check out the charts below for generic and character inspired ideas that you can use to quickly DIY a crochet Halloween costume anyone would recognize!
| Character | Yarn Color | Shirt Color | Ear Shape | Tail | Extra |
| Winnie The Pooh | Yellow/Gold | Red | Small round | None | Pot of honey |
| Mickey Mouse | Black (hood) Red (pants) | Black | Large round | Long or none | White buttons or gloves |
| Hello Kitty | White | Pink (or any) | Triangle | Pom Pom or none | Pink/Red Bow |
| Care Bear | Any (matching your bear of choice) | White | Round | Pom Pom or none | Tummy applique matching your bear (cloud, sun, heart, clover) |
| Generic Animals | Yarn Color | Ear Shape | Tail | Easy Face Paint Additions |
| Bear | Brown or tan | Round | Pom Pom or none | Black nose, black line from nose to lip |
| Cat | Any (fantasy or realistic) | Triangle | Long | Black nose, black line from nose to lip, black wiskers |
| Bunny | Grey or white | Long Oval (2" or more) | Pom Pom | Pink nose, black line from nose to lip, black wiskers |
| Unicorn | White | Short Oval (1" or 2") also horn and curly rainbow "hair" for the mane | Long + latch hook end | None... rainbow stuff? |
| Dog | Neutrals | Long Tear Drop | Short | Pink nose, black line from nose to lip, red tongue |
Good luck and don't stress
My number one piece of advice if you're going to DIY a crochet Halloween costume, especially if it's at the last minute, is to cut yourself some slack! Dressing up for Halloween is all about the FUN! No matter how sloppy or motley your crochet pieces turn out, I guarantee they won't be lacking any charm.
There's nothing more "2020" than mom taking a whack at a DIY Halloween costume she found on Pinterest and years from now your family will look back on these pictures with a collective "aawwww."
Take it from me! Last year, due to preparation for a red-eye flight, I had to DIY a hasty, last minute, birthday hat for my daughter's first birthday. How did it turn out? I'll let the picture speak for itself.

Admittedly not my finest work, but the perfectly imperfect birthday hat took on a life of its own. These pictures were such a huge hit with family and friends, it sort of became a meme. Now I've got a new tradition of a goofy, DIY birthday hat that I'll probably do every year. So don't be afraid to dive right in!