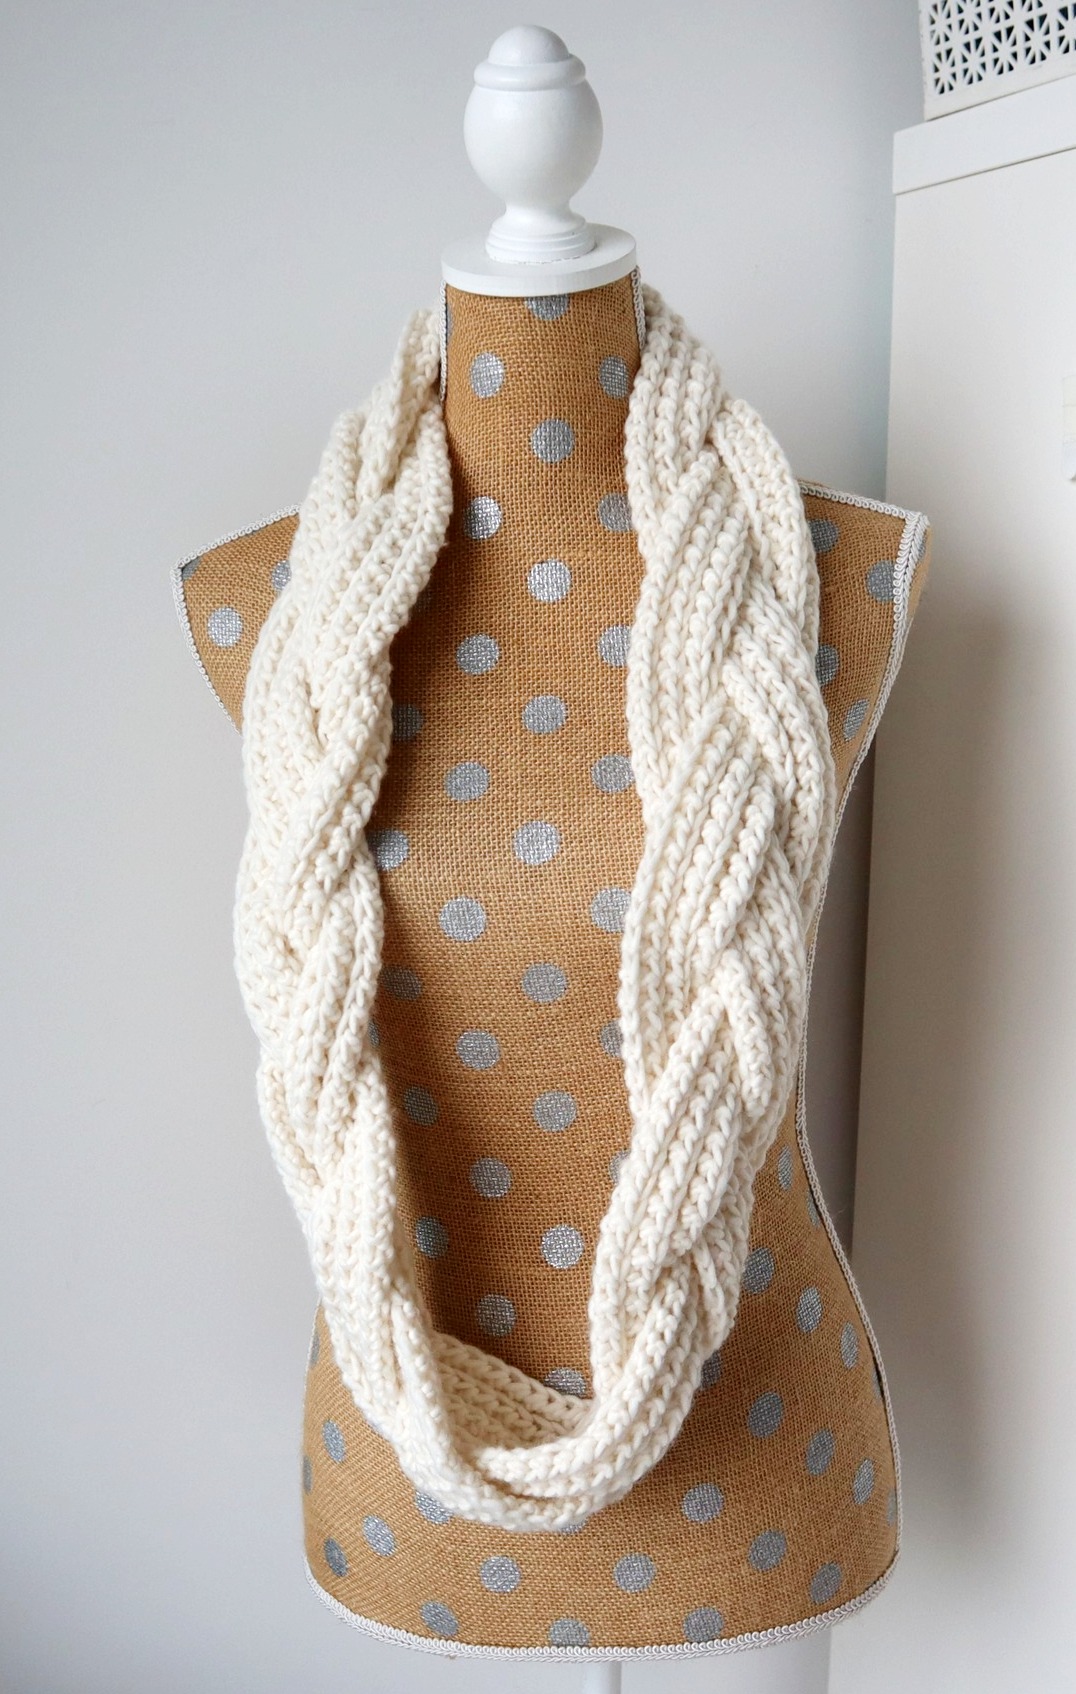
An elegant "twist" on the classic, crochet infinity scarf. This braided scarf pattern is so simple to create and works up into a head turning, unique piece. In this pattern, you will learn how to mimic a 3 strand braid with one strand and how to use that technique to create this scarf!

Finally, per so many of your requests, this pattern has a video! I'll demonstrate for you the tricky braiding technique as well as how to crochet the scarf! Check it out here:
And get a PDF downloadable copy of the pattern HERE

You can use any hook or yarn size as long as your starting chain is all you need is 175 in (4.5m) long. To make measuring that out easier, you can chain 44in, multiply that chain number by 4 and that's the starting chain number you need! I used Ice Yarn's Peru Alpaca Super Bulk and a 6.5mm crochet hook. My starting chain was 350.
**You may also measure your starting chain by draping it around your neck 3 times and where it lays is close to where it will lay once braided. ***
Then I worked half double crochet into the back loop. You can use any stitch pattern you like until your piece measures 2.5in-3in (7cm) wide. For my exact scarf, follow the instructions below
Row 1: skip the first chain, and make 1hdc in the next chain. Then continue making 1hdc in each foundation chain. Row 2: ch1, turn and make 1hdc in the back loop of each stitch.
Repeat row 2 for a total of 6 rows or until your piece is 2.5-3in (7cm) wide.

You should have this really long piece of crochet. Now lets braid it!
You may reference this video, demonstrating how to braid a single strand with a rope. It's the same idea. Below you'll also find my step by step photo tutorial as well as a drawn diagram. Some people find this part to be tricky but don't give up! Just fiddle with it a bit and I'm sure you can do it!
To begin, fold your work in half with the two ends next to each other. Take one end and cross it over the strand a little more than halfway down, making a big loop.

Bring the long end down, towards you, crossing it over the previous end, through the loop you created, and out the other side, then twist the loop.

Take your end and go "over - under." Over one side of the loop and under the other side of the loop. Then, twist the loop again.

Continue in this fashion, threading the long end through the loop, then twisting the loop until your entire piece is braided with two short ends sticking out of each side.


***If you have more end left over when you're finished braiding, try again and make your first loop a little bigger. If you have too much loop left over at the end, try again with a smaller starting loop.*** You can also fiddle with tightening or loosening the braid, after you've braided it, to get it to come out a little more even.
To keep your braid nice and secure, fasten the last loop and end together on either side of the scarf. You can do this with just a piece of scrap yarn in the same color.

To make it an infinity scarf, slip stitch the two end pieces together.

There you have it! I hope you liked this tutorial/pattern and I'd love to see what you create! Feel free to share with me on Instagram or on Ravelry.