Have you ever found the perfect stitch for a blanket, or even a sweater, but can't find a pattern to get you started? I'm going to show you how, with the power of gauge, YOU can be the one to bring that pattern to life! I'll go ahead and pop the gauge swatch calculator here for those who already know how to use it! Still curious about gauge? Keep reading!
What is Gauge, Anyway?
To get familiar with the concept of gauge, let's define it:
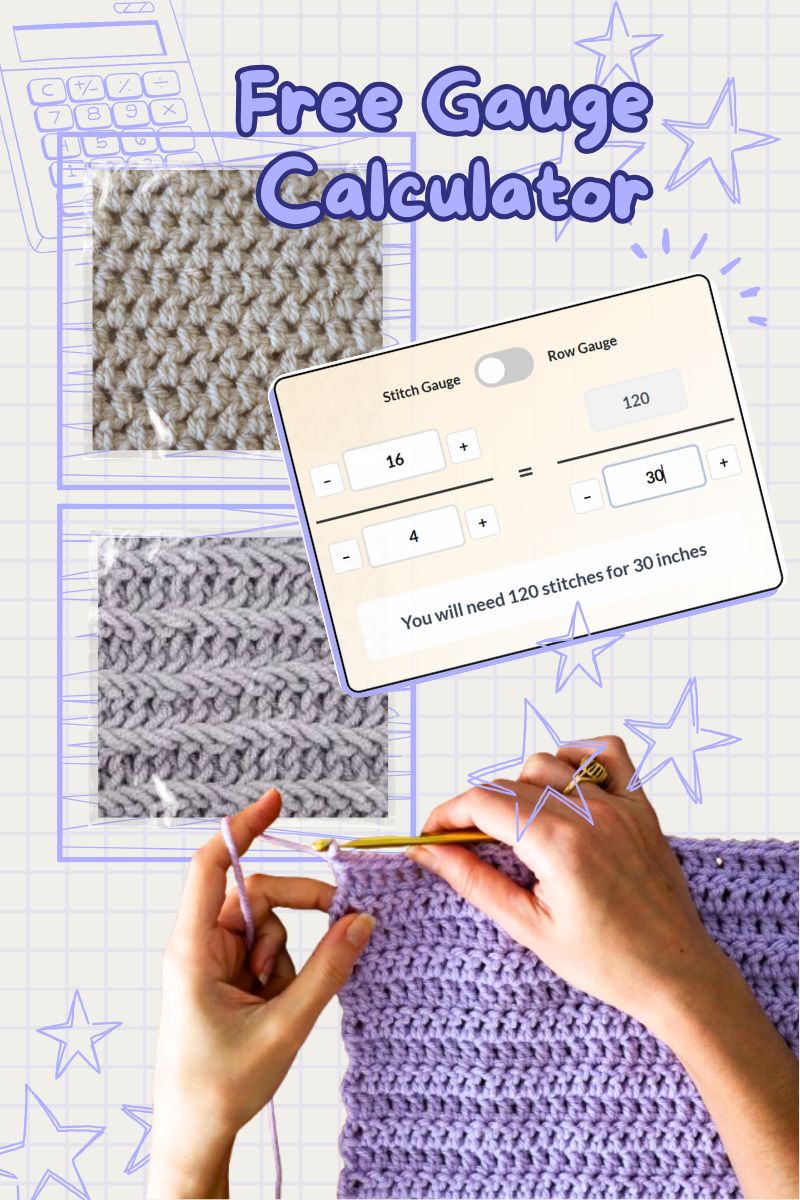
Gauge is the number of stitches or rows in a given measurement, typically 4 inches or 10cm.
That's all well and good but what does it do for us? Well, if a pattern says a certain number of stitches will make a sweater that fits you, gauge is how you check to see if that is true. The whole point of gauge is to check theoretical numbers and make sure we know what they actually are.
Great For Following Patterns
With gauge, we can crochet or knit up a small square of the stitch pattern, measure the stitches and know ahead of time if the project will turn out to be the correct size! This saves tons of time and headaches because it's much more efficient than knitting up the whole project only to find out it's too big or too small.
So if a pattern says the gauge is 25sts x 34rows in a 4x4" swatch, all you need to do is work up a bit of the stitch pattern that is slightly bigger than 4". Maybe start with 30 or so stitches and work over 34 rows.
Bust out the tape measurer
With your swatch worked up, take out a tape measurer and measure out 4 inches. Then, you can physically count the stitches within that 4 inch measurement. That is your stitch gauge! Measure vertically and count rows for row gauge.
If your gauge is exactly the same as the pattern, you're good to go! You can trust that if you knit or crochet the pattern, your finished project will match the predicted measurements.
What if your gauge does not match? At that point you can go up or down a hook or needle size and try another swatch to see if you can match the gauge that way. Everyone is different and has a slightly different tension on the yarn.
Becoming the Designer: Creating Your Own Patterns
Now here's where gauge becomes truly powerful - you can use it to create your own patterns! Let's say you've found a beautiful stitch pattern you want to use for a baby blanket. Here's how to make it happen:
- Make your gauge swatch using the stitch pattern you want to use
- Measure your gauge and plug it into the calculator above
- Put your desired length or width into the calculator
- The calculator will give you the stitch or row count that you need!
For example, if your gauge is 16 stitches in 4 inches and you want a 60-inch wide blanket, you'll need 240 stitches.
Not sure how big you want your blanket to be? A sizing chart sure would come in handy and I just happen to have one! You can find it HERE
The Power of Gauge Unleashed
Once you understand gauge, you can:
- Design custom-sized accessories
- Create garments that fit perfectly
- Modify existing patterns to use different yarns
- Scale patterns up or down in size
Remember, every pattern you've ever followed started with someone doing these same calculations. That someone can be you!
Pro Tips for Success
- Always work your gauge swatch in the same stitch pattern you plan to use
- Block your swatch if you plan to block your finished piece
- Keep notes of which yarns and hooks/needles give you which gauge
- Remember that gauge can vary between different stitch patterns
- Consider making your swatch larger than 4" for more accurate measurements
Now that you understand both sides of gauge - matching it for patterns and using it for design - you're ready to start creating! Use the calculator above to help with your calculations, and don't be afraid to experiment.
More Guides
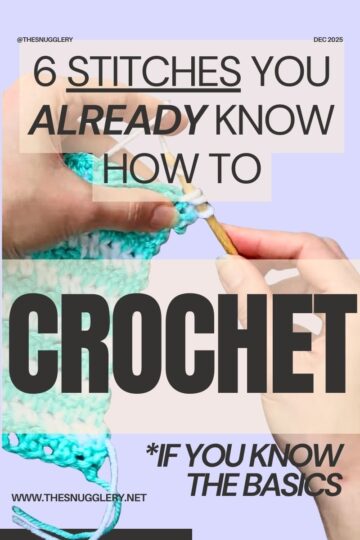
- 6 Crochet Stitches You ALREADY Know (If You Can Make Single, Half Double, And Double Crochets)
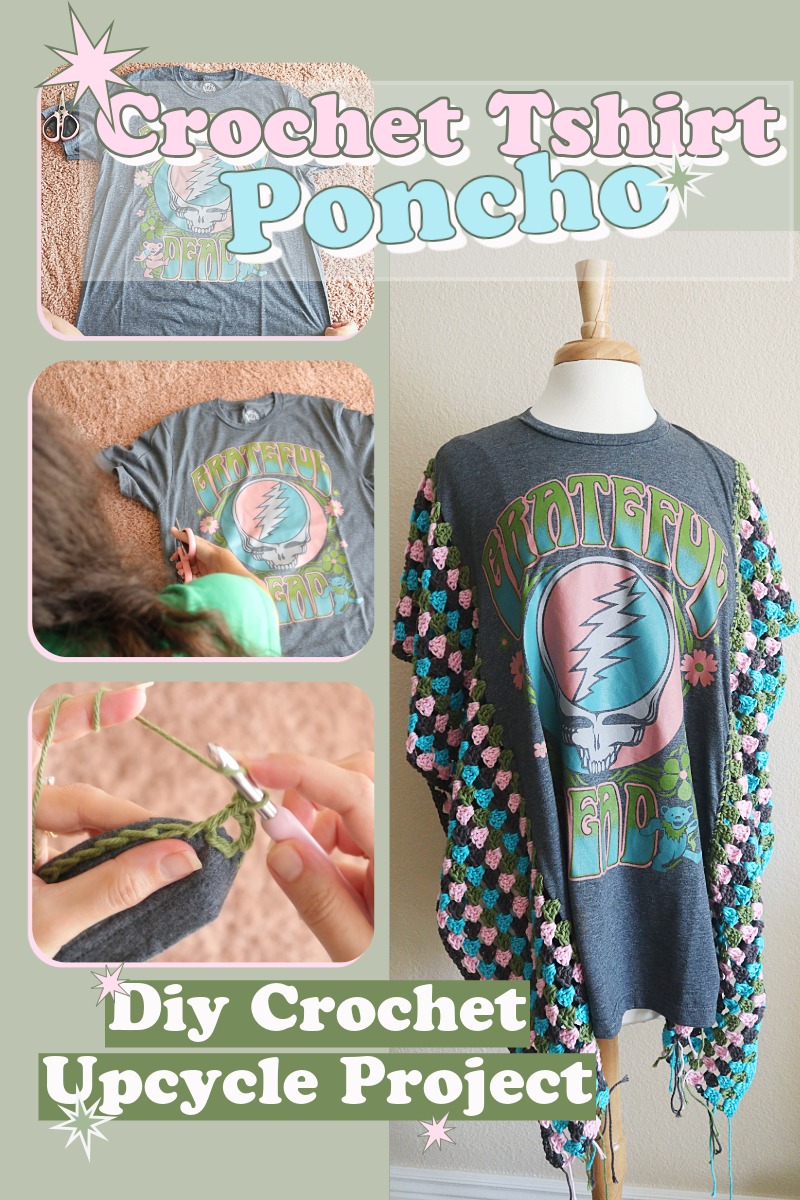
- DIY Crochet T-Shirt Poncho – Upcycle an Old Tee into Festival-Ready Style
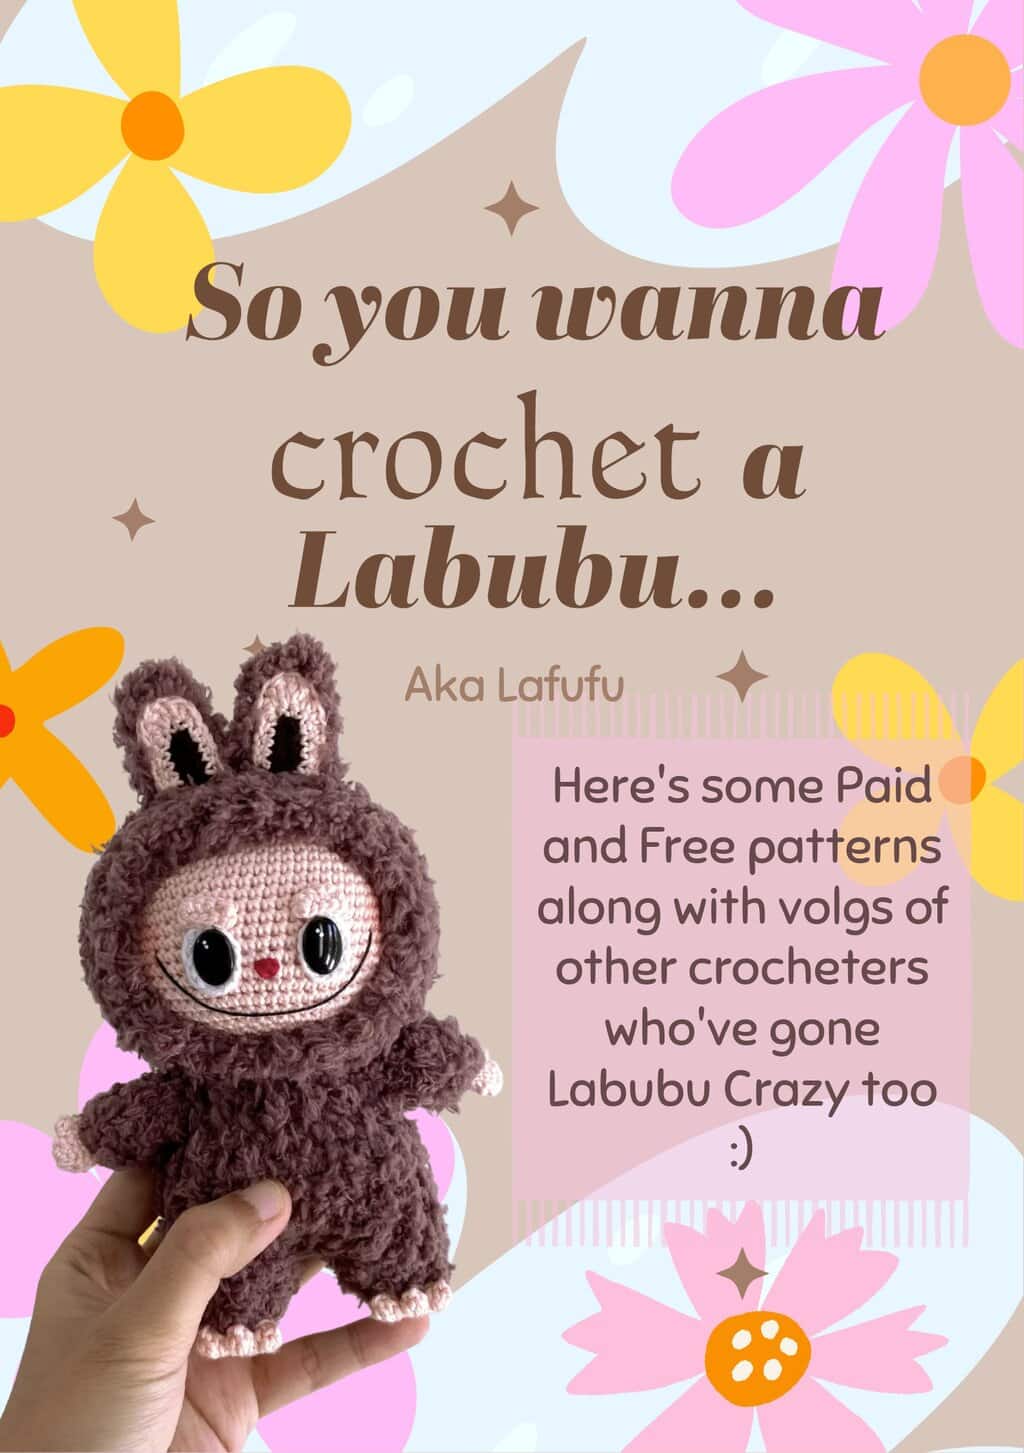
- Are You Really Gonna Crochet A Labubu? - Paid, and Free Patterns To Help You On Your Lafufu Journey
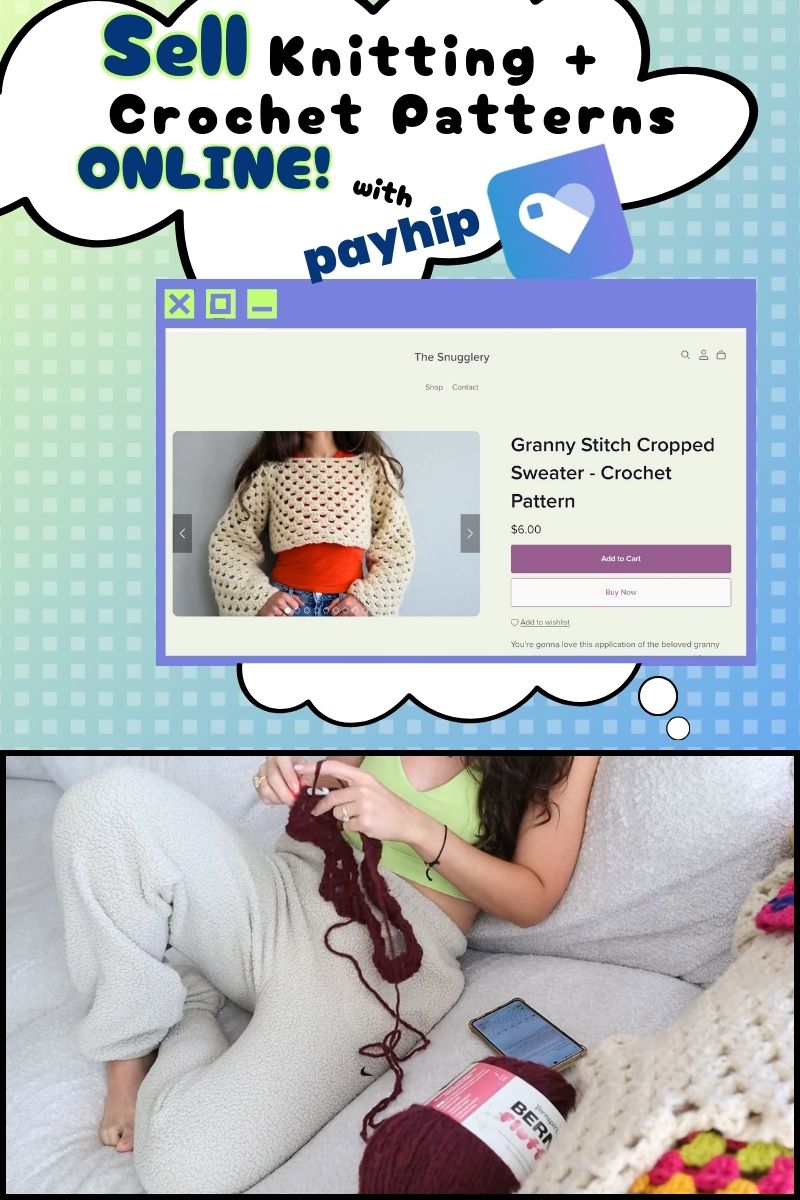
- Quick Start Guide To Selling Knitting And Crochet Patterns Online With Payhip!
Thank you Thankful for this! Will help me a lot with just this instance of wanting to make a blanket with a stitch I like. I was kind of intimidated before.No longer true.
Thank you for all the information! I am new at this so need your gentle teaching style.