
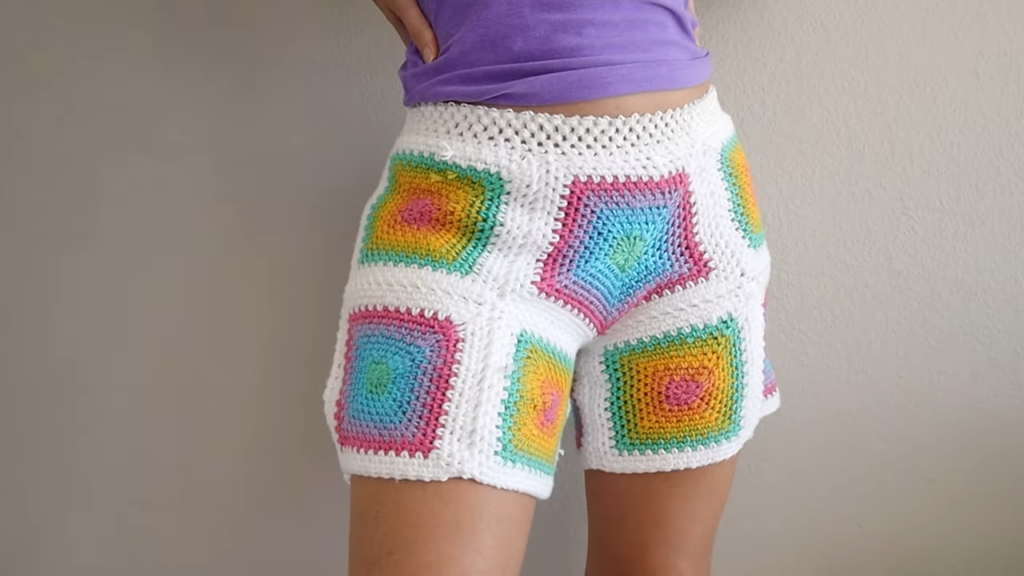
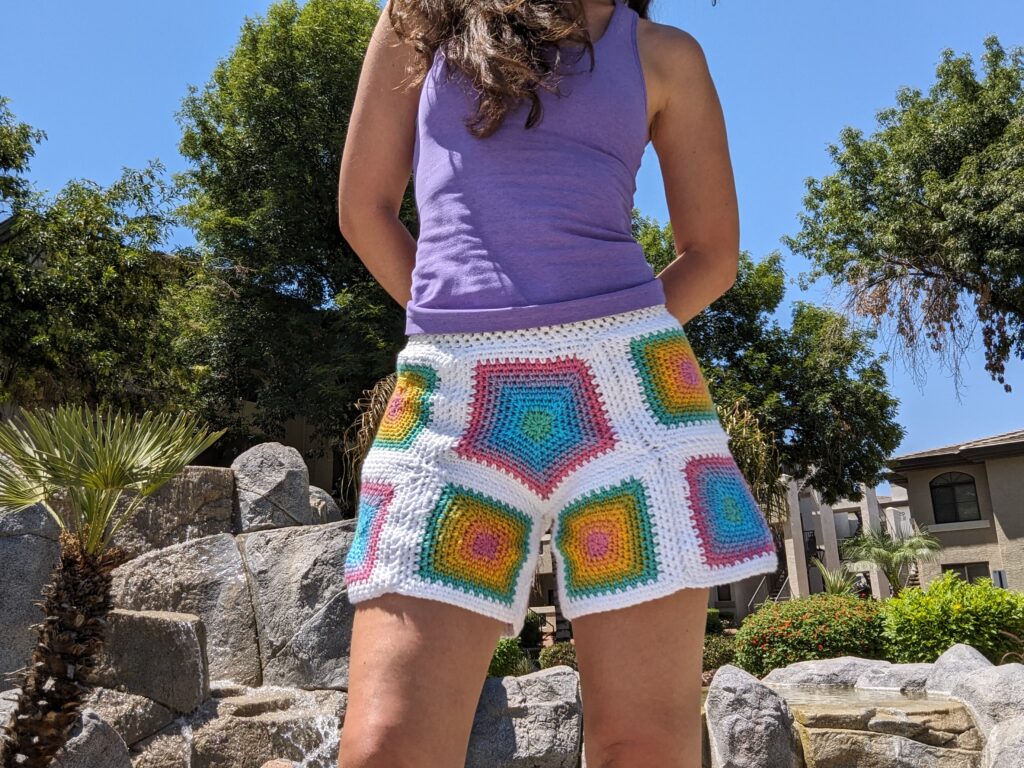
Granny Girl Summer
I can't wait for you to see how these granny square shorts came together. I made them using the spectacular "linen stitch," which creates a fabric that doesn't have those big open gaps that you're used to seeing in granny squares. So you can confidently wear these out and about as shorts! (And not just as a bathing suit coverup). You might find the flattering arrangement of these squares a stroke of genius, with the addition of a hexagon motif and a triangle. Even better, they have an ELASTIC WAISTBAND for a perfect fit. Ready to give these shorts a try?
Materials Needed
- Yarn: I used Yarn Bee Sugarwheel Cotton in the colorway "Sprinkles On Top." The color changes you see in my squares was actually done but "harvesting" each color out of the yarn ball by cutting the yarn at each color change in the ball and making little bobbins of each color to work from. Then I changed color every 2 rounds.
- Crochet Hook: 5.5mm US I
- Elastic Ribbon: I used a 2.5" wide "crochet headband ribbon" cut to fit my waist size. Described in further detail below.
Step-by-Step Pattern:
Linen Stitch Square Motif
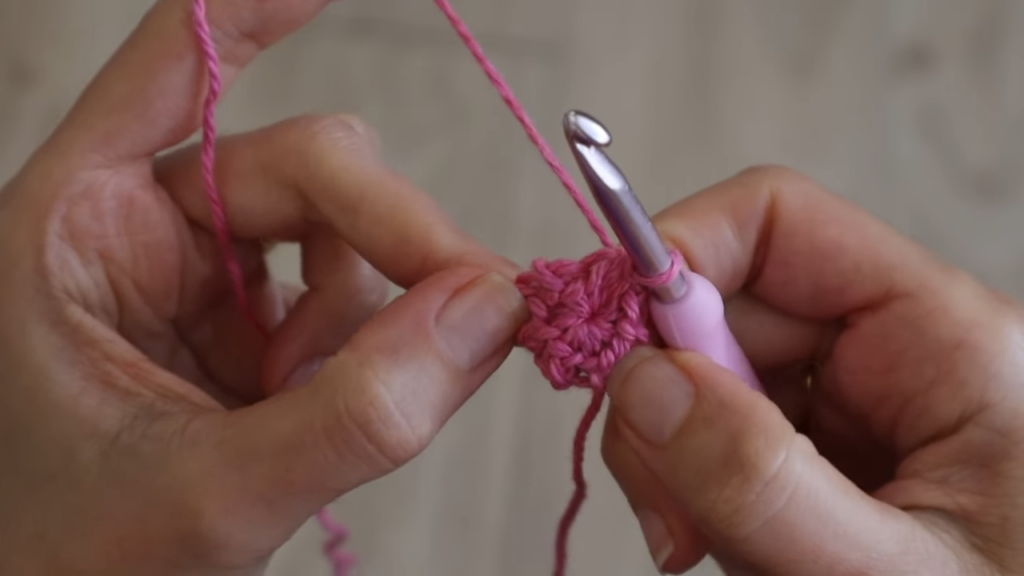
- Round 1
- Begin with a magic circle.
- Chain 1, then *work a single crochet (sc) into the circle, chain 1*, repeat between ** until you have 8 sc and 8 chain spaces.
- Close your magic circle and complete the round with a slip stitch into the first sc.
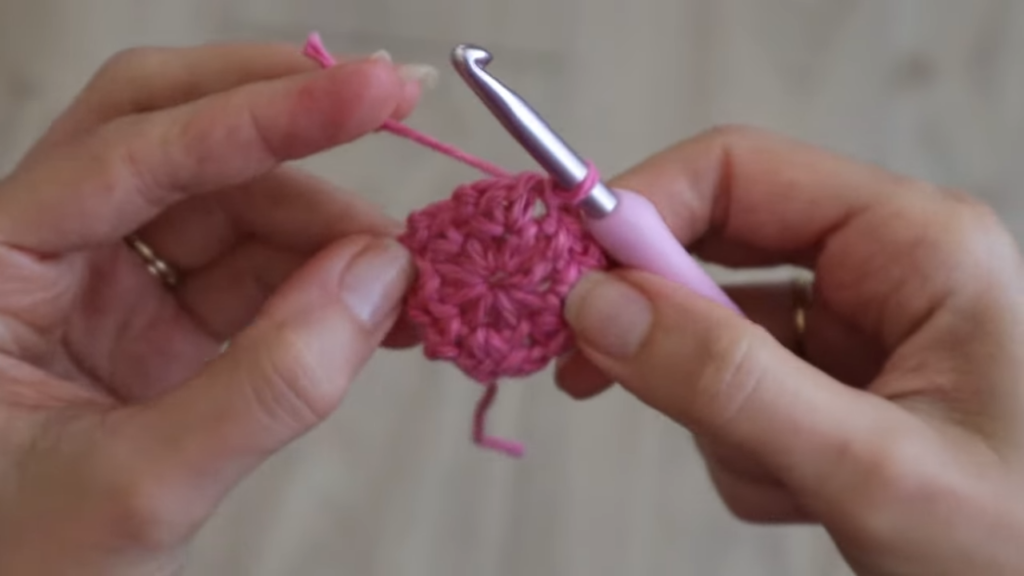
- Round 2
- Without chaining and without turning your work, *work 1sc into the next ch sp. Ch1 and work 1sc into the same ch sp. Ch1 and work 1sc in the next ch sp.* Rep between ** to the end of the rnd.
- Sl st to the first sc to complete the rnd.
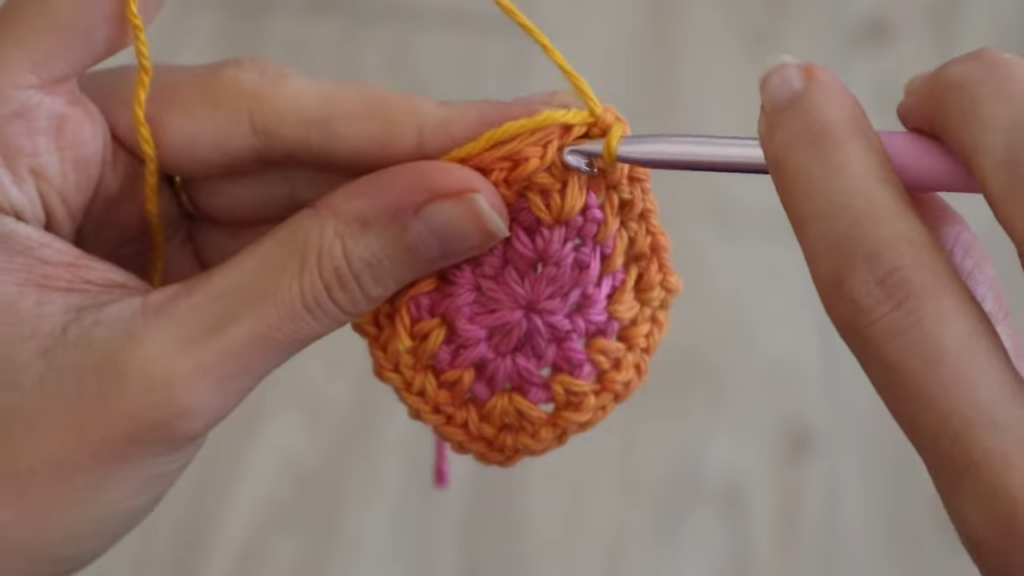
- All Other Rounds
- Without chaining and without turning your work, Work 1 "corner" into the corner ch sp. In this pattern, a "corner" is 1sc, ch1, 1sc, ch1 all into the same chain space.
- Work 1sc, ch1 into each non-corner ch sp.
- Sl st to the first sc to complete the rnd.
- Continue in rounds, growing your square and change colors every 2 rounds.
- Then, I added 3 rounds in my white border color to get my squares to the right width needed for the size I was making.
XS/X - 6" squares, M/L - 6.5" squares, XL/XXL - 7" squares
Sizing the squares
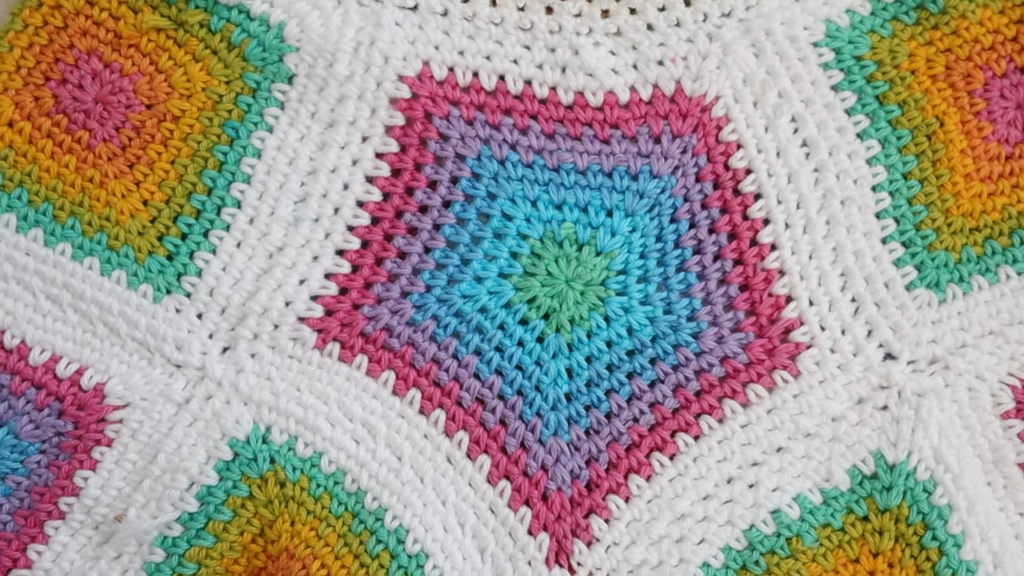
Linen Stitch Hexagon Motif
Repeat the instructions for the square motif, but begin rnd 1 with 10scs and 10ch1s with 5 corner chain spaces in the motif.
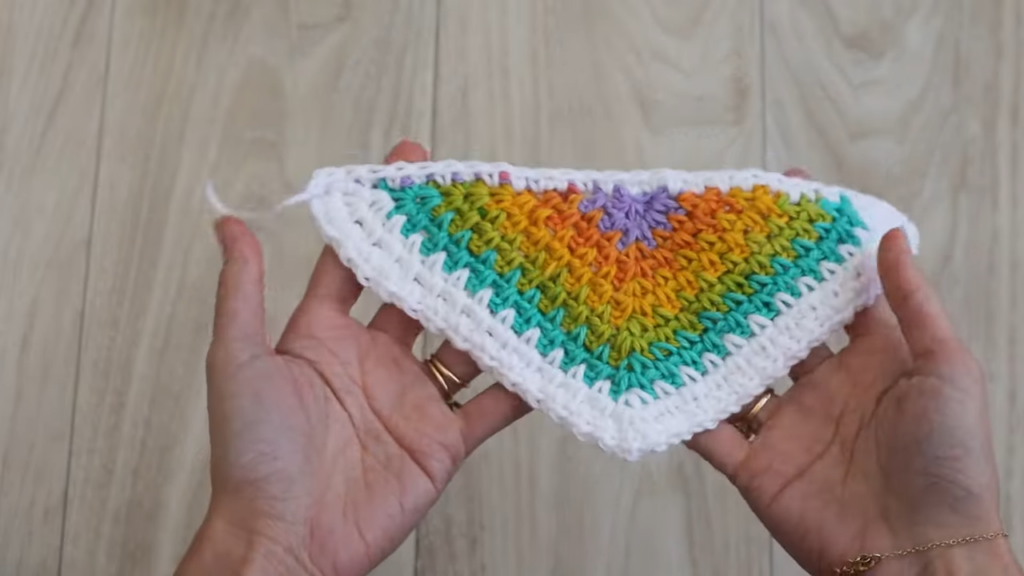
Linen Stitch Triangle Motif
- Row 1
- Begin with a magic circle.
- Chain 1, then *work a single crochet (sc) into the circle, chain 1*, repeat between ** until you have 5scs and 5ch1 spaces, then work 1sc. (6scs, 5chs total)
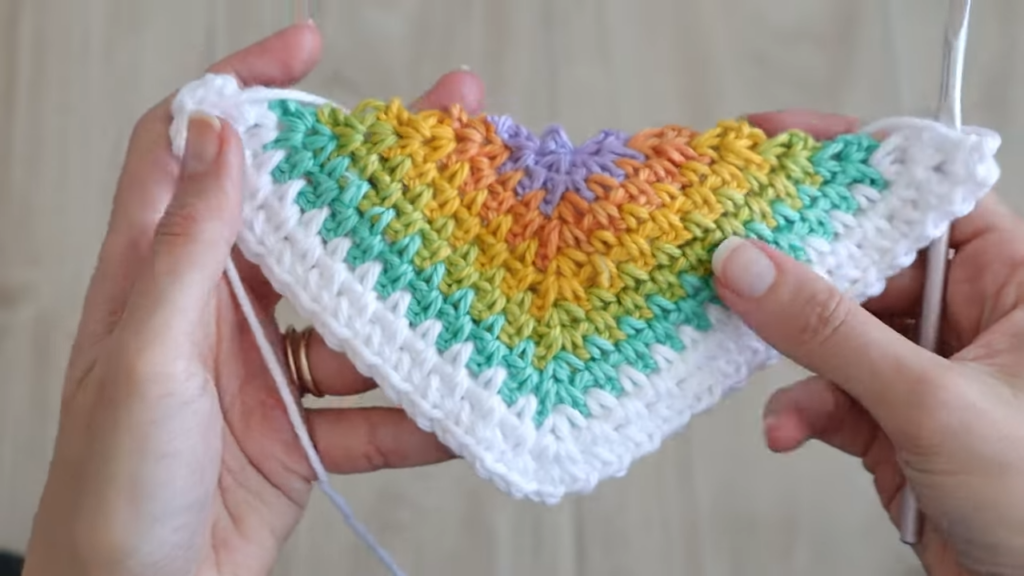
- All Other Rows
- Ch1 and turn, work 1 corner into each corner, and work 1sc, ch1 into each non corner chain space. End with a corner into the last corner chain space.
When you've finished your triangle and it has the same number of rows as your squares, add an extra row of single crochet in the border color along the rough edge.
Constructing the Shorts
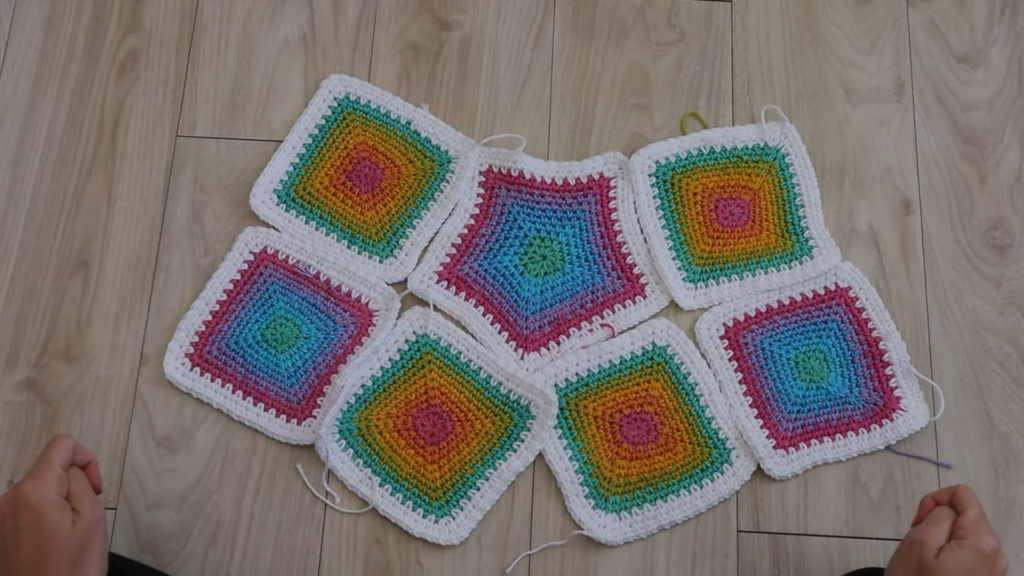
- Layout the Pieces
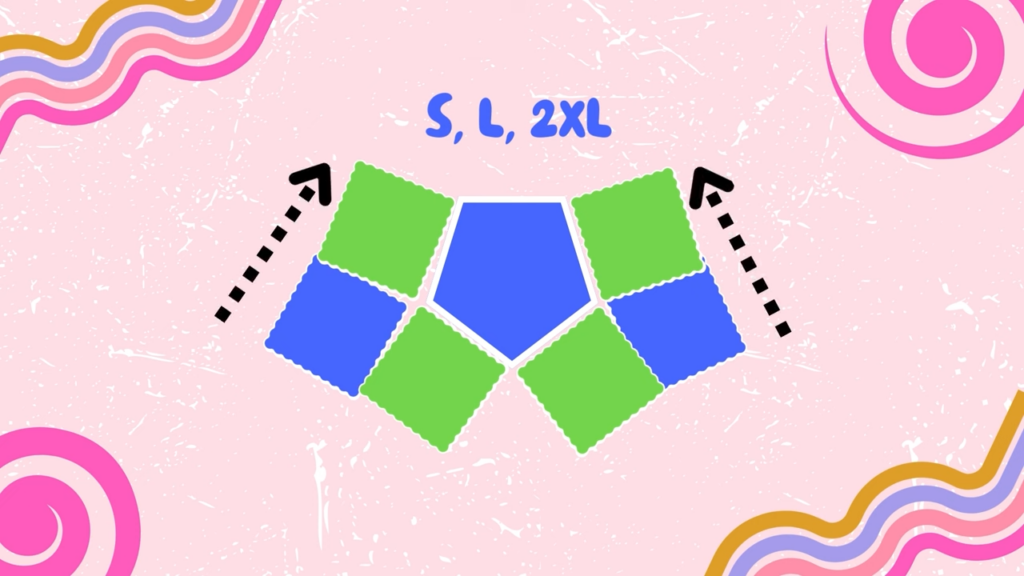
- Arrange your squares in two panels
- The front panel will be 6 squares arranged around the pentagon motif
- The back panel will be 7 squares arranged around the triangle motif

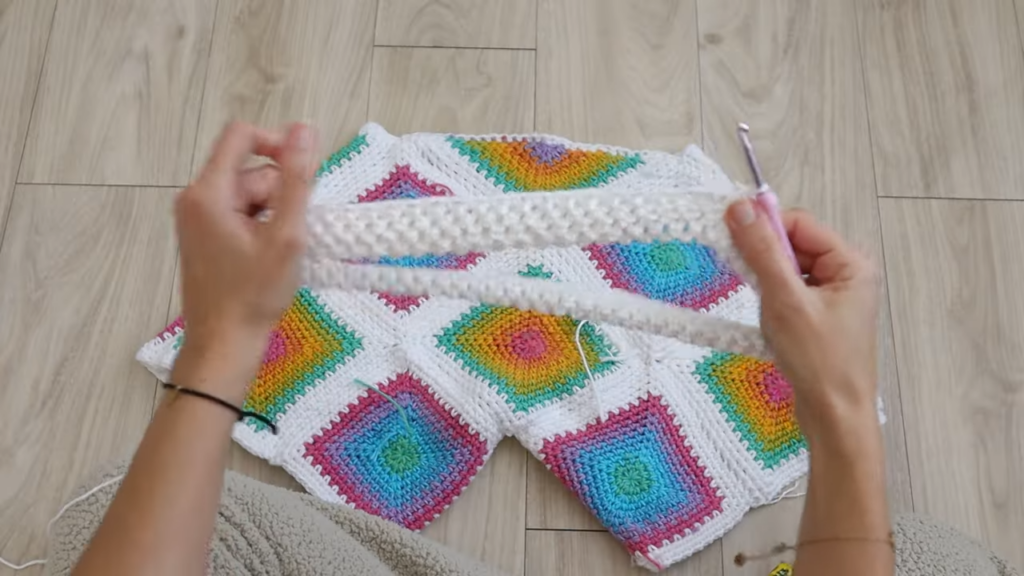
- Seaming
- Use a single crochet seam to join the squares.
- Seam with squares "right sides" facing eachother.
- Alternate 1sc into each ch sp of each square (including corners) to seam them together. Periodically arrange your squares into their respective front and back panels again to keep track of where to seam next.
- For sizes S, L and 2XL only, add an extra row of linen stitch along each "hip seam" of each panel before seaming the panels together.
Sizes S, L and 2XL add extra hip rows mentioned above before seaming. Sizes XS, M and XL - no extra hip rows
Sizing while seaming
- Elastic Waistband
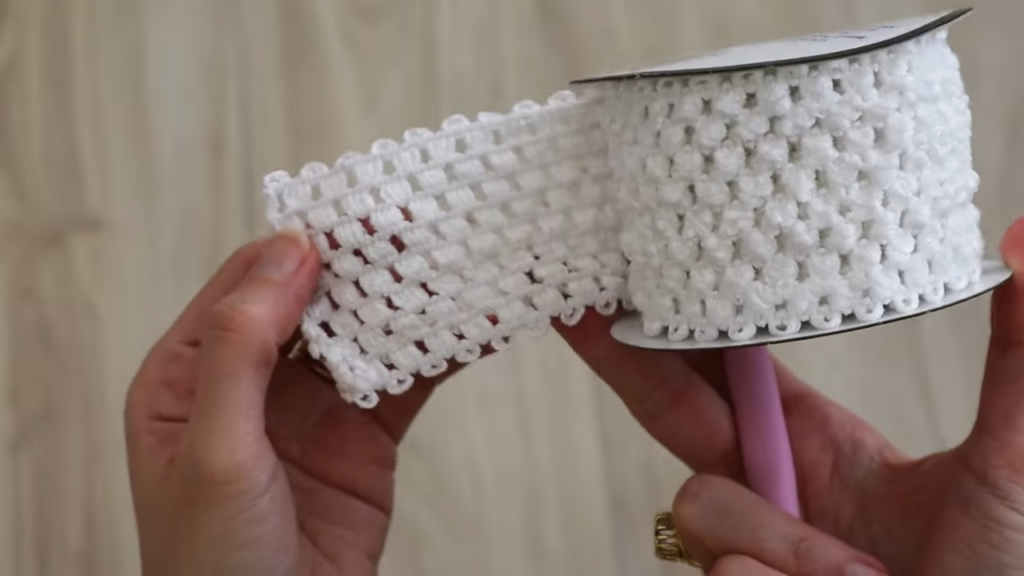
- Using the special, 2.5 inch "crochet headband" elastic ribbon and measure the elastic around your waist, allowing for 2-3" of stretch.
- Fold the elastic in half and crochet a sc edge along the bottom to seam the fold in place. Then, seam the piece in-the-round.
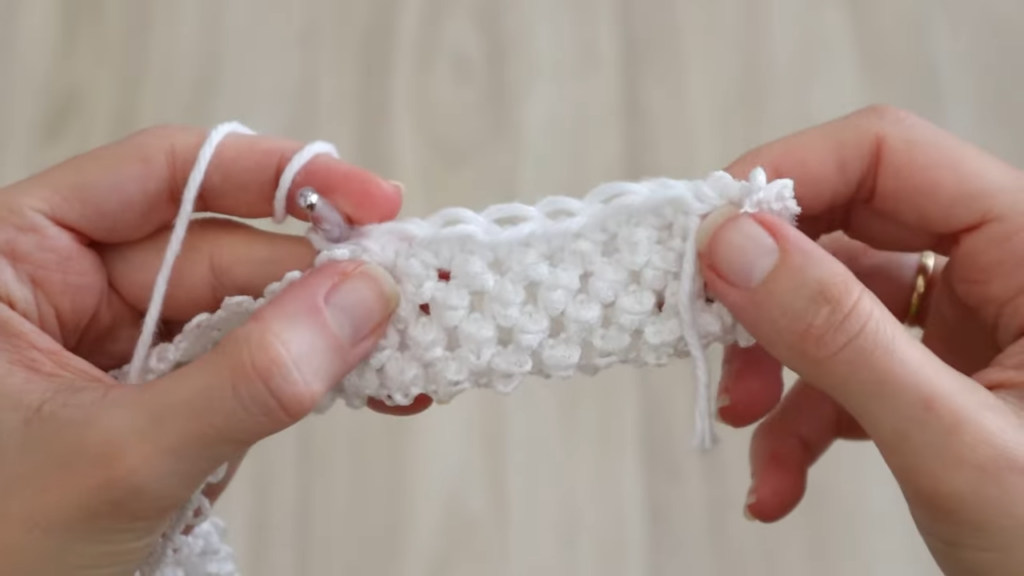
- Attach the elastic to the top of the shorts by single crocheting through the chain spaces of the waistline and the sc stitches you created along the edge of the elastic (compensate for differences in the stitch count of elastic vs shorts).
Add 8-10 rounds of extra linen stitch around the waist. Fold over and add a drawstring.
Elastic alternative
Customizing Your Shorts
- Color Choices Feel free to use as few or many colors as you'd like! Even doing every square in a different color would yield a fun pair of shorts you can really make your own.
- Square Choices If you find any other crochet square motifs that also have corresponding pentagons and tringles, you can use this pattern as a guideline for making shorts using many other granny square styles.
There you have it!
These crochet granny square shorts are not only a great way to practice your stitches but also a stylish addition to your summer wardrobe. Whether you're hitting the beach or lounging at home, these shorts offer comfort and chicness. Don't forget to experiment with different granny square designs to make each pair uniquely yours.
I can't wait to see your creations! Share your finished shorts around online and tag me (the snugglery) because I'd love to see them!
Que bonito!!