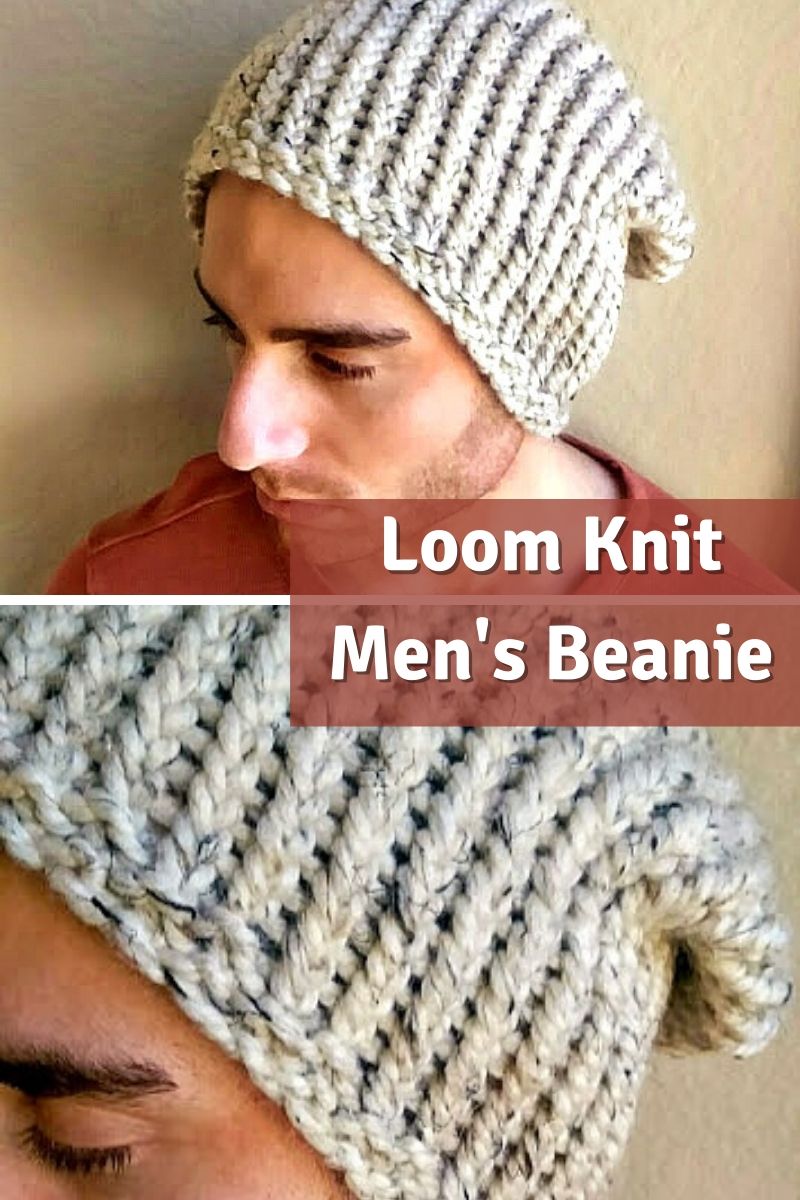
I love to utilize a bunch of different fiber arts and that includes loom knitting! It's great for beginners or people with arthritis who struggle to grasp needles. I adore this method of knitting because it's super easy to get a very uniform project every time.
This men's beanie was one of my first knitting patterns and always a great selling item in my Etsy shop.
You'll love how quick it works up with the super swift e-wrap knit stitch and super bulky yarn.
For this pattern, you will need:
-
A 41 peg round knitting loom and loom pick
-
One ball of Lion Brand Wool Ease Thick and Quick in the color of your choice (pictured is beige tweed)
-
Scissors
-
Optional tapestry needle or small crochet hook
Every knit stitch in this pattern will be an e-wrap knit by making one full wrap around the peg.
E-wrap knitting in loom knitting produces a twisted knit stitch much like "knitting through the back loop" in needle knitting. This stitch has great definition and creates the ribbed texture of the body of the hat without having to purl.
To begin, e-wrap cast on all pegs by wrapping each peg twice and pulling the bottom loop over the top loop.
Rounds 1-3: alternate e-wrap and purl every peg in the round. Since your loom has an odd number of pegs, you will create a seed stitch pattern if you keep alternating knits and purls on each peg all the way around the loom.
For rows 4- 34 e-wrap knit every peg in the round. This part goes super fast! I like to wrap every peg in the round and then knit the stitches instead of wrapping and knitting one at a time.
Finishing the top of the hat
Wrap your yarn around the outside of your loom one time to find the length of tail to cut. Cut your yarn and thread your tail through each stitch and remove the stitches from the pegs.
Pull your tail to gather the top of your hat closed. Turn your work inside out and secure the top of your beanie by threading your tail across the very last stitches and tying the end. This can be done with a tapestry needle or small crochet hook. Cut excess and turn the hat right-side in again.
There you have it! I hope you enjoyed this pattern. Feel free to share your projects on Ravelry.

