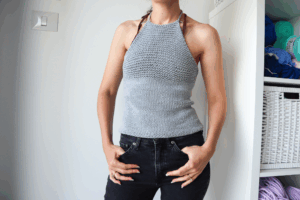
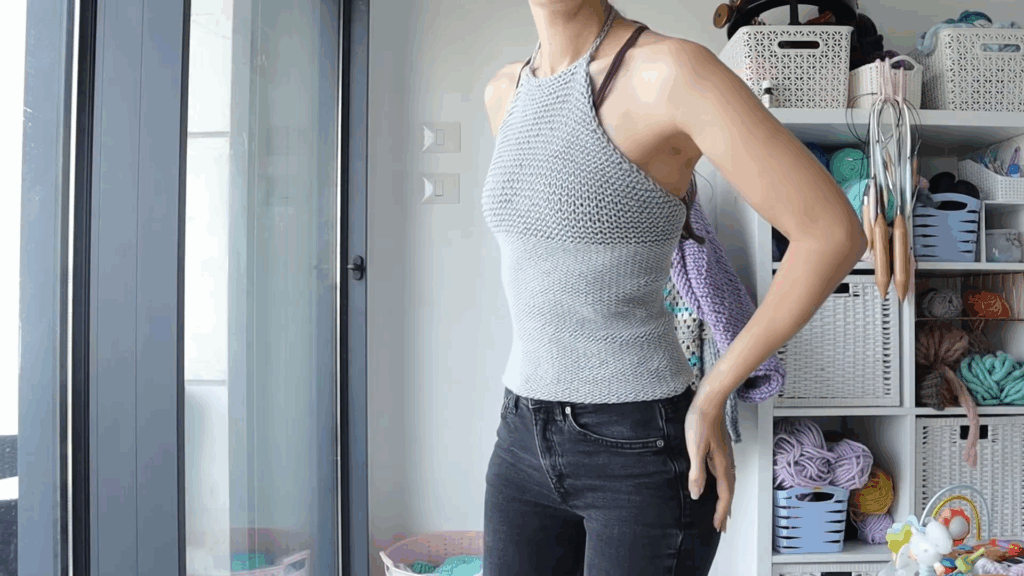
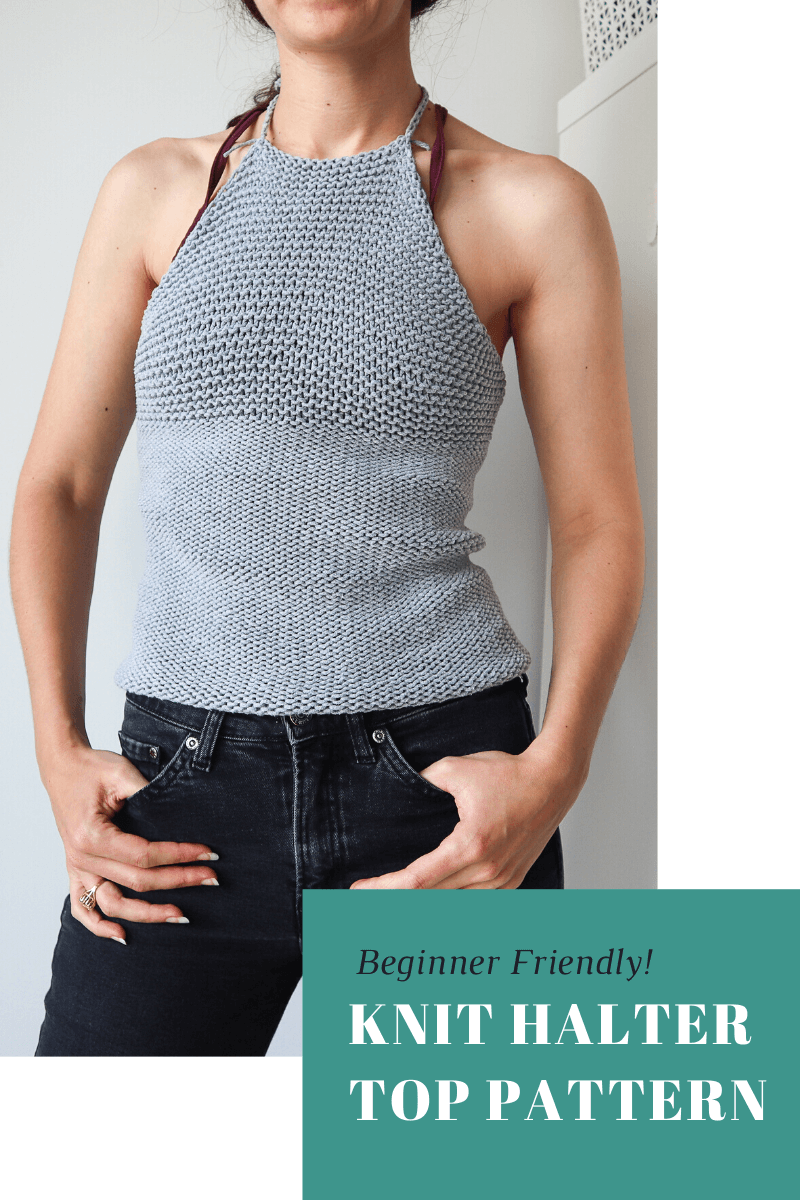
Garments don't have to be difficult! And, as a beginning knitter, it might be tempting to stay inside the box (literally). By just making square panels and seaming them together, you're really not utilizing all the knitting skills you already have! If you can cast on, knit flat, and knit in the round and are open to learning how to yarn over and do a stretchy bind-off, you can knit this top! Don't let the shape and fit scare you, this pattern has a video tutorial and a handy written pattern that makes it nearly foolproof.

Instructions for the chest portion are written for the smallest size with larger sizes written in parentheses: S (M, L, XL). For the bodice, there are suggested stitch counts for different waist measurements. Cast on the difference between that stitch count and your stitch count at the end of the increase rows. This adjustable, beginner friendly pattern comes with a video tutorial found HERE
And get your downloadable copy of the pattern HERE
Materials 220 yards (200m) of a heavy worsted/aran weight cotton yarn like Ice Yarns Lorena Worsted *slightly more for larger sizes*
You'll also need 4.5mm circular needles no longer than 30in. You'll need to be able to knit in the round with the number of sts needed to match your waist circumference in the recommended gauge.
Gauge and sizing
15 stitches x 23 rows on a 4x4in (10x10cm)swatch in stockinette
To fit bust measurement
Small: 34" (86.5cm)
Medium: 38" (96.5cm)
Large: 42" (106.5cm)
Extra Large: 46" (117cm)
Pattern
To begin, cast on 20 (24, 28, 32) sts.
Row 1: knit all sts
Row 2: yo (yarn over) and knit all sts
Repeat row 2 until you have a total of 56 (60, 60, 68) rows or until your piece is 7.5 (8, 8, 9) inches long, and gives you as much coverage in the front as you'd like.
If you follow the row count for your size, you'll have 75 (83, 87, 99)sts on the last flat row.
At the end of the last row, you'll likely need to cast on some stitches before joining in the round.
This pattern is meant to fit tight to the body. To make sure the body portion will fit just right, I've provided some sample waist measurements and stitch counts. (stitch counts based on the gauge provided above)
Take your current stitch count, subtract it from the stitch count based on waist measurement, and cast on the difference.
For example, I did the small top, and 23" waist stitch count. So I cast on 8 sts (83-75) at the end of row 56.
Body
Join in the round and knit all sts for 58 (58, 64, 68) rounds or until the body portion measures 10 (10, 11, 12) in long.
Do a stretchy bind off. Attach ties (i-cord, ribbon, whatever you'd like!) at the first and last cast on sts to make a halter tie neck strap!
Check out the video tutorial for an extra credit option to add a laced up back strap for extra support.
I hope you enjoyed giving this pattern a try! Feel free to share your projects with me on Instagram or Ravelry 'cuz I'd love to see them!


